The truss rod in the Brian May Red Special is an adjustable compression type fashioned by Brian from 3/16″ (4.8 mm) diameter steel rod. The straight section is 18.25″ long with a 11/16″ diameter loop formed by heating the rod on his kitchen stove then bending the bar around a 5/16″ (8 mm) diameter bolt and brazing the loop closed. The bolt is located 8″ from the centreline of the ellipse forming the main body shape placing it under the 22nd fret position. A captive bolt runs through the neck and whole body secures the truss rod in the neck tenon pocket. It is attached with a rebated hex nut which protrudes slightly from the rear surface of the guitar.
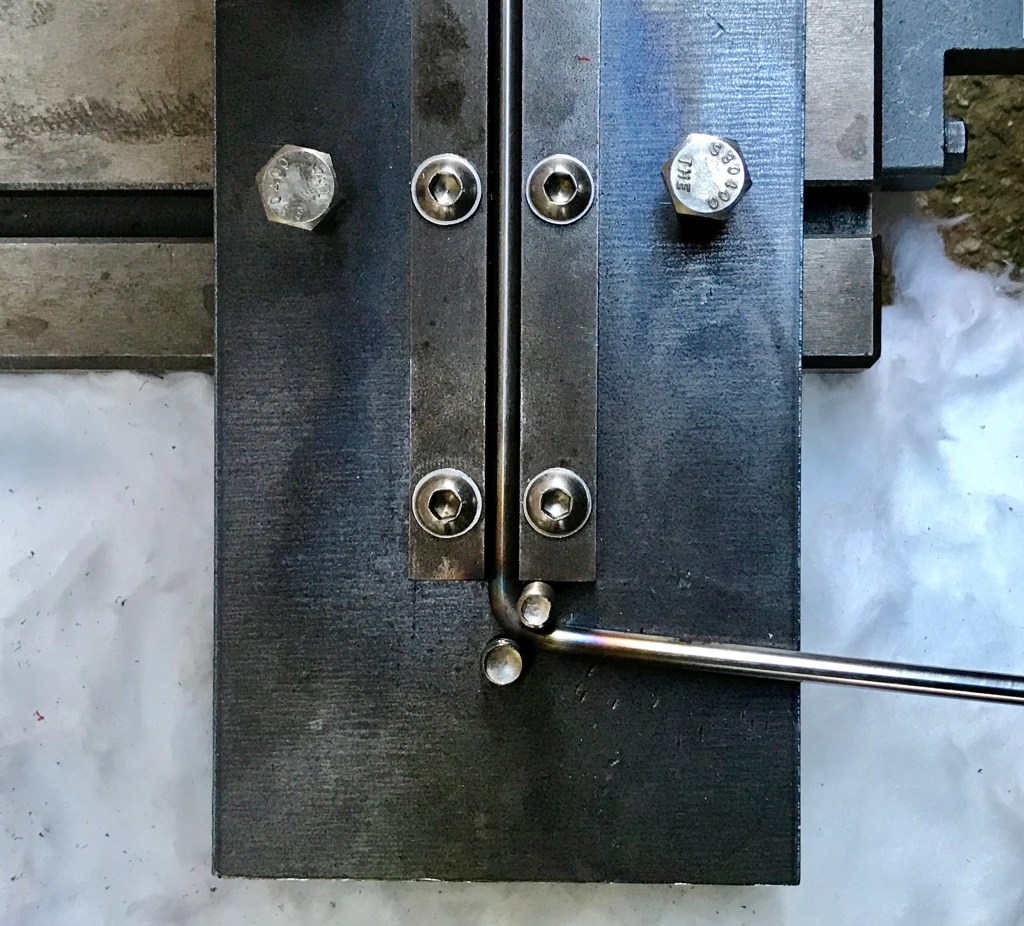
To replicate the design of the original Red Special guitar, I made a custom bending jig made from a section of mild steel plate and two 5″ lengths of mild steel ground flat stock secured with 6 mm diameter thread flanged hex head machine screws.


I used a portable gas welding kit, the OxyTurbo 200 to heat a length of 5 mm marine grade stainless steel rod to forging temperature then I bent it using the jig around an 8 mm diameter bolt (close to 7/16″, 7.93 mm). To ensure the loop is centralised, the first bend was made around a 6 mm bolt. I bent the rod up over itself, trimmed the excess approximately flush with the starting position using a diamond cutting wheel then flattened it into the plane to create the loop.


After dressing the joint area with abrasive paper and degreasing with acetone, I applied HT5 flux paste, heated the rod with the gas torch and applied a 55% silver brazing alloy (#455 from CuP Alloys) into the join. The melting range of 630-660°C indicates that this is a brazing rather than a soldering operation (brazing occurs over 427°C). A final dress with 180 grit abrasive and a selection of diamond needle files yields a satisfactory result similar to what Brian achieved. This is my first attempt at metal forging and silver brazing. It is not too difficult for a DIY builder if all key steps are understood and followed.


The original Red Special’s truss rod is only tightened sufficiently to secure the nut from working loose. I assume this is because Brian and Harold expected to have to counteract back-bow from string tension in the usual manner but because the neck is so thick, this didn’t happen. However it can be adjusted to correct neck bow if required. This is achieved by means of a thread cut into the end section of the rod onto which is screwed a round threaded sleeve nut/coupling connector nut with two orthogonal slots cut across the end. The nut butts against a section of brass plate, likely 5/8″ wide x 1/2″ deep x 1/16″ thick. As part of the preparatory work for assembling the neck, I drilled a slot for the brass plate, fitted it and tested the adjuster nut for fit in the rebate. In September 2021, I made another truss rod deploying more straightforward bending operations and recorded the video below which illustrates all the equipment required, and processes involved including use of the portable gas welding set pictured above for hot forging the loop and brazing the join closed.
Next article:
Part 40: Neck Assembly Preparation
Previous article:
Parts 34-36: Veneering the Body
