The first phase of reassembly and testing involved wiring up the guitar using two Bourns PDB181-GTR01-504 potentiometers (B0/linear taper for tone and A2 audio/log taper for the volume) matched to 460-470 kΩ, a 47 nF polyester film capacitor and the humbucker pickup. Although I normally use a low melting point, high lead content non-RoHS compliant solder, since I wanted to use the casings of both potentiometers as ground (earth) connections and achieve a tidier result than the Stratocaster wiring, I used a modern silver solder with melting point 227°C for this purpose. I used a soldering iron temperature > 300°C to ensure that there was enough local heating to adhere the solder to the metal pot casing. Even straightforward electronics assemblies should be carefully planned to ensure the sequence yields a tidy result. I used two pre-made jumper wires (red and black) in the connections which I have deployed on all my previous guitar wiring assemblies.
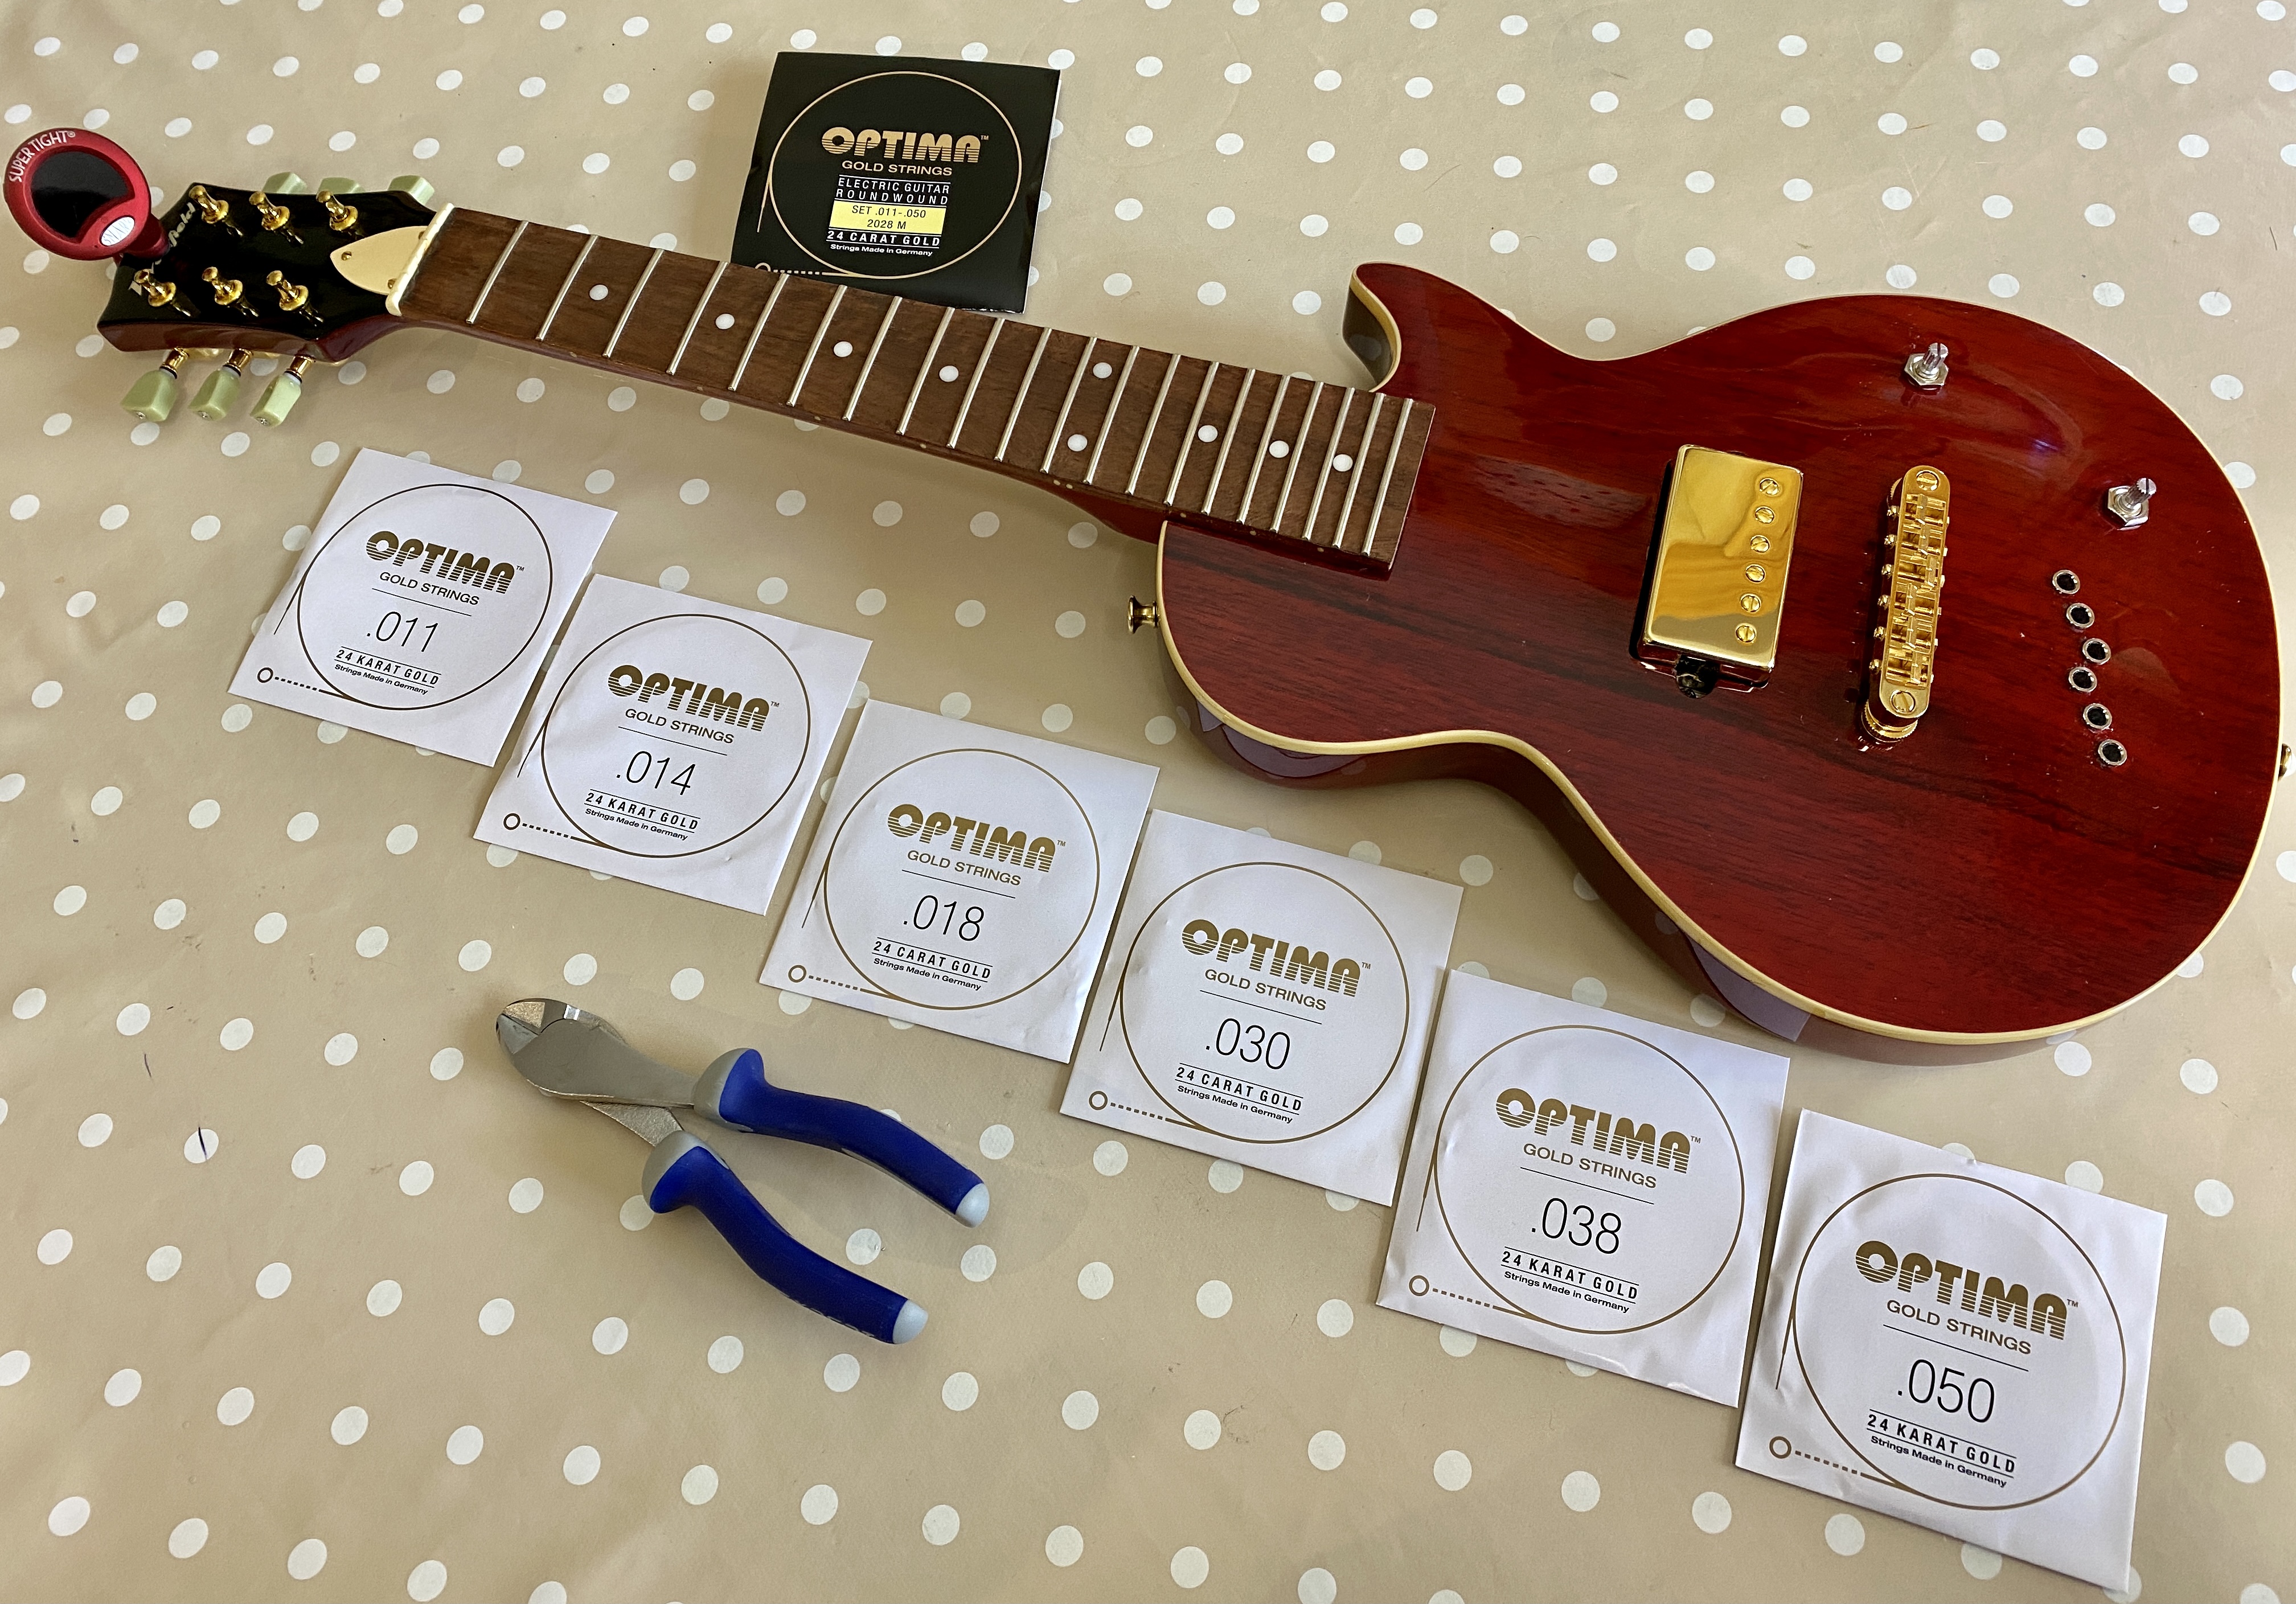
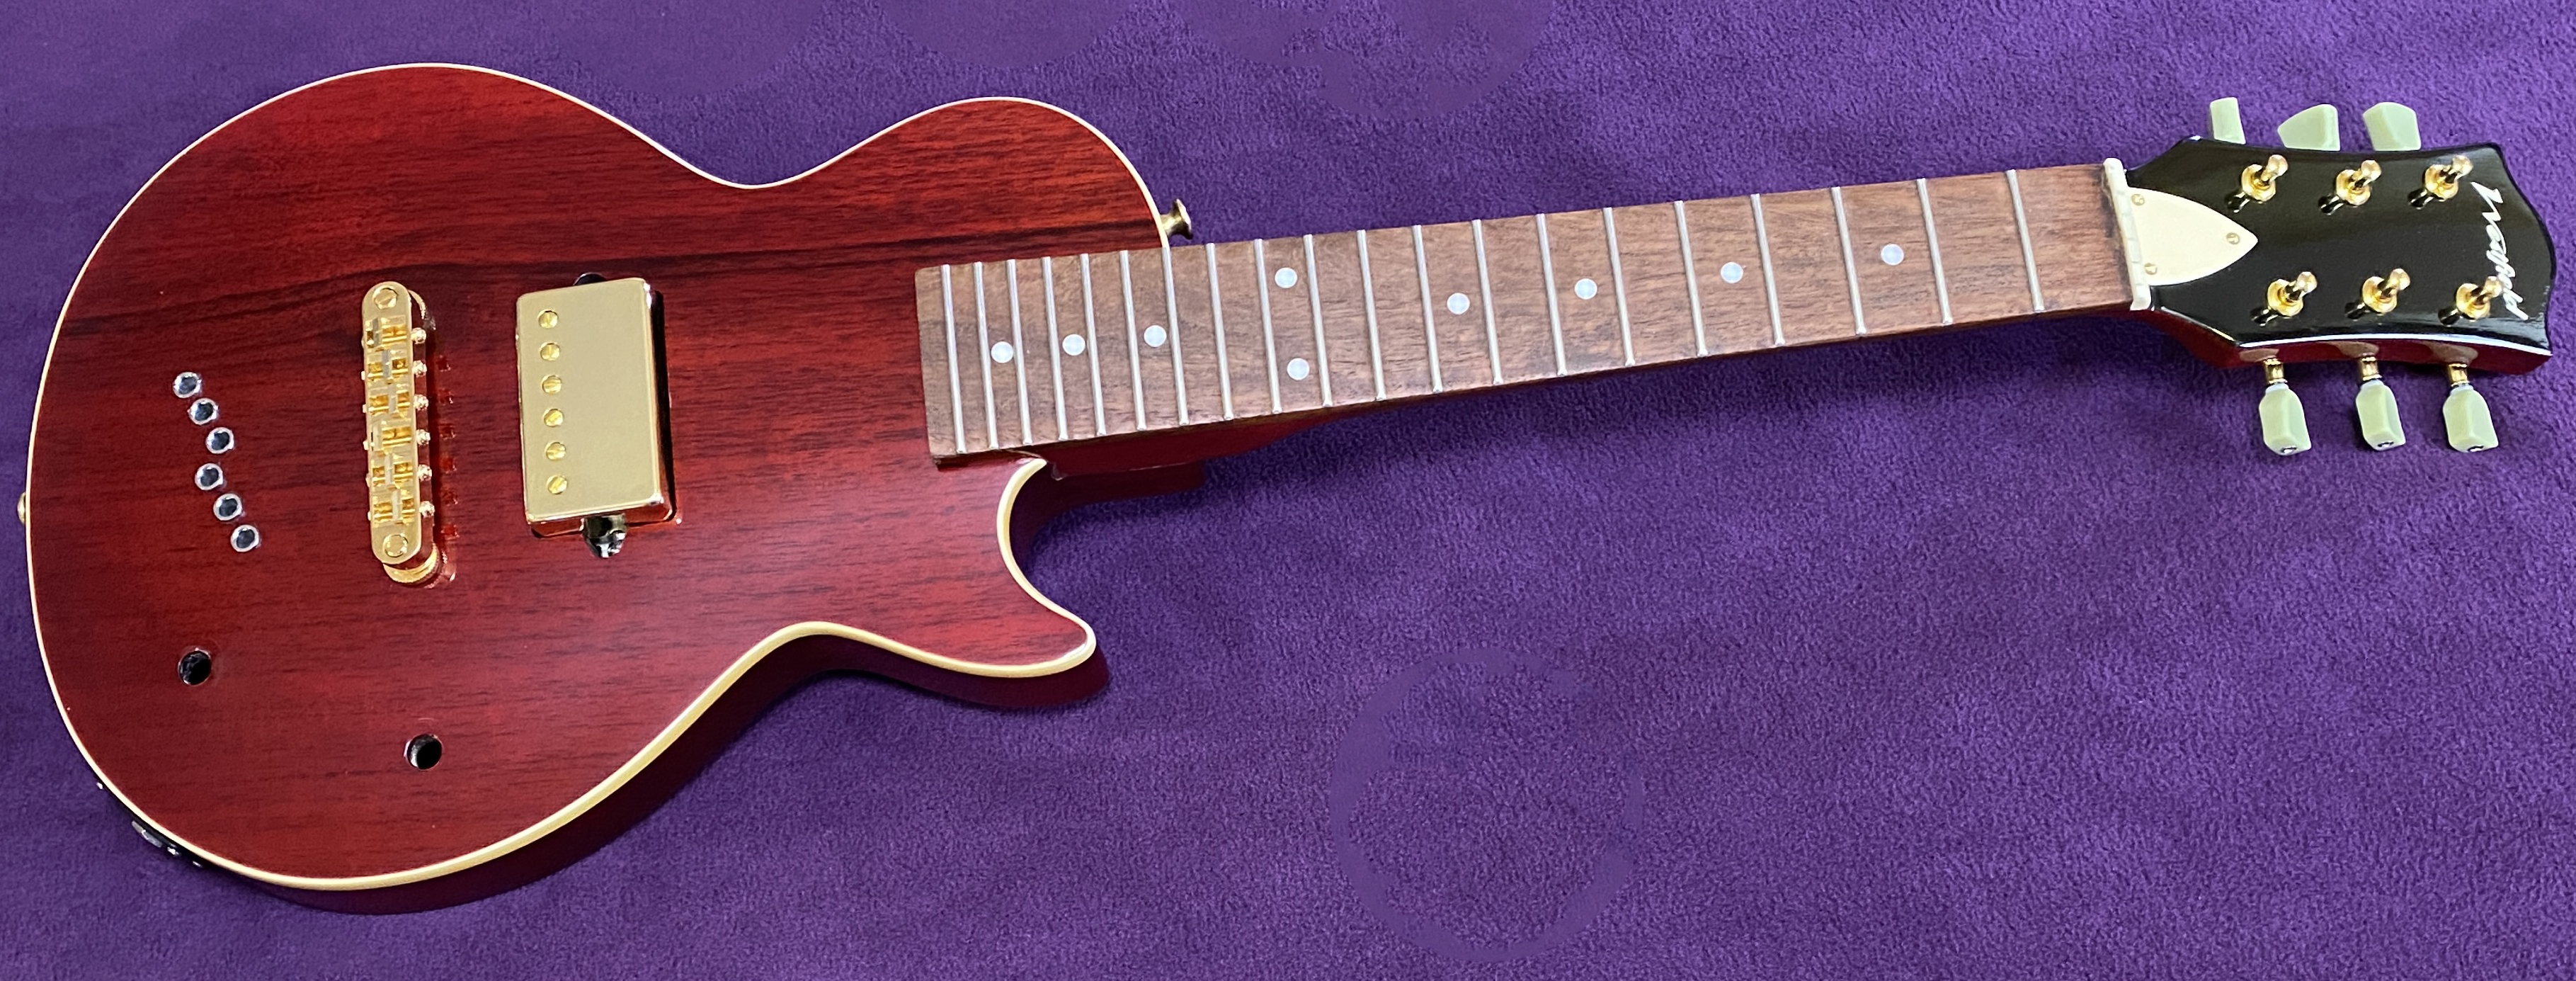
Finally, I restrung the guitar with Optima Gold 2028M gold plated strings and tested the circuit was made and the pickup responded as expected, checked for loose connections and noise and correct operation of the volume and tone controls. The testing was successful with no issues and the guitar sounds spectacular through a Vox AC30. That brings all my planned guitar projects to a close, but read on for a hint at a future project I would like to attempt.


Future Work
Like all guitar enthusiasts, I have been fascinated by the legend surrounding the 1958-1960 Gibson Les Paul ‘bursts for some years. It is likely to be some time before I can bring this project to fruition but I don’t see any reason why I can’t successfully deploy the luthiery techniques and disciplines I have learned building a Brian May Red Special replica to make an authentic 1959 burst style Gibson Les Paul. The new challenges would largely be understanding and designing an authentic contoured top, book-matching the flame maple sections neatly, inlaying trapezoidal fretboard markers and executing the neck profile combined with the acute headstock angle.


Previous article:
Part 3: Mechanical Set-up
Return to the project home page:
https://dsgb.net/projects/minilespaul/
