One of the rules I applied on this Brian May Red Special replica build project is to test every process before implementing it on the final product, particularly with respect to both constructional and tonewood quality timber, the latter of which is getting scarcer and more expensive with every passing year. The longer duration CNC cuts on the guitar body sections also needed to be proven, particularly as so many users were reporting difficulties with their Stepcraft CNC machines on the Stepcraft user forum.
Blockboard Preparation
Although engineered timber and timber products available in the U.K. are manufactured to the metric equivalent of imperial dimensions, e.g. an 8′ x 4′ board is sold as 2440 x 1220 mm, it does not seem to be possible to obtain 19 mm thick blockboard which is the nearest metric equivalent to the 3/4″ thick material that Brian would have used on the Red Special. All blockboard for sale in the U.K. appears to be nominally 18 mm which, if 0.6 mm knife cut mahogany veneer is used to face the guitar body, it will end up 2 mm (5.5%) too thin. This is more than enough to cause difficulties with hardware tolerances and affect the overall aesthetic appearance. For this reason, and to exercise appropriate control over the quality of the softwood strip material, I elected to make my own 3/4″ plywood faced blockboard.


Beginning on 23rd January 2017, I assembled blockboard panels for test cuts using rough quality materials: some of the plywood sections are warped, the core strips were made from ‘big shed’ PAR softwood constructional timber (see below) and the oak is the least linear grain sections of a 3 metre long length I ordered. For this test cut blockboard I have taken care to ensure that all the internal butt joints are square and have selected the sections with the smallest and fewest knots/flaws but I was not overly bothered about the external appearance. I cut the insert from the plywood on the test panels by hand with a Dremel rotary multitool with the Dremel 670 mini circular saw attachment. On the final quality blockboard panels I cut this using the CNC machine.
- I sourced my plywood from Travis Perkins (Plywood Hardwood Throughout Ply 2440 x 1220 x 3.6 mm) at £17.55 per sheet ex VAT.
- I sourced the smooth timber planed all round (PAR) from U.K. ‘big shed’ hardware store B&Q at £16.15 per pack of ten.
- I sourced the European oak PAR to 4 3/4″ (120.65 mm) wide by 3/4″ (19 mm) thick from British Hardwoods.
- I used Gorilla Glue to lay up the test blockboard and changed to Titebond Original wood glue for the final assembly.
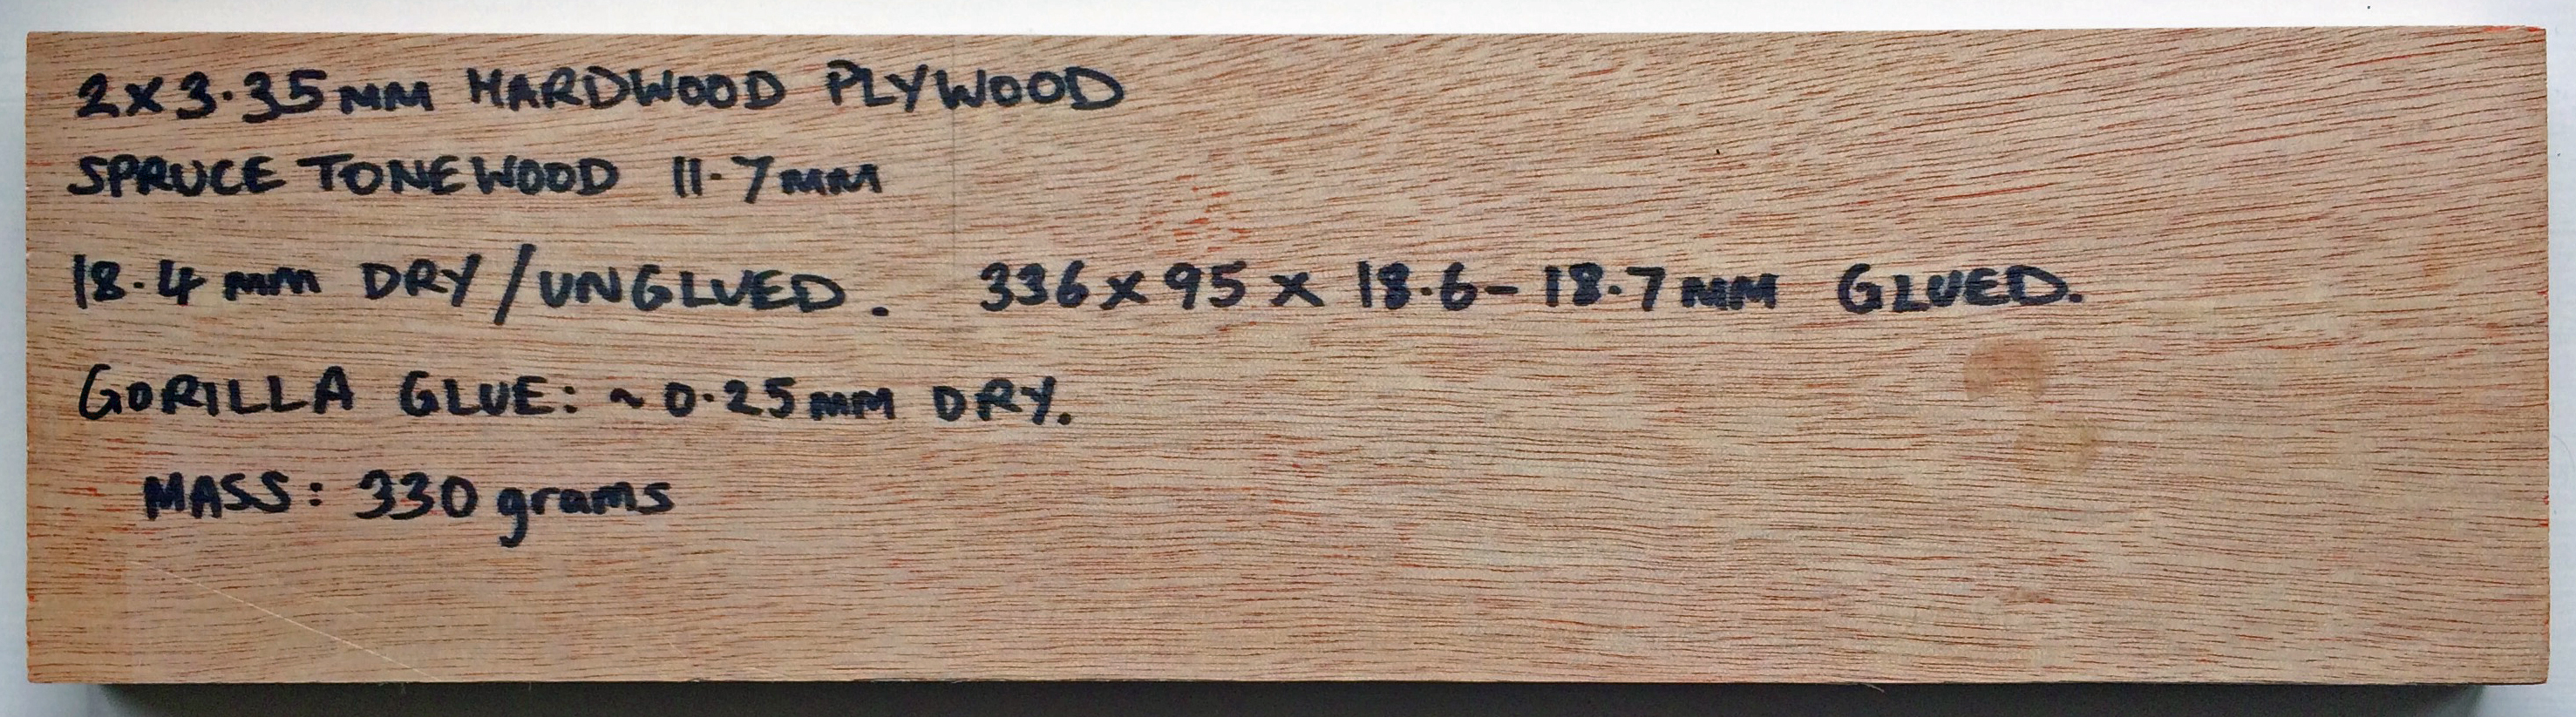
The pack of ten nominally 12 x 44 x 2100 mm smooth planed softwood turned out to be way off (for my purposes): more like 11.3 x 42 x 2100 mm. The width and length isn’t so much of a problem – the thickness is. I was hoping that it would be over spec: something like 12.3 mm to make up the difference between 3/4″ (19 mm) and two sheets of plywood (3.35 x 2 = 6.7 mm). As it happens, the finished blockboard measures about 18.5 mm maximum. The oak was fairly precisely planed to 19 x 121 x 3000 mm.
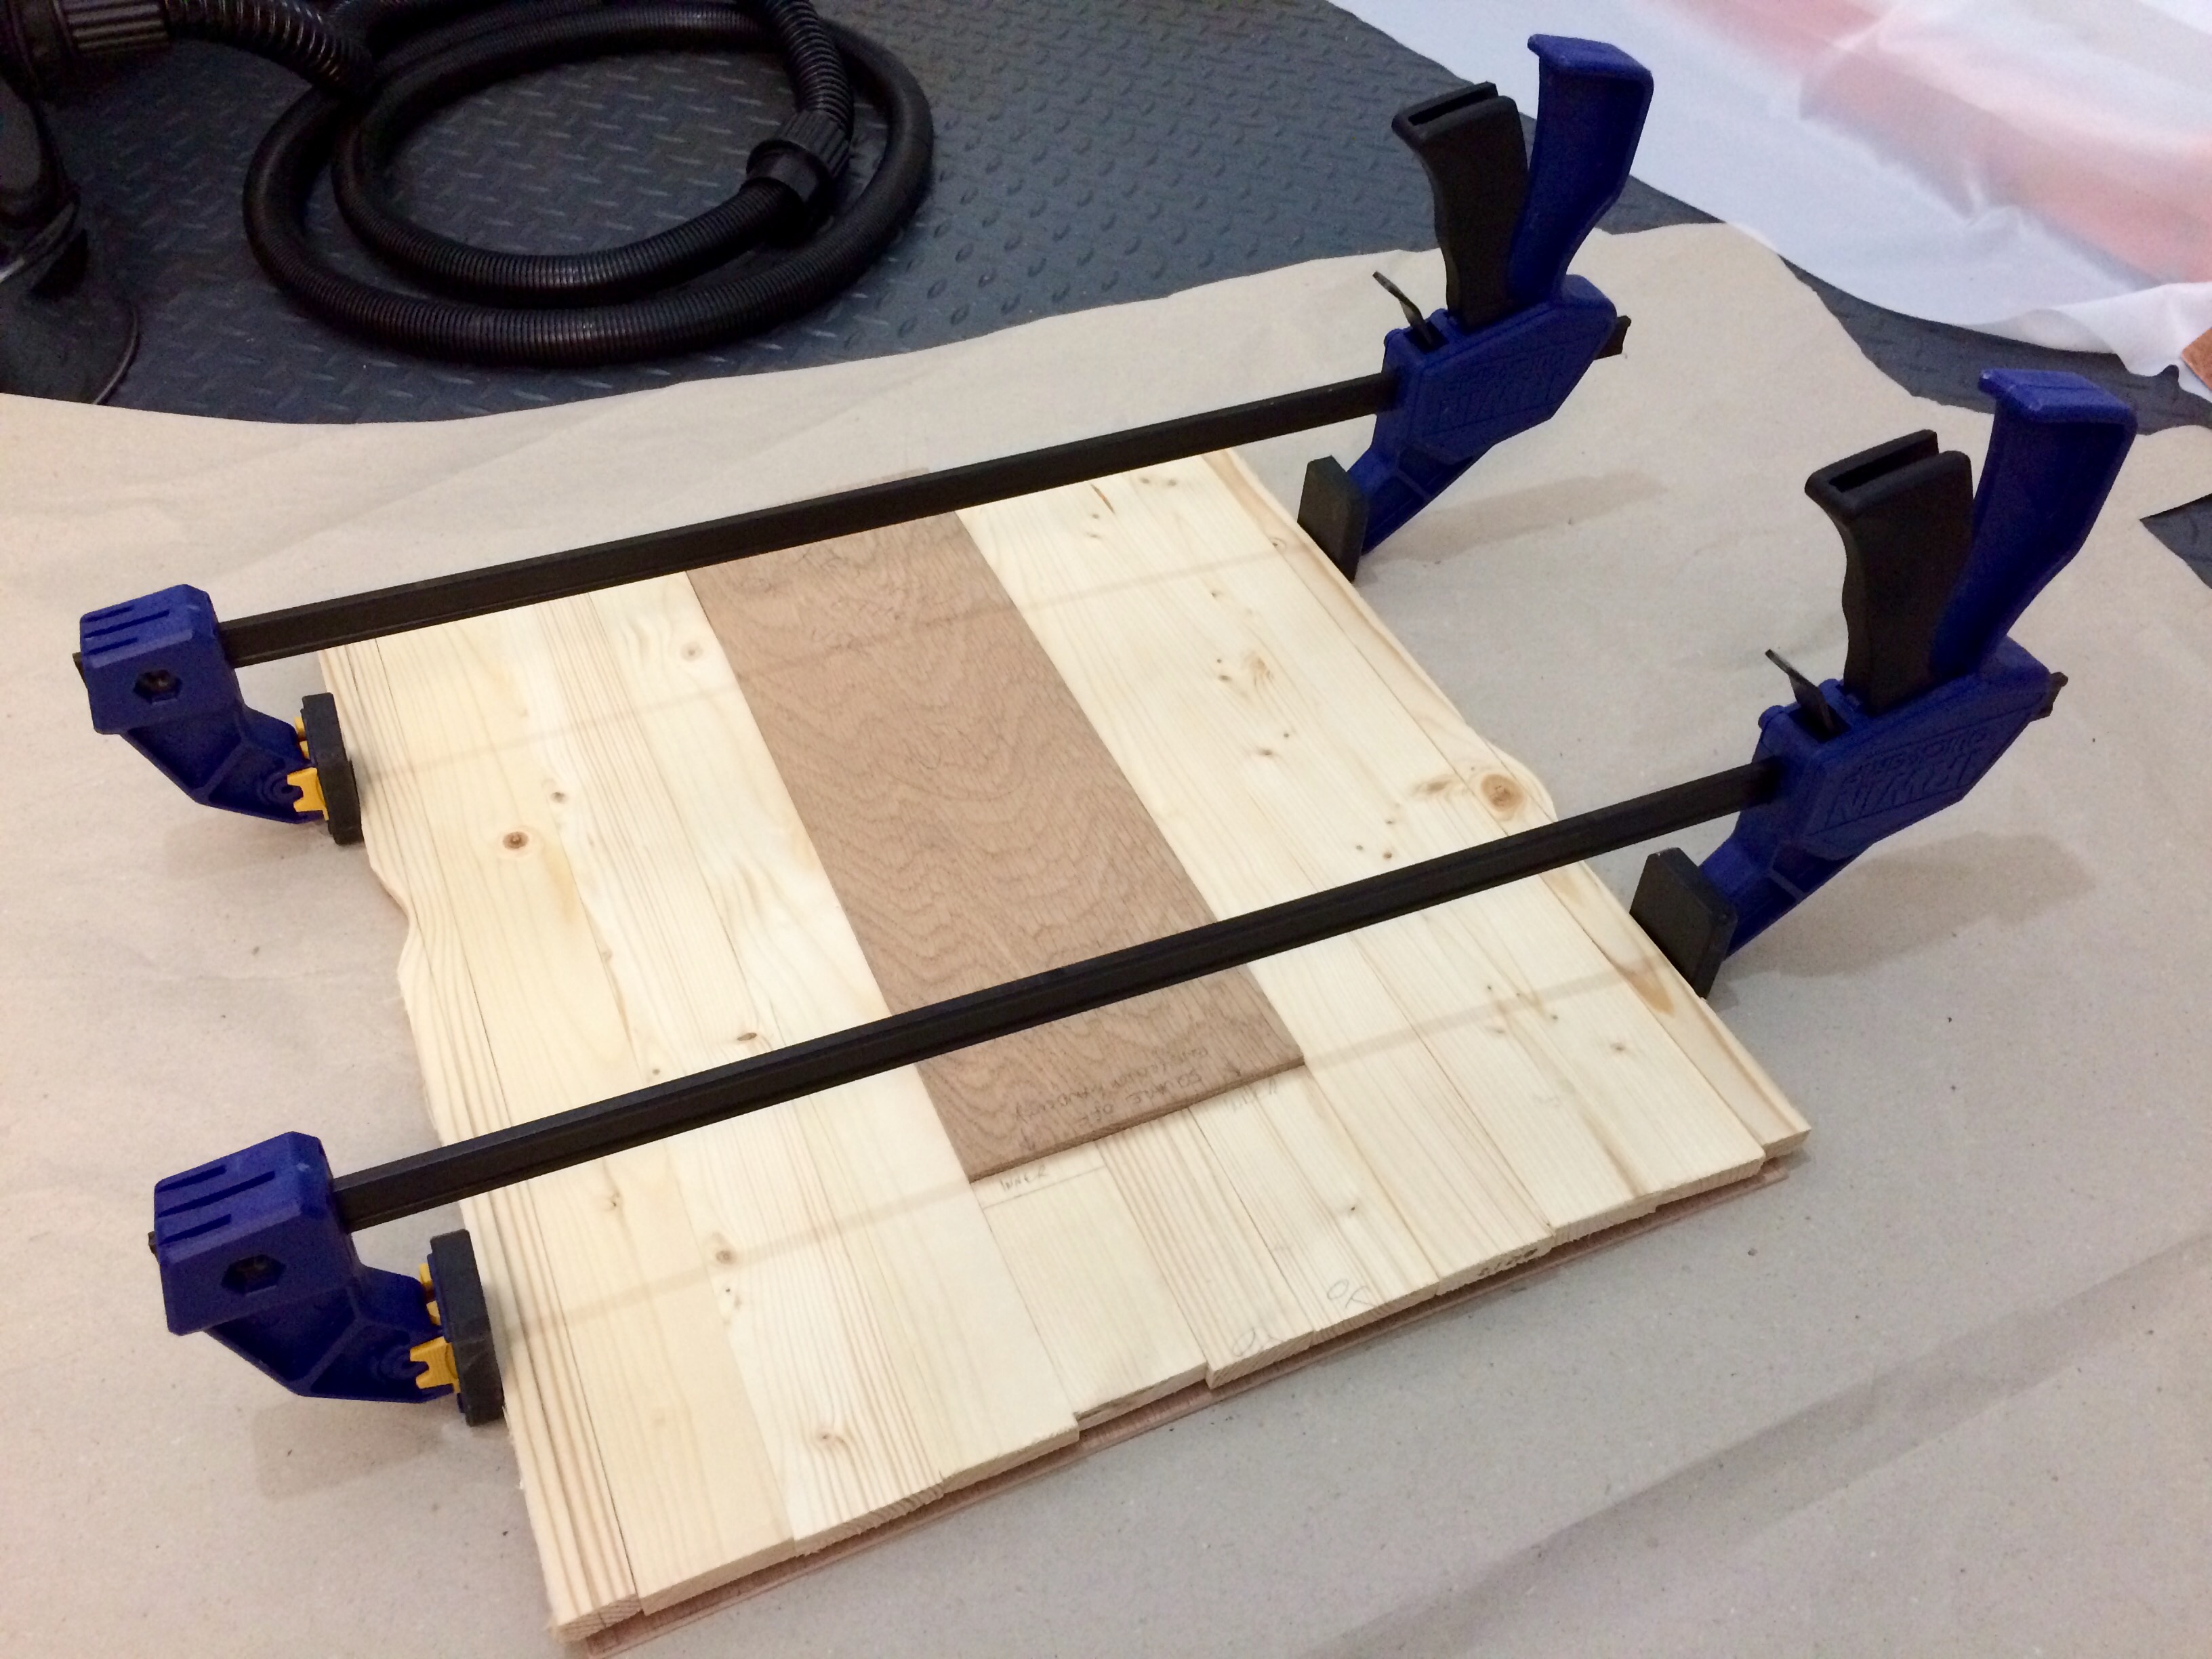
I decided to make my workpieces 18 x 16 x 3/4″ (457 x 406 x 19 mm) which would allow about an inch overlap for the guitar body which measures 15 3/4″ x 14″ (400 x 356 mm). I smothered everything with wood glue, clamped it sideways with two Irwin 18″ Quick-Clamps and weighted the assembly down with house bricks. The bottom section was left clamped and weighted overnight. On 3rd February 2017 I cut the inserts for the oak block in the lower body section from the plywood panels using the CNC machine as shown in the embedded video below.


Mahogany Neck Blank Preparation
In the embedded video below which was recorded in June 2021, approximately one year after I completed the build project, I discuss preparation of a slab of reclaimed mahogany timber to make neck blanks and then demonstrate use of a Makita table saw to cut and trim two 4” wide blanks and make some extension strips to widen my other blanks suitable for CNC routing. The video duration is approximately eight minutes and there are ten segments including inspecting and marking the timber in preparation for cutting, Makita table saw setup, cutting the timber, squaring off the timber and checking the resonance of one of the blanks.
Next article:
Parts 3-4: Body Section Test Cuts
Previous article:
Red Special Design Research
