Application of copper foil to the control cavity is another job that is challenging to execute neatly and thus one that I have overthought, overplanned and procrastinated over for months. The Red Special originally had some aluminium foil applied to the floor of the chamber which was replaced by copper foil applied to all horizontal and vertical surfaces, and to the underside of the pickguard during Greg Fryer’s restoration in 1998 to create a Faraday cage for full shielding from radiofrequency (RF) noise. Greg used strips of foil and ensured electrical continuity by applying blobs of solder across the joins at regular intervals. Thin self-adhesive foil with conductive adhesive for electric guitar shielding is freely available in both roll and sheet form now.
Other professional and amateur Red Special builders generally choose to run a bead of solder around all the joins. I have never had success with this method (for example, heating can cause the glue to soften) and I don’t consider it to be necessary if you allow a small amount of overlap. My first attempt at copper foil shielding was on the first Brian May Red Special replica guitar I owned: a converted BMG Special. Back in August 2013, I used 0.3 mm copper sheet for this which was difficult to cut, even with a heavy duty utility blade. I have tried various methods for this process including CNC cutting a custom designed shape from “thick” 0.1 mm foil for the underside of the pickguard for my converted Fender Stratocaster. This worked reasonably well but it is difficult to find a method which allows sufficiently strong hold down while still permitting release from the machine bed without creasing, crinkling or tearing the cut foil shape.

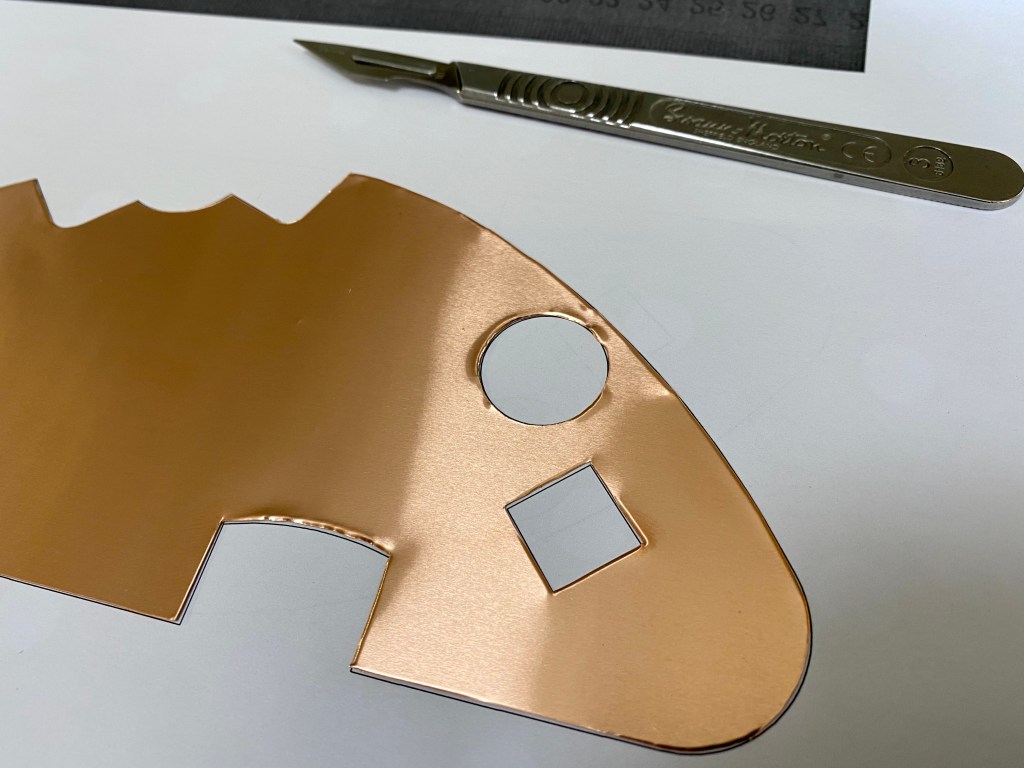
That said, I tried to learn from all these past experiences and the method I finally settled on for this project involved using Peak Dale brand soft temper “thin” 0.1 mm (0.004″) foil for the horizontal surfaces (guitar laid flat) and “extra thin” 0.05 mm (0.002″) foil for the vertical surfaces. Both thicknesses can be cut without too much difficulty using a craft knife blade. For this I use a Swann Morton No. 3 scalpel handle and No. 10A surgical steel blades, although a large variety of blade shapes are available to suit your cutting preference. The objective was to find a suitable thickness that could be cut easily and safely to the desired shape but which resisted creasing when applied to the horizontal or vertical surface.
Where some iteration of the shape was required to find a satisfactory fit, I made adjustments in TurboCAD, printed the shape at 1:1 scale on A4 paper, cut it out with the craft knife and tested it by laying onto the guitar body, repeating the process as many times as necessary. In choosing to avoid self-adhesive tape and foil, I needed to consider which of the multitude of adhesive formulations would be most suitable to deploy in this specific application. This is almost a narrative in itself, but the criteria reduced to twofold: ease of application to the copper and guitar body surfaces by brush or aerosol spray and degree of permanence. I settled on two options:
(a) 3M DisplayMount permanent multi-purpose spray adhesive and
(b) Evo Stik Time Bond non-drip contact adhesive.
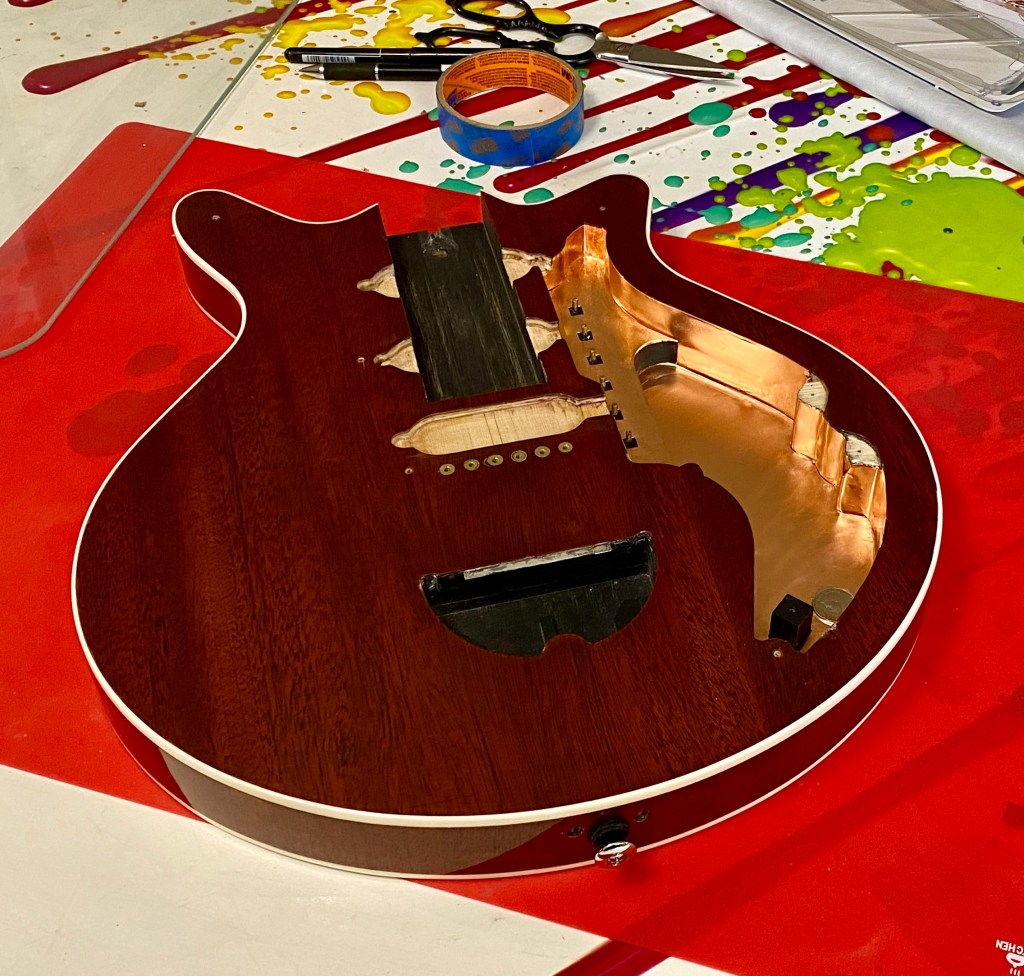
In the end, I used the 3M DisplayMount, spraying it onto the rear surface of the cut copper sheet and into a small dish and brushing on the guitar body with a quality watercolour brush. This yielded satisfactory results and overspilled adhesive can be easily removed with white spirit. Slight lifting at corners was addressed by brushing on a cyanoacrylate superglue and pressing down.
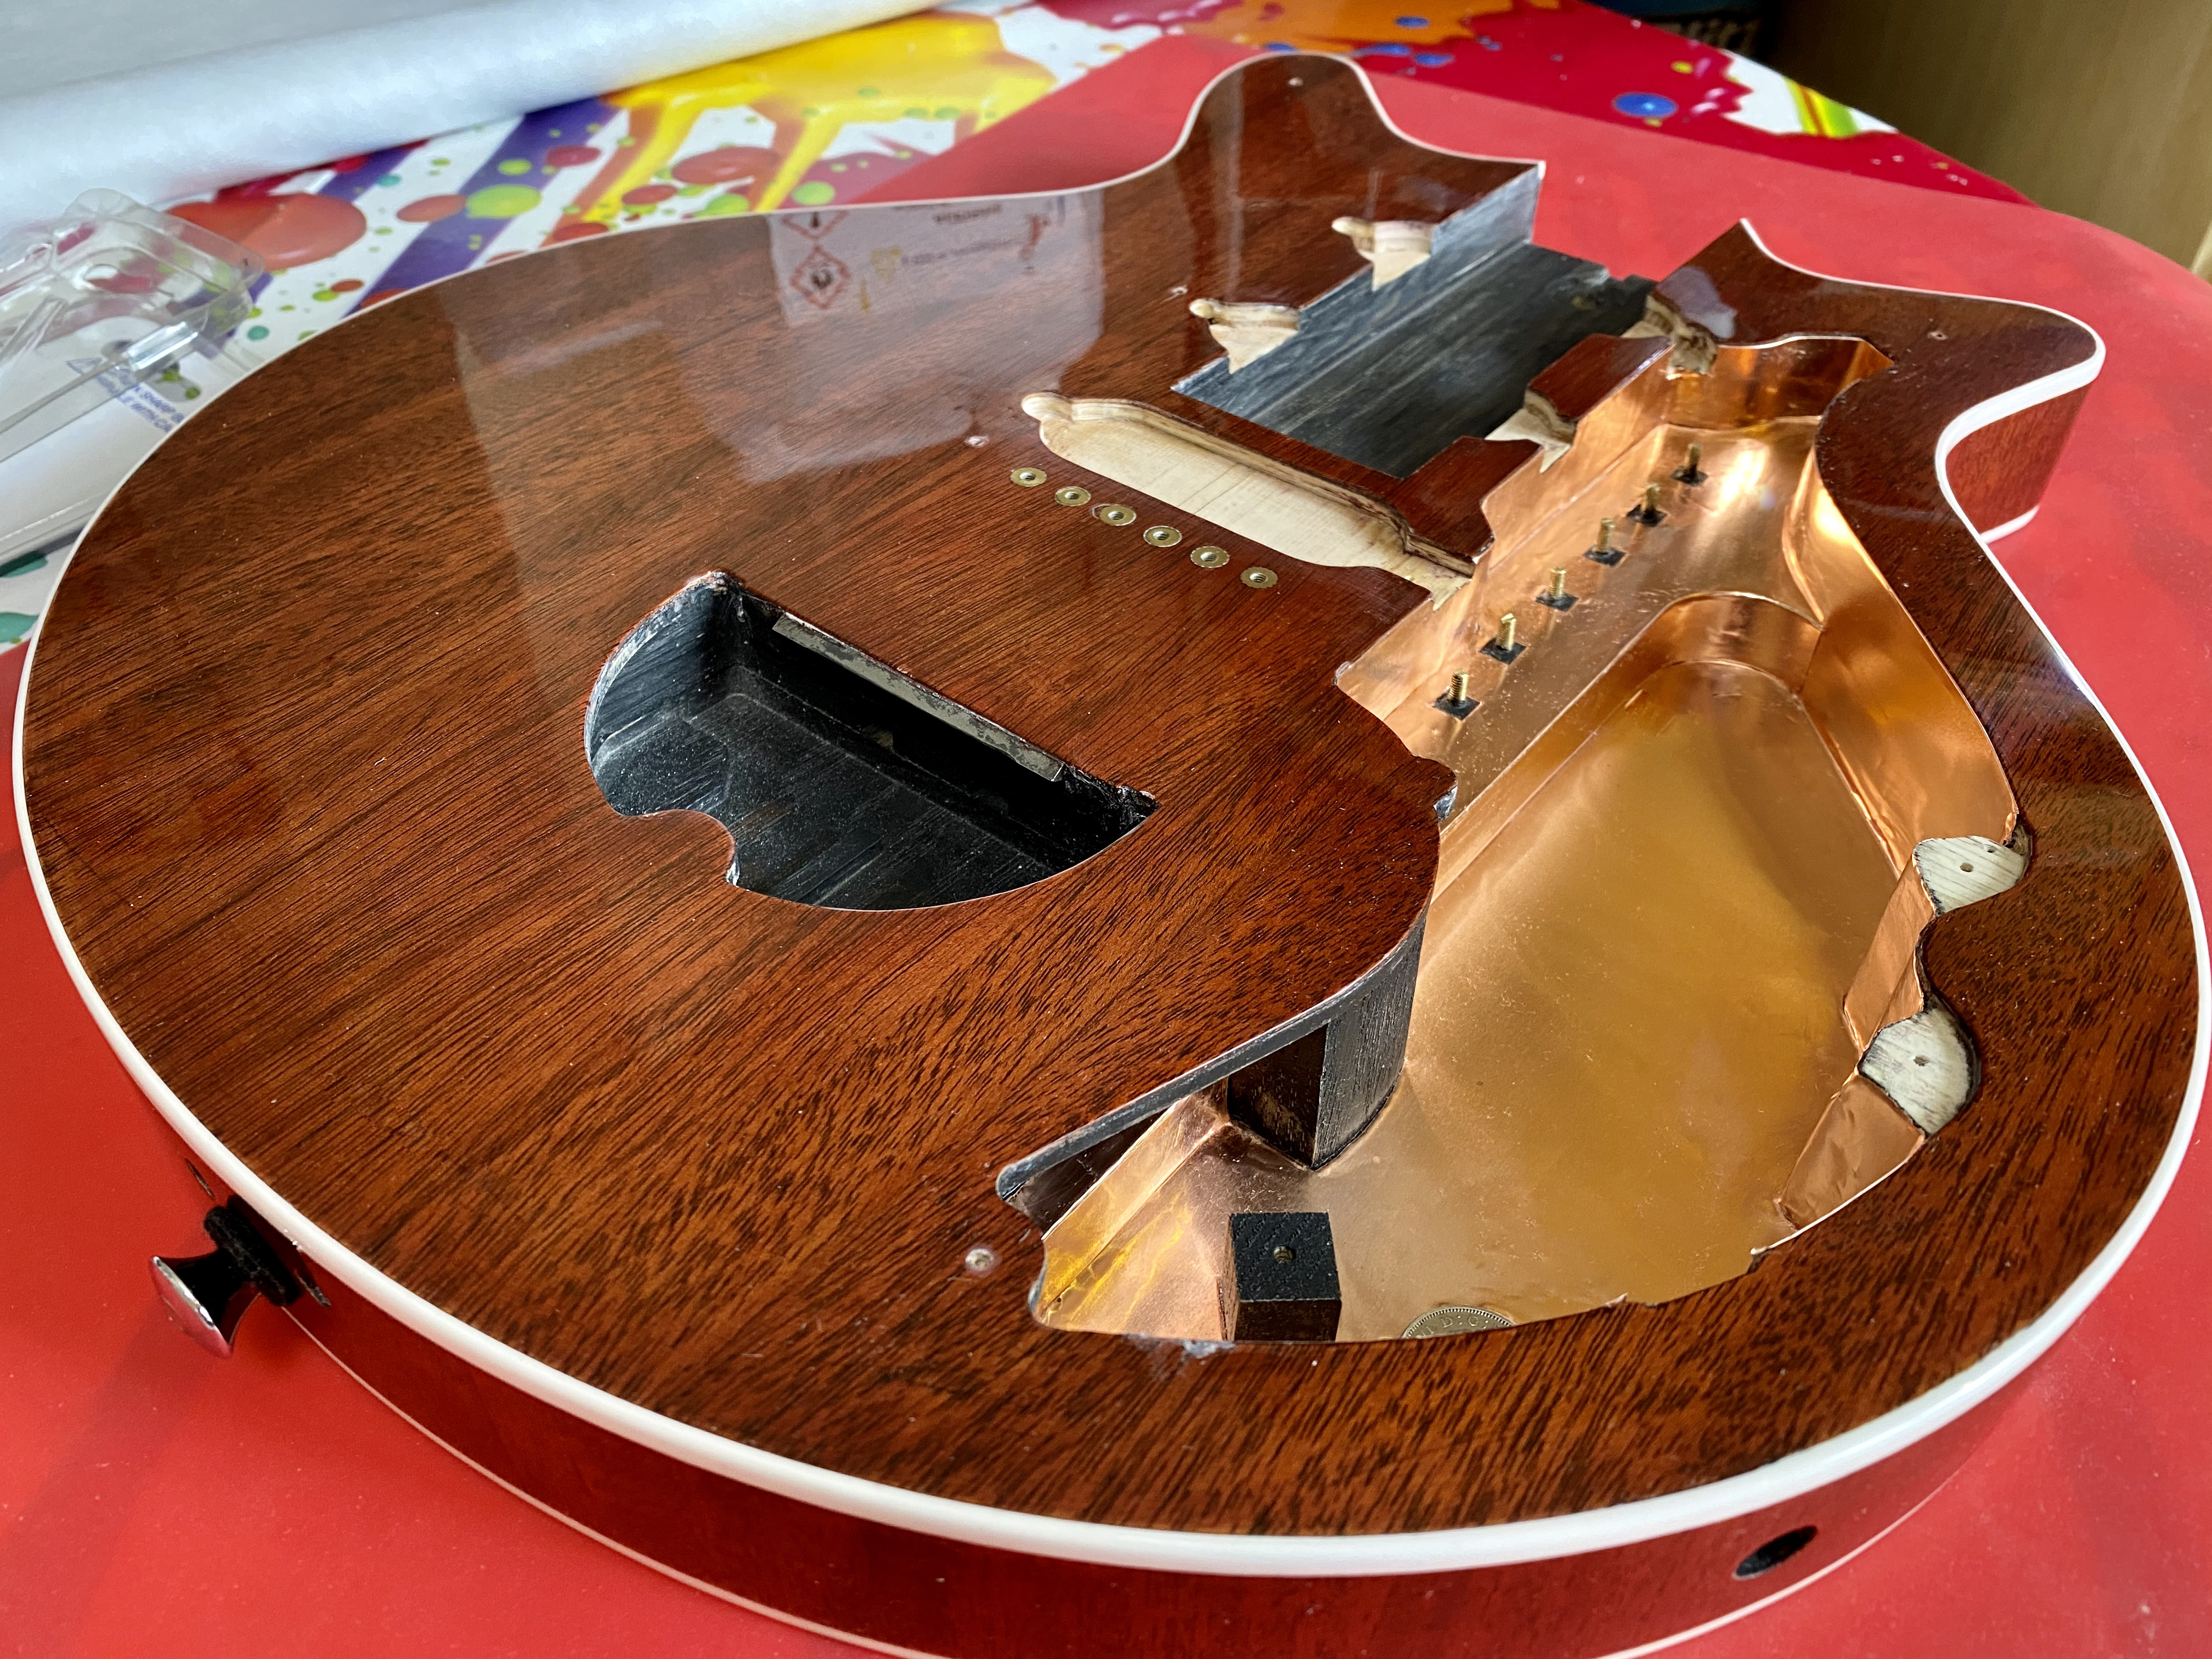
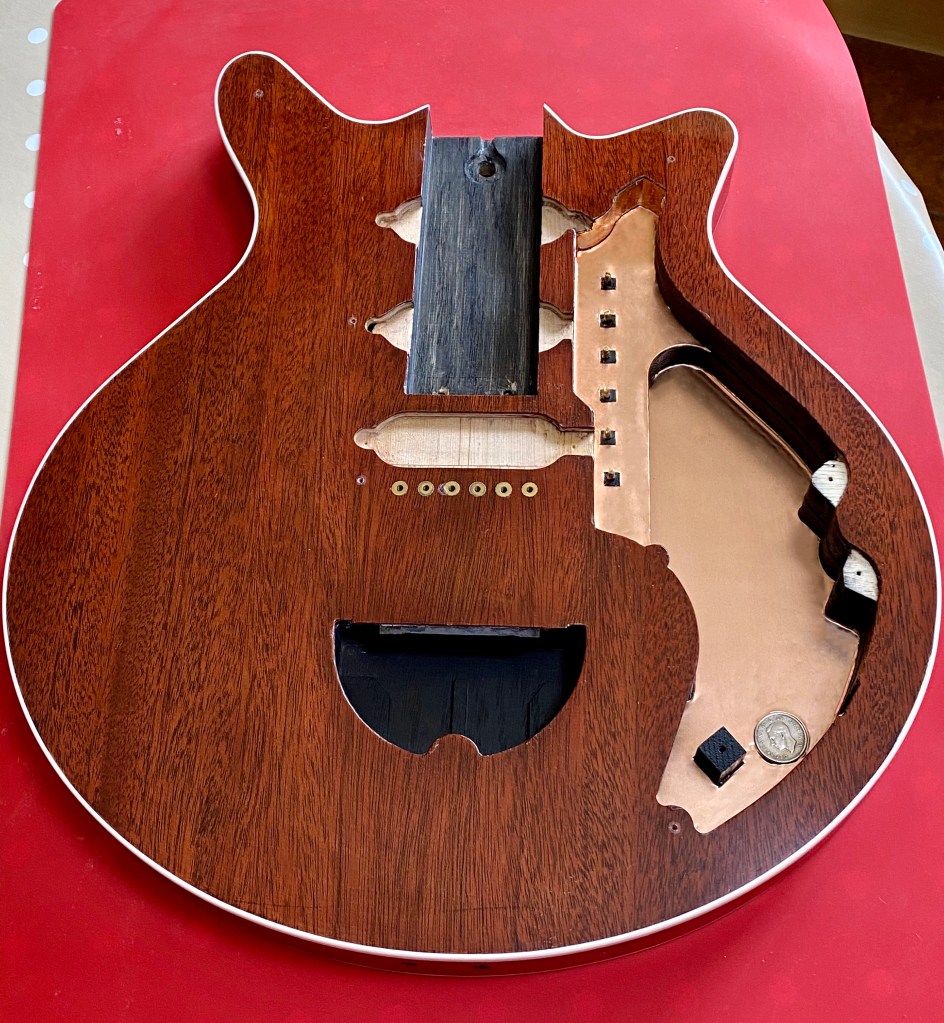
With careful planning, I was able to cover the entirety of the cavity using only six sections in total; the shapes pictured exclude the central wall strip. The sequence was as follows:
1. Central vertical wall.
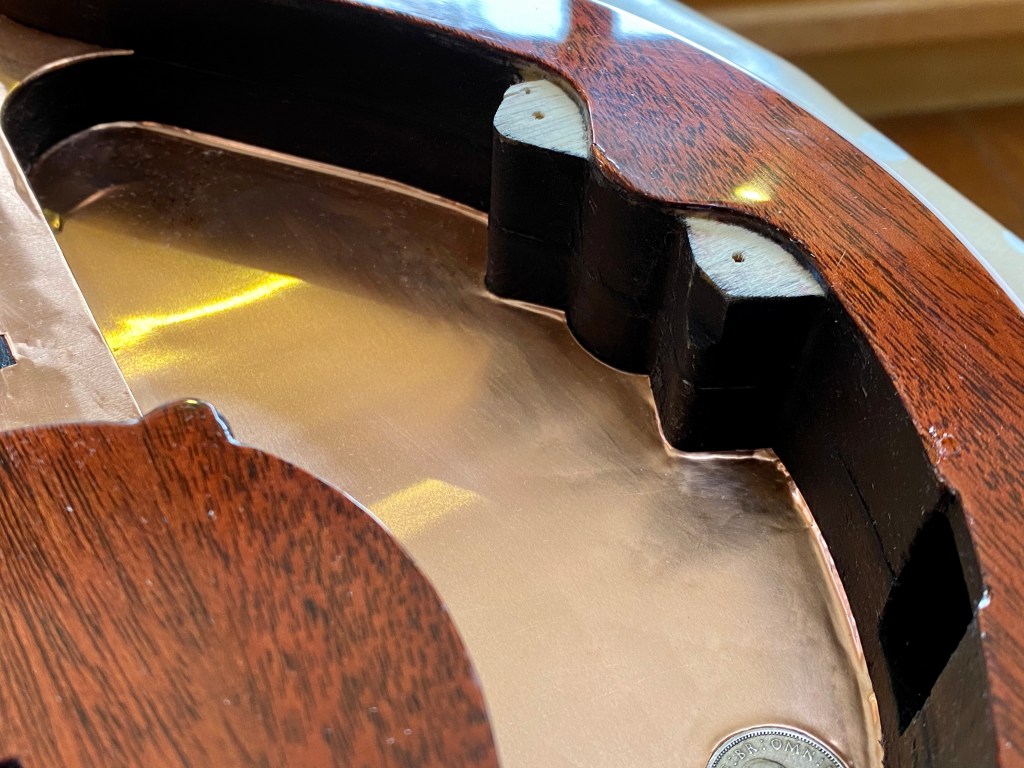
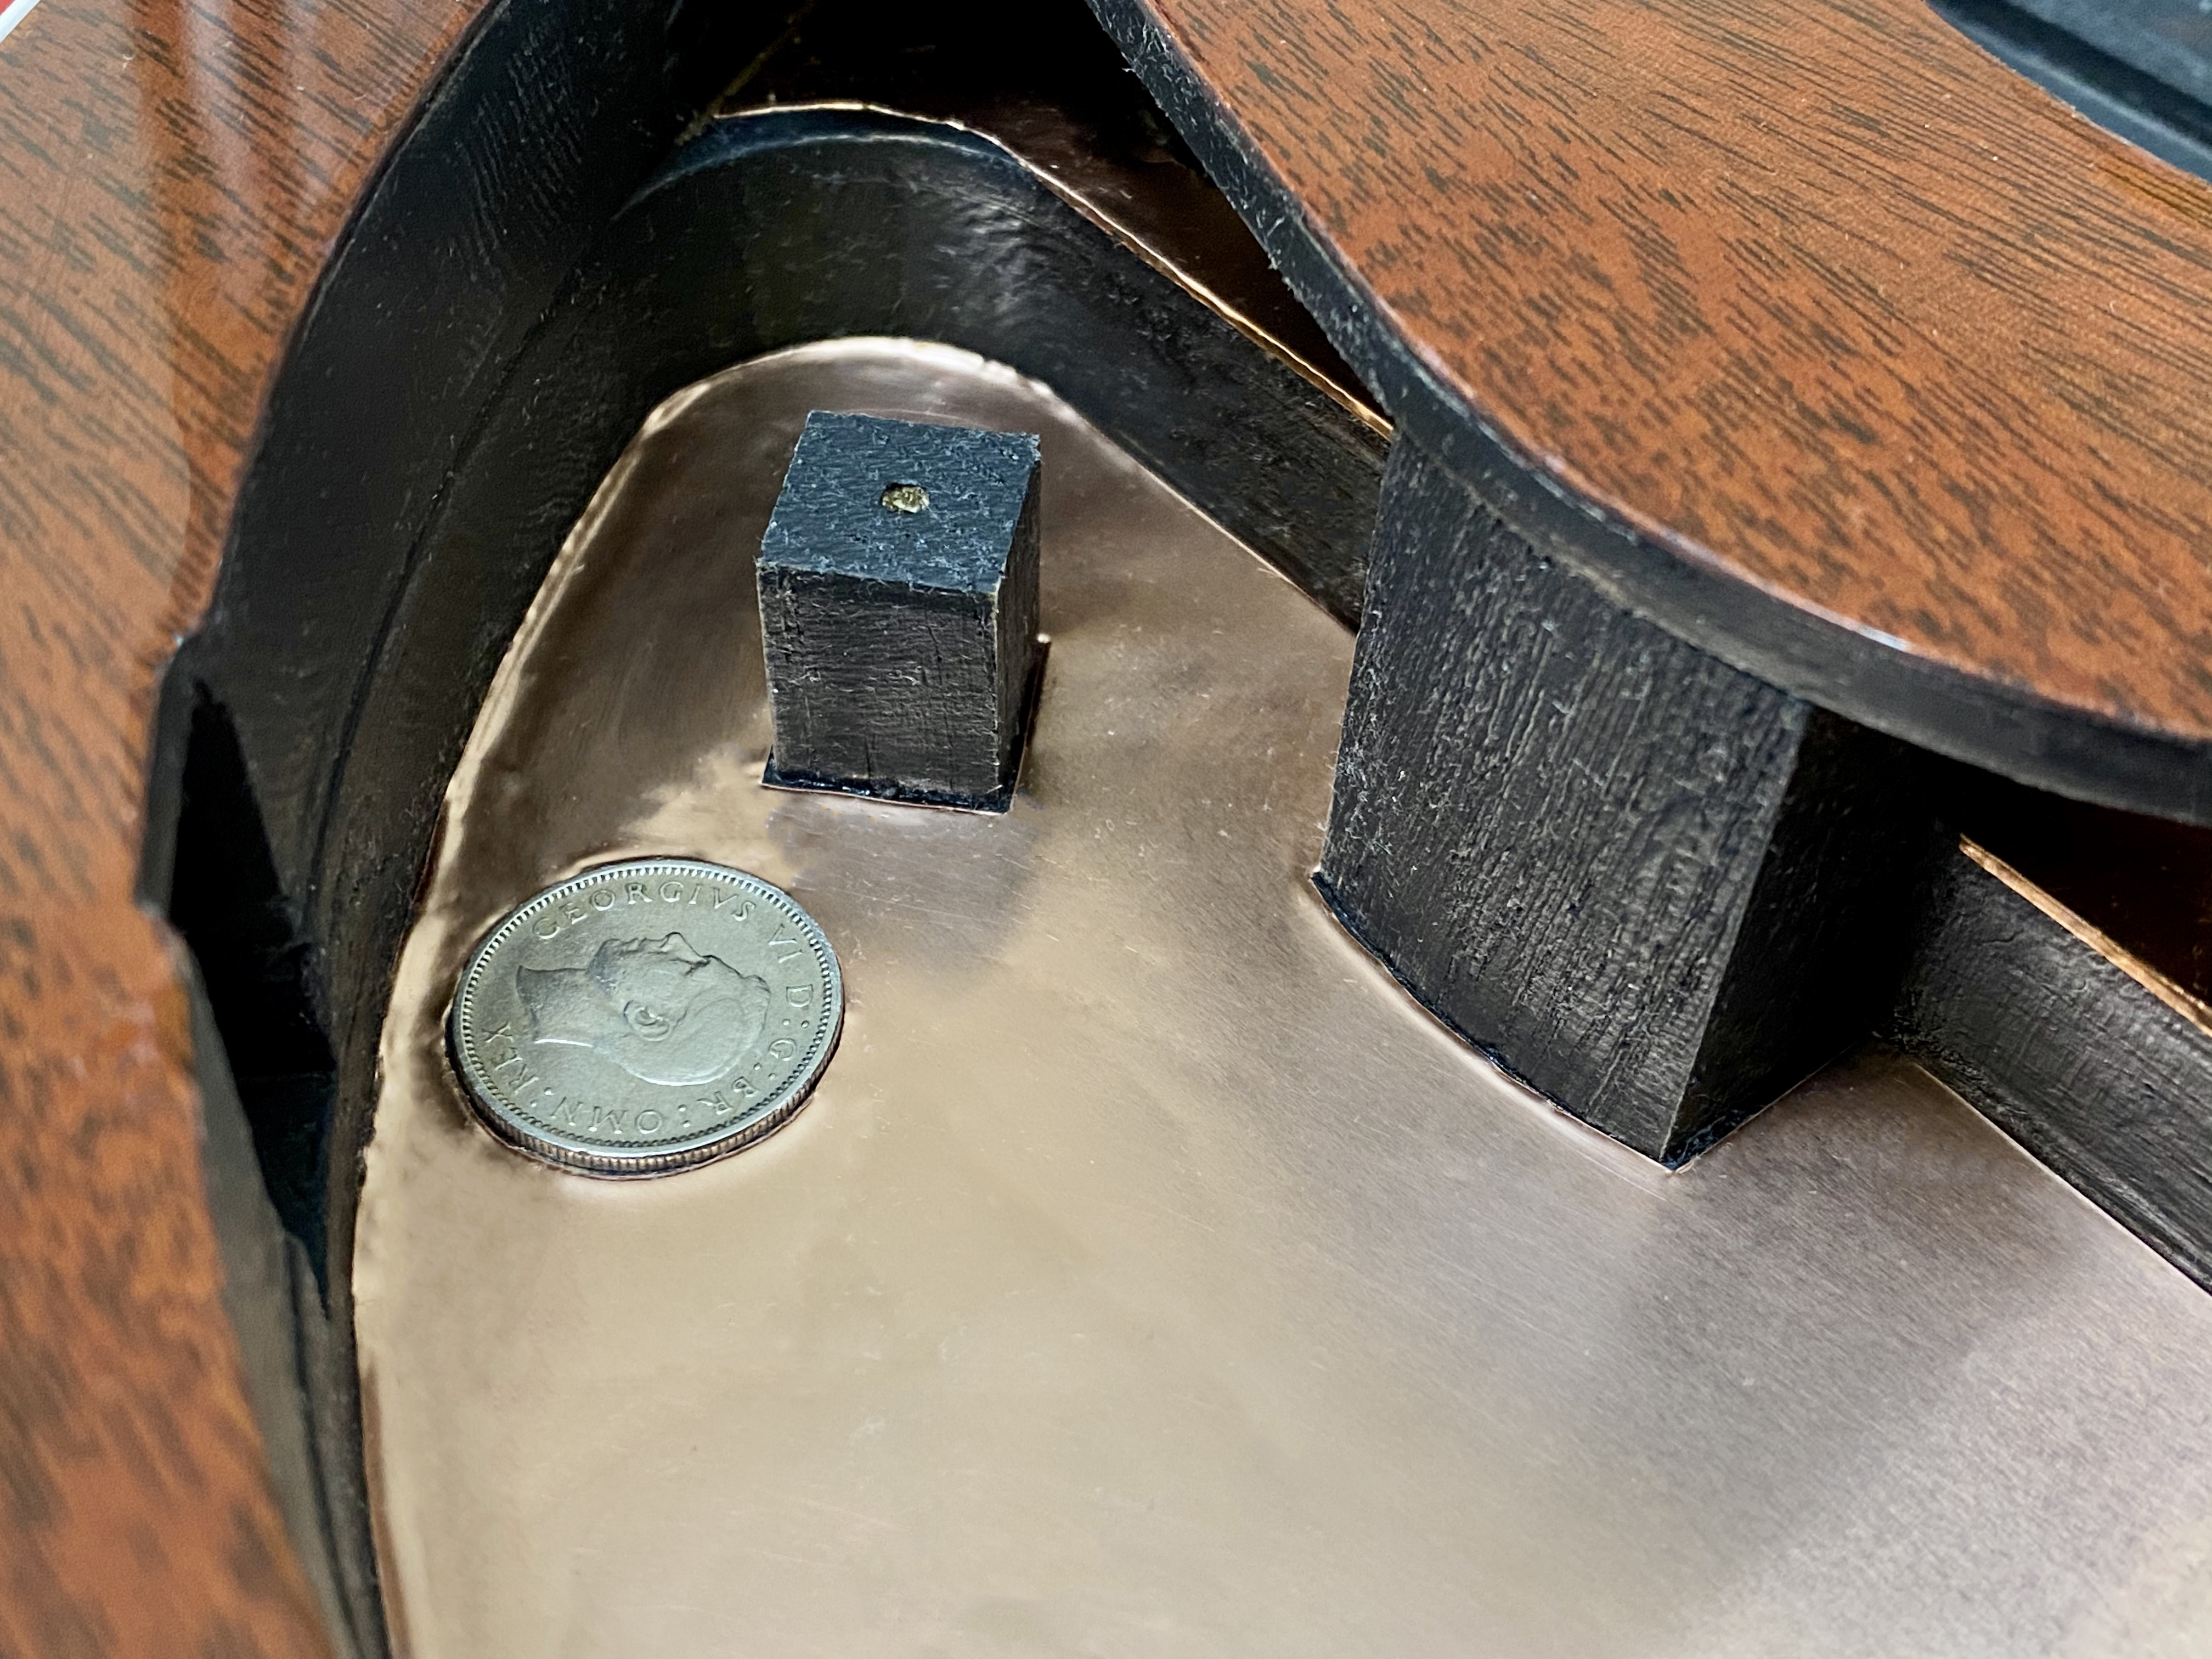
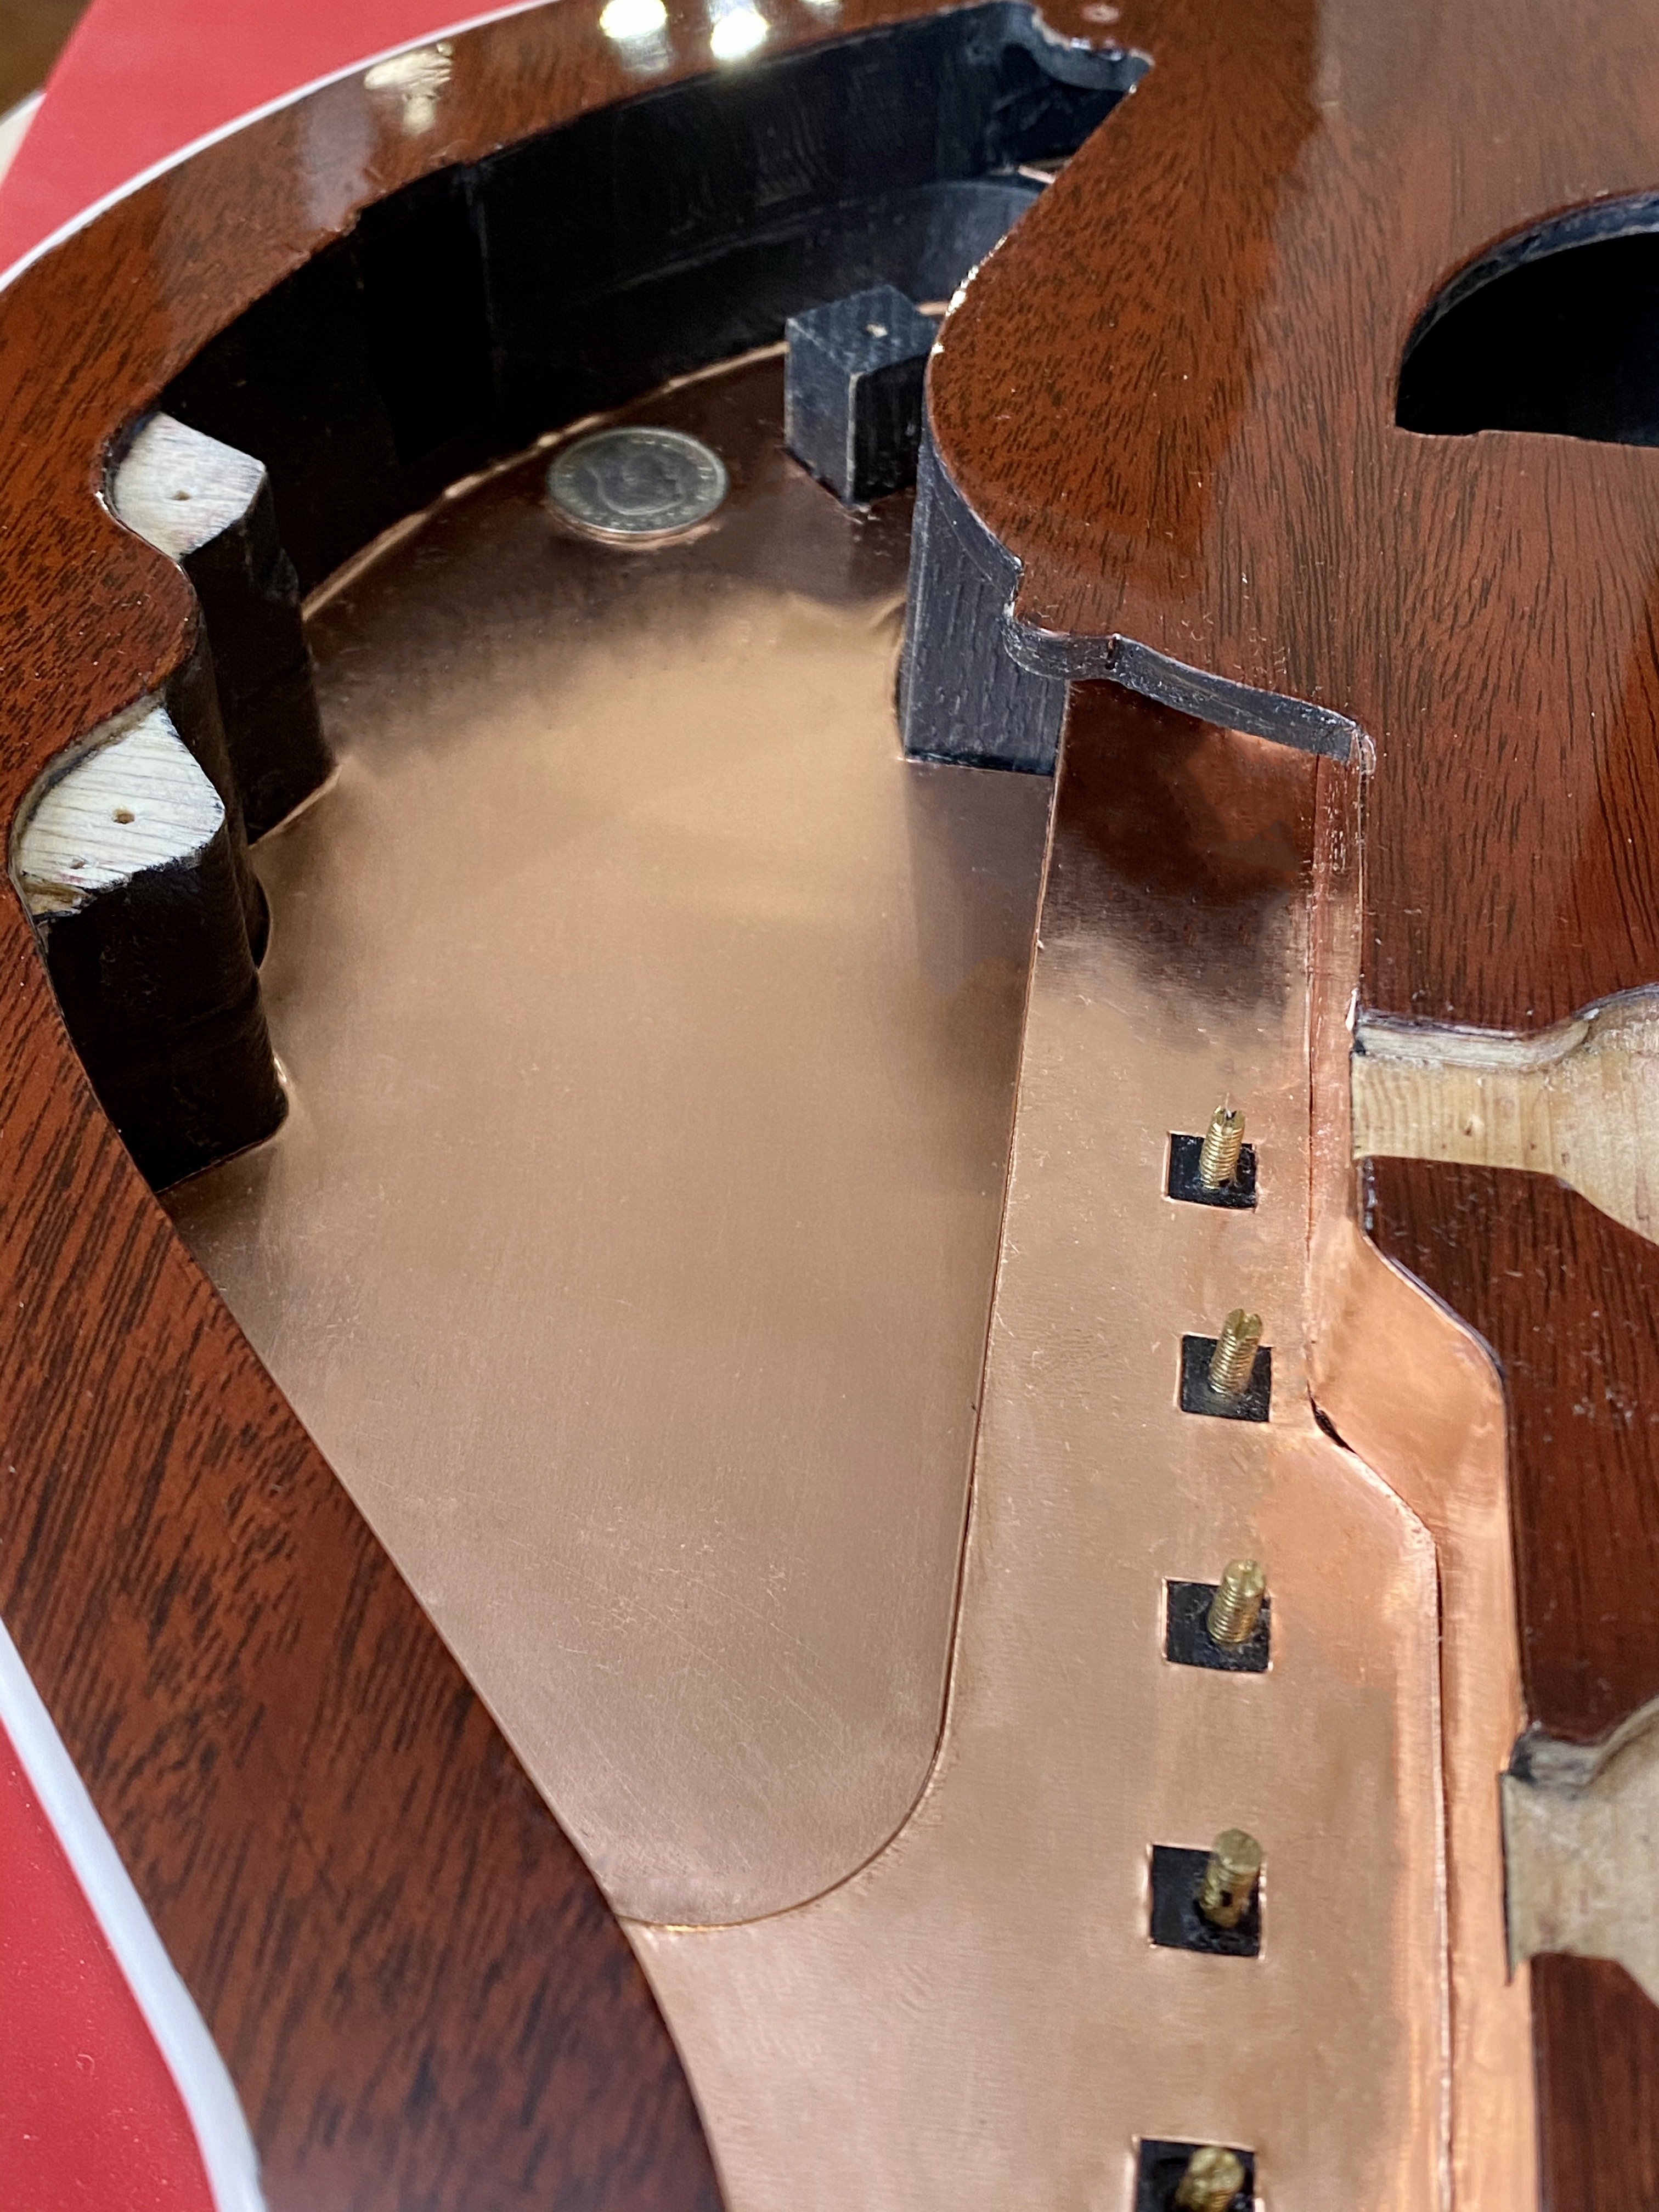
2. Horizontal shelf with the polarity posts. At this point, I glued in the oak overhang support pillar.
3. Then I applied the shape to the floor of the control cavity.
4. Outer wall.
5. Vertical surfaces of the central section either side of the oak overhang support pillar.
I elected to not cover over the sixpence, reasoning that being metal, it provides it provides a shielding function and that it would be neater to cut around it than apply foil. over it.
Next article:
Part 58: Making a Bakelite Nut
Previous article:
Part 56: Body Assembly Preparations
