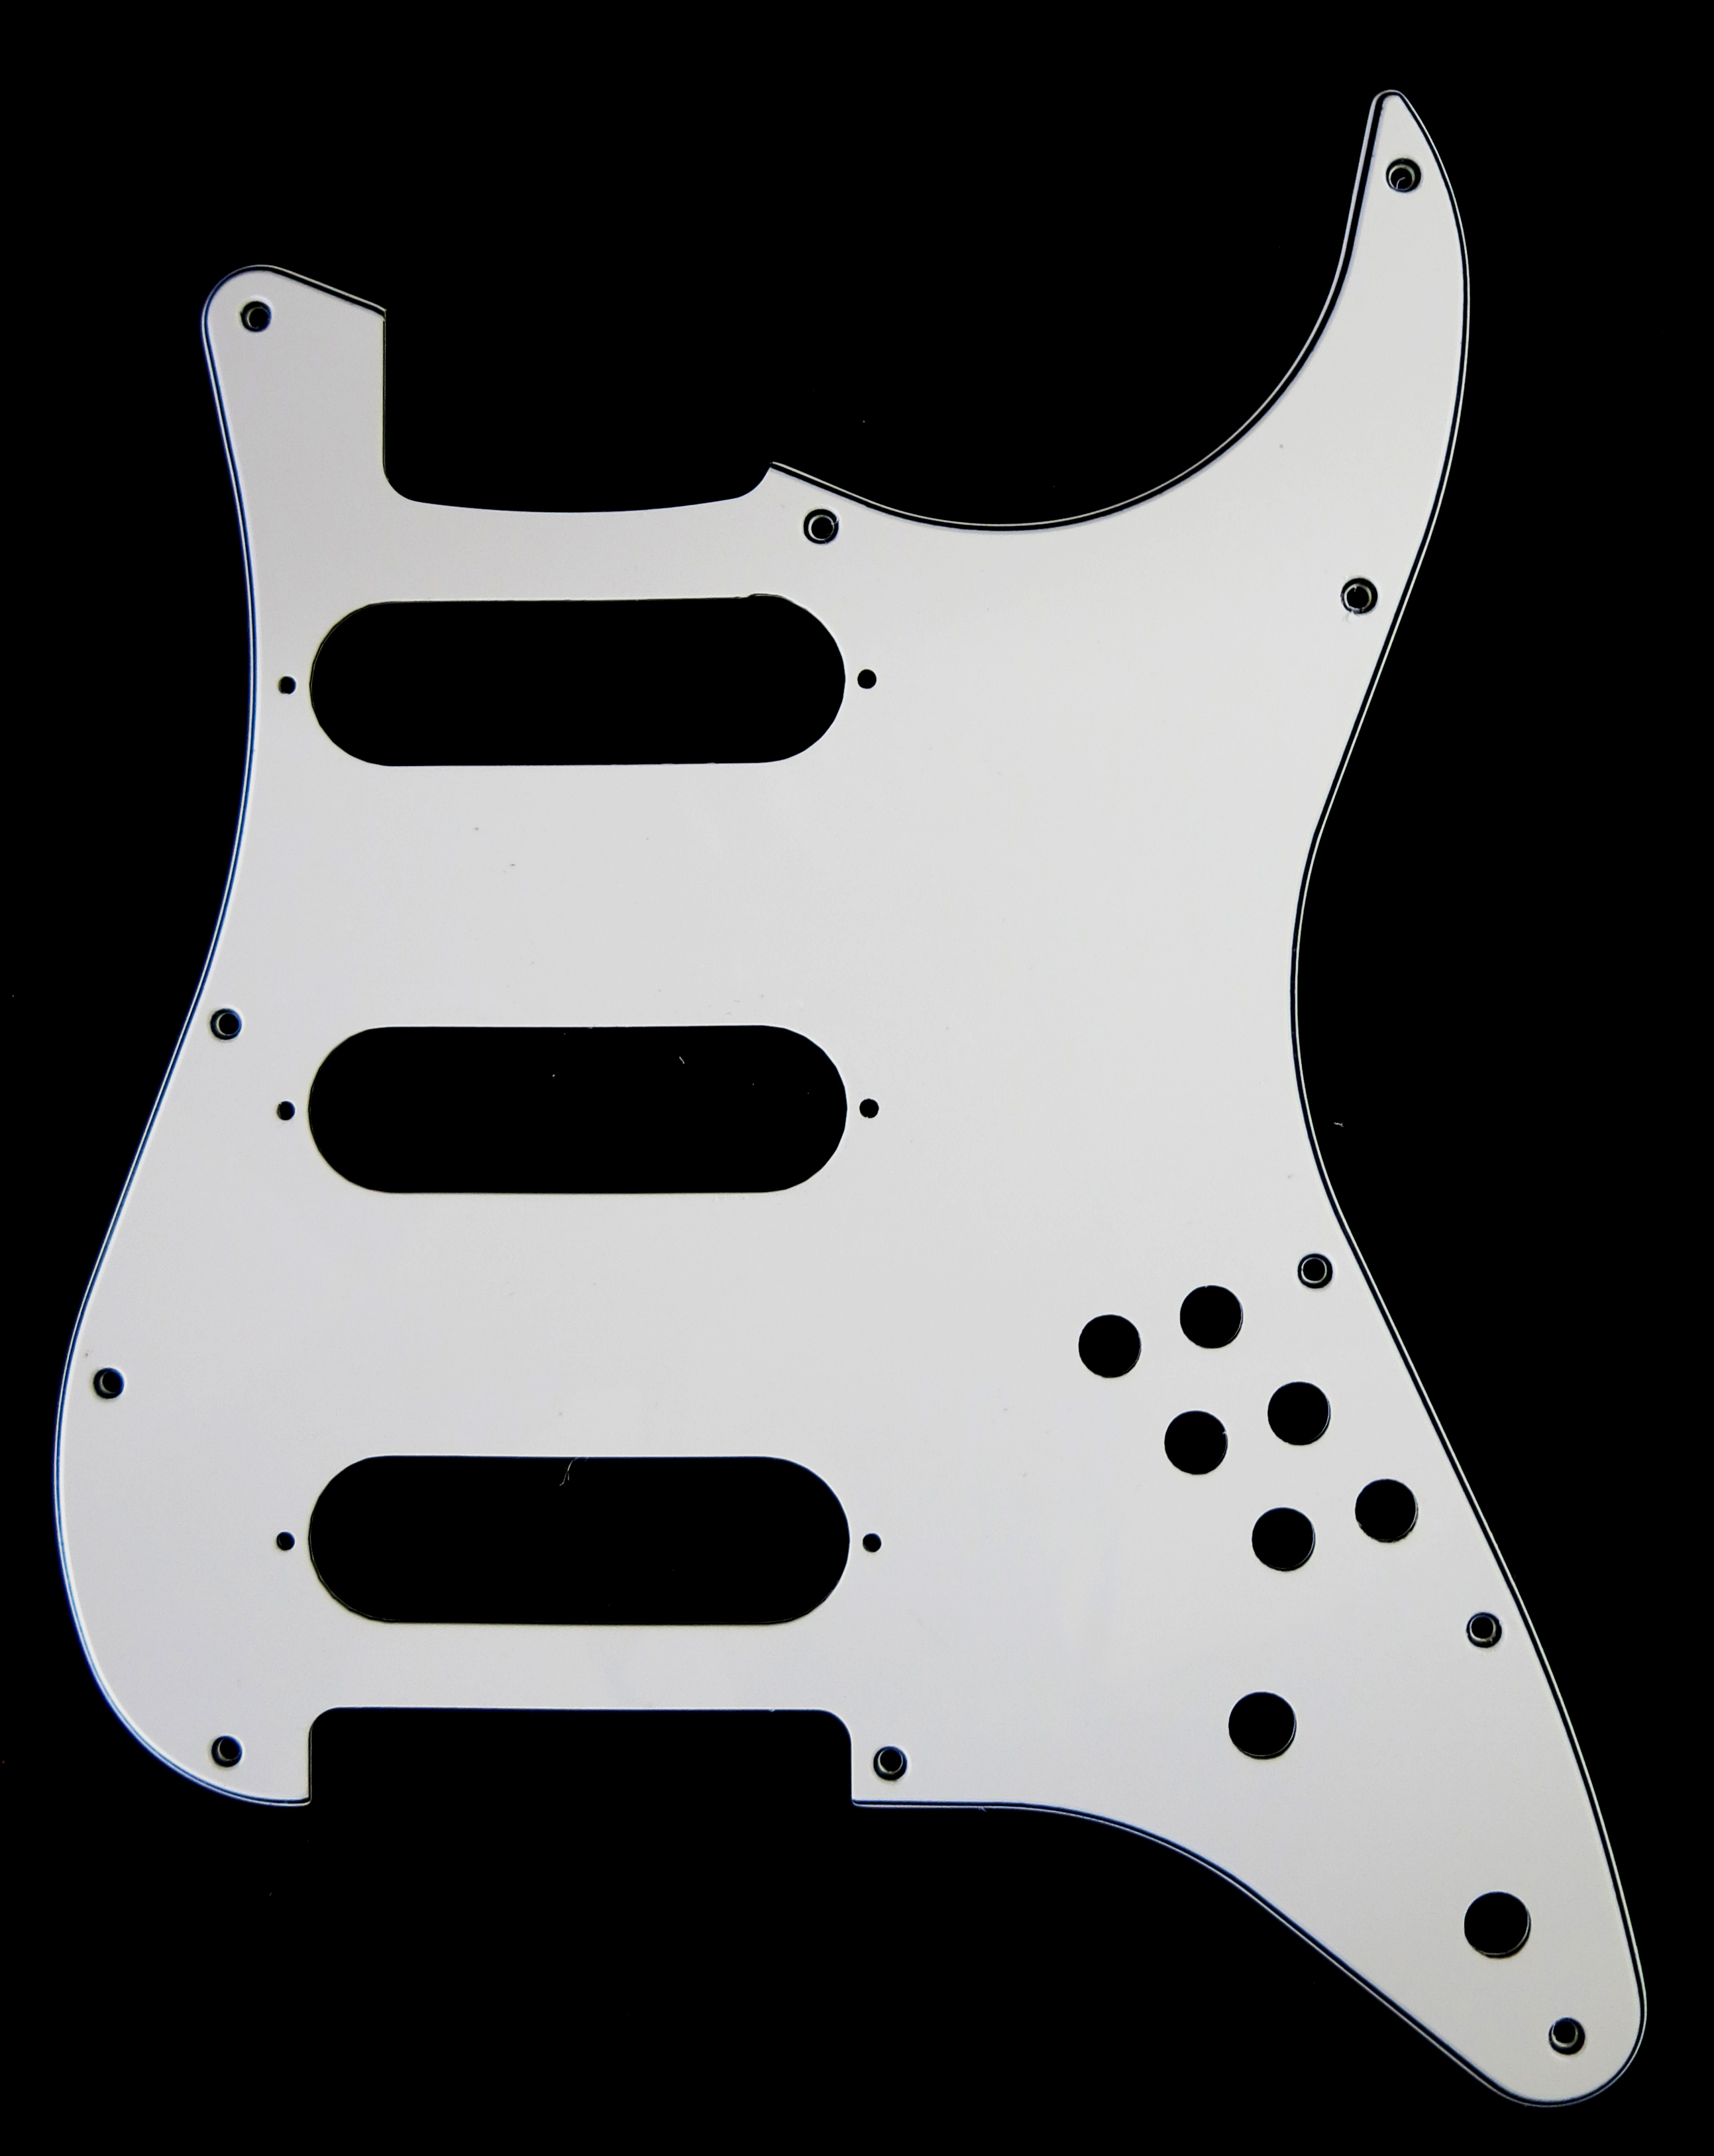
To make a test pickguard, I ordered some Vanson brand 315 mm x 240 mm scratchplate / pickguard material (2.5 mm, 3 ply, white/black/white PVC) via Amazon. The embedded video below shows the test CNC cut of a pickguard set using my Stepcraft 2/840 CNC machine. Spindle speed: 10,000 rpm, XY feed rate 1,000 mm/min, Z plunge rate 90 mm/min. All parts are speeded up 8x except the screw hole drilling section which is speeded up 20x.
The gallery below contains some pictures of the test pickguard set and the original black perspex version. A test fit highlighted some inevitable snagging issues with small but significant offsets of the pickguard-to-body and pickup-to-pickguard mounting screw holes for example. I solved these the old-fashioned way by drawing round the pickguard on a piece of light card, overlaying it onto the guitar body, puncturing the screw holes into it then re-scanning it. I then modified the design to a Mk 2 version pickguard with repositioned screw holes, switch holes opened out slightly to 3/8″, pot extender shaft holes reduced to 5/16″, all holes drilled with G02/G03 manually written GCode (due to degenerative arc faceting which is a known glitch in TurboCAD) and test mounted with M3 button hex head machine screws.
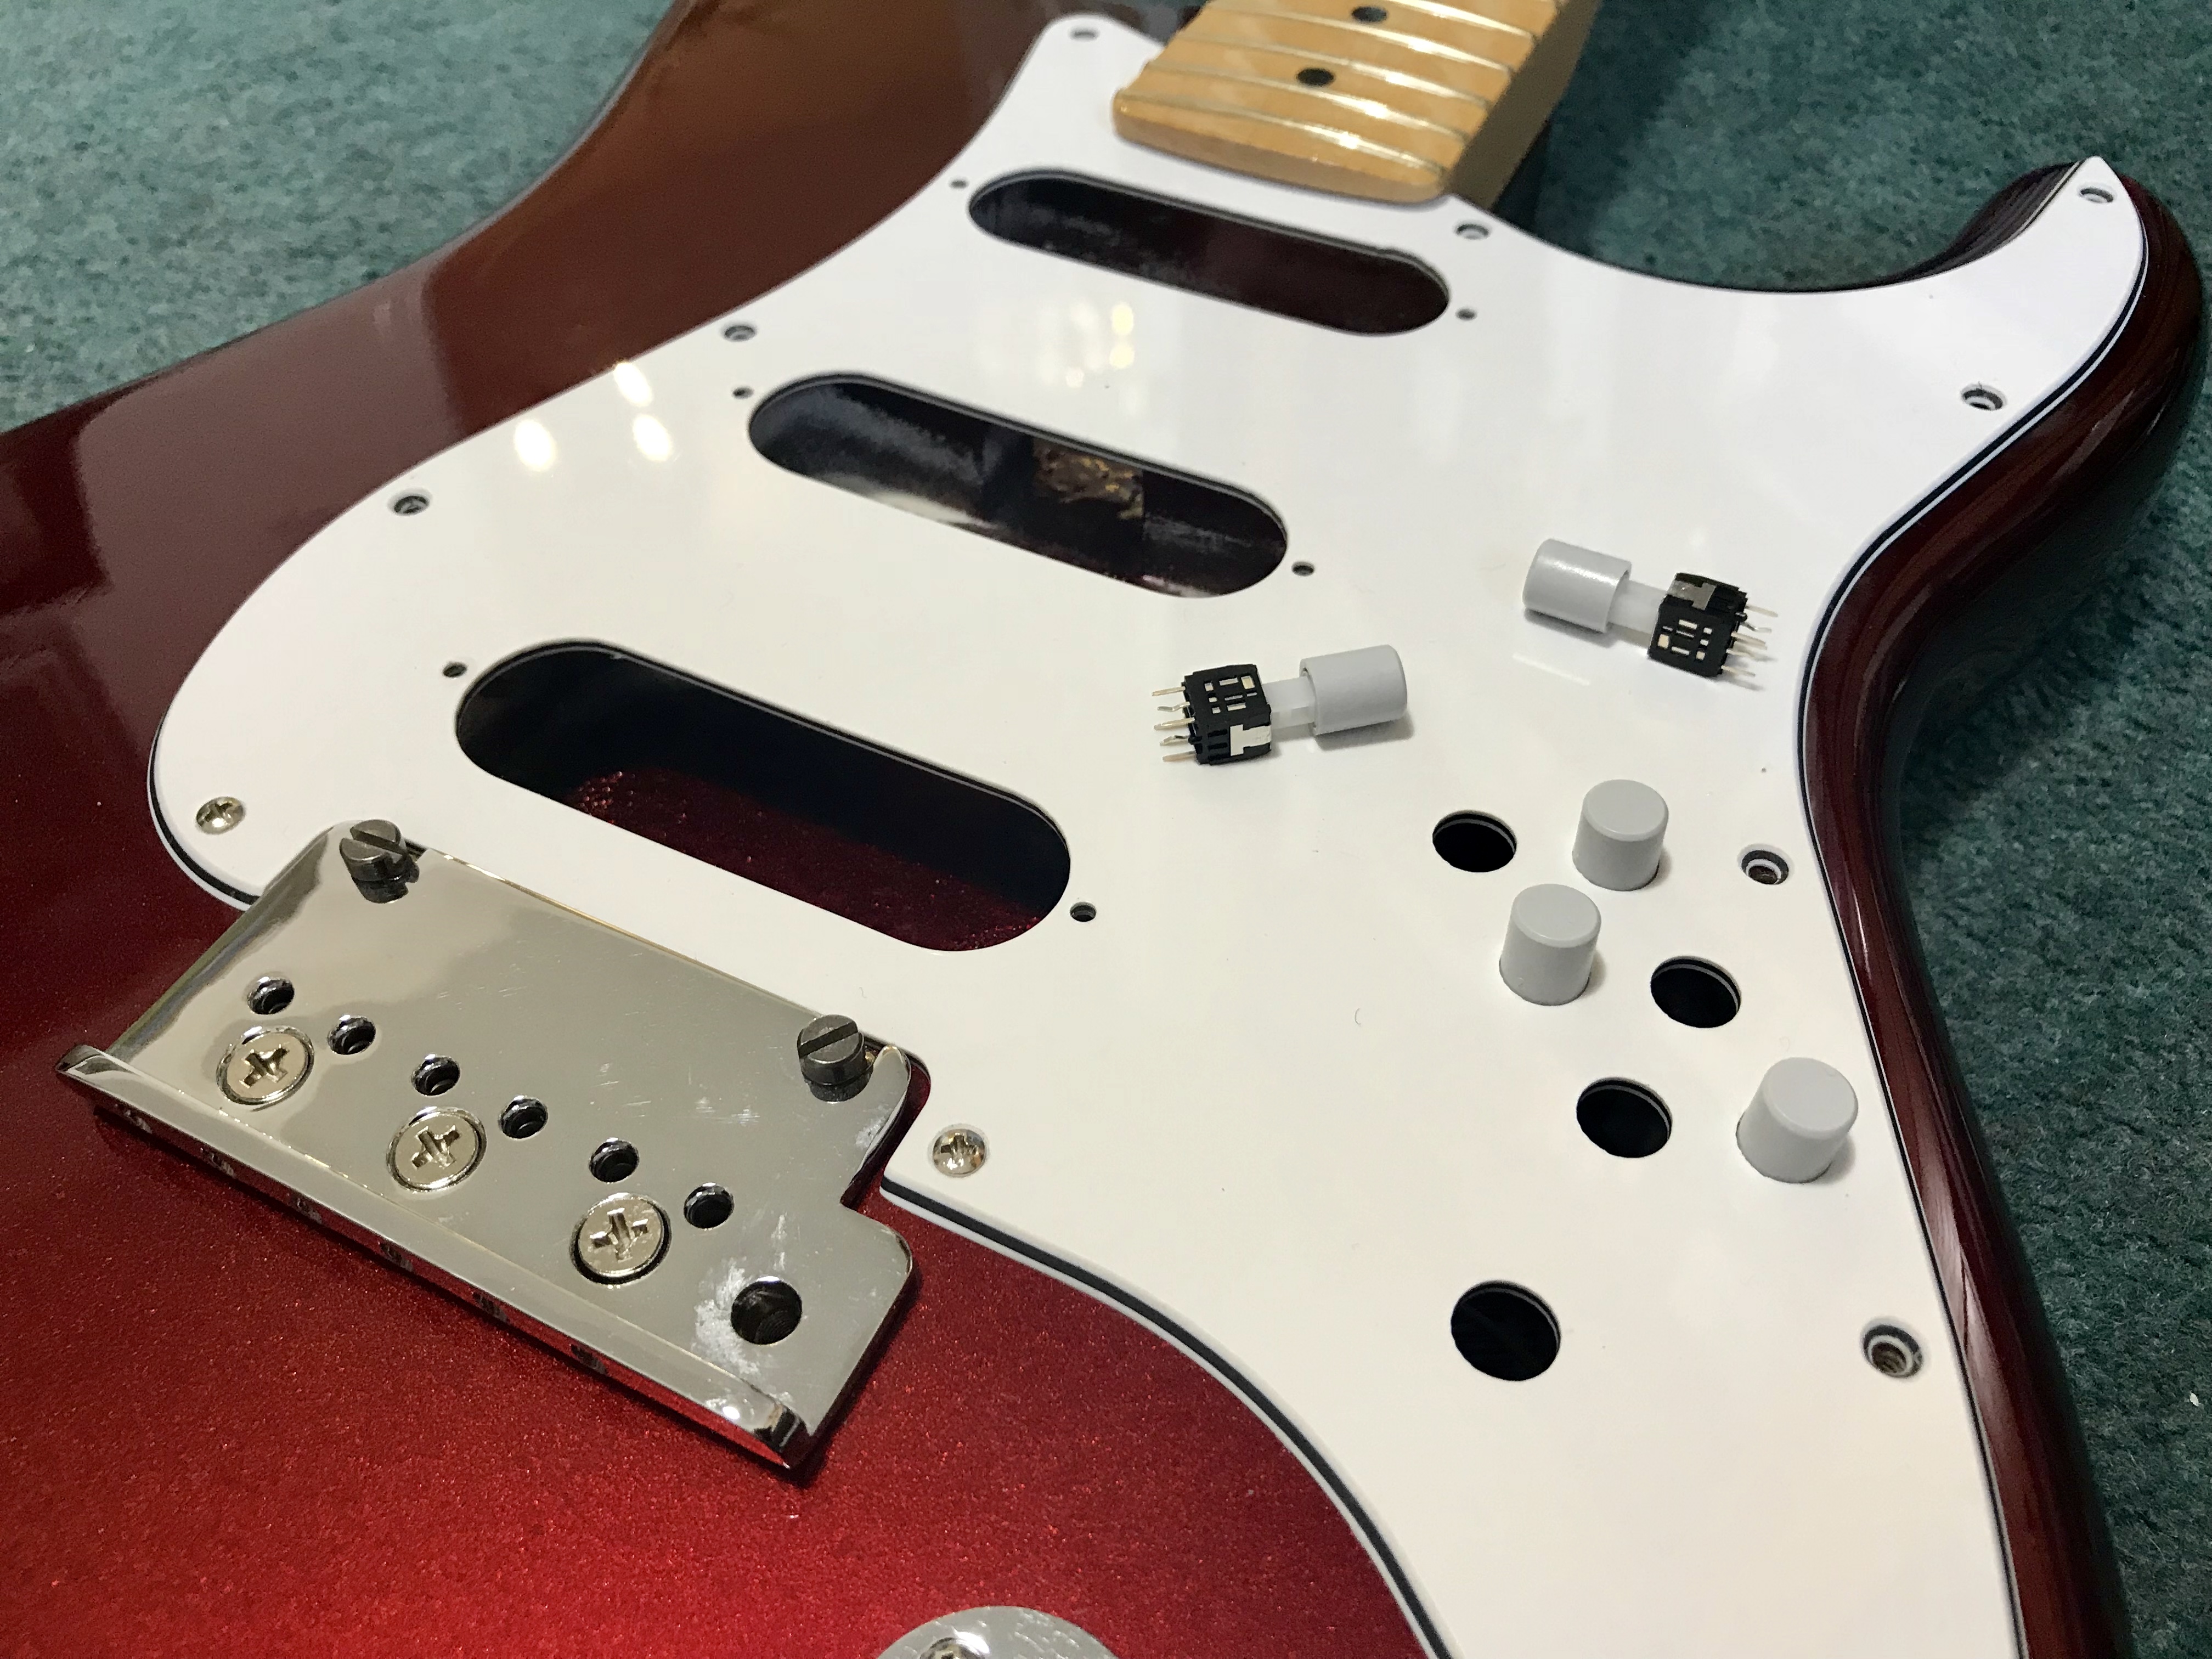

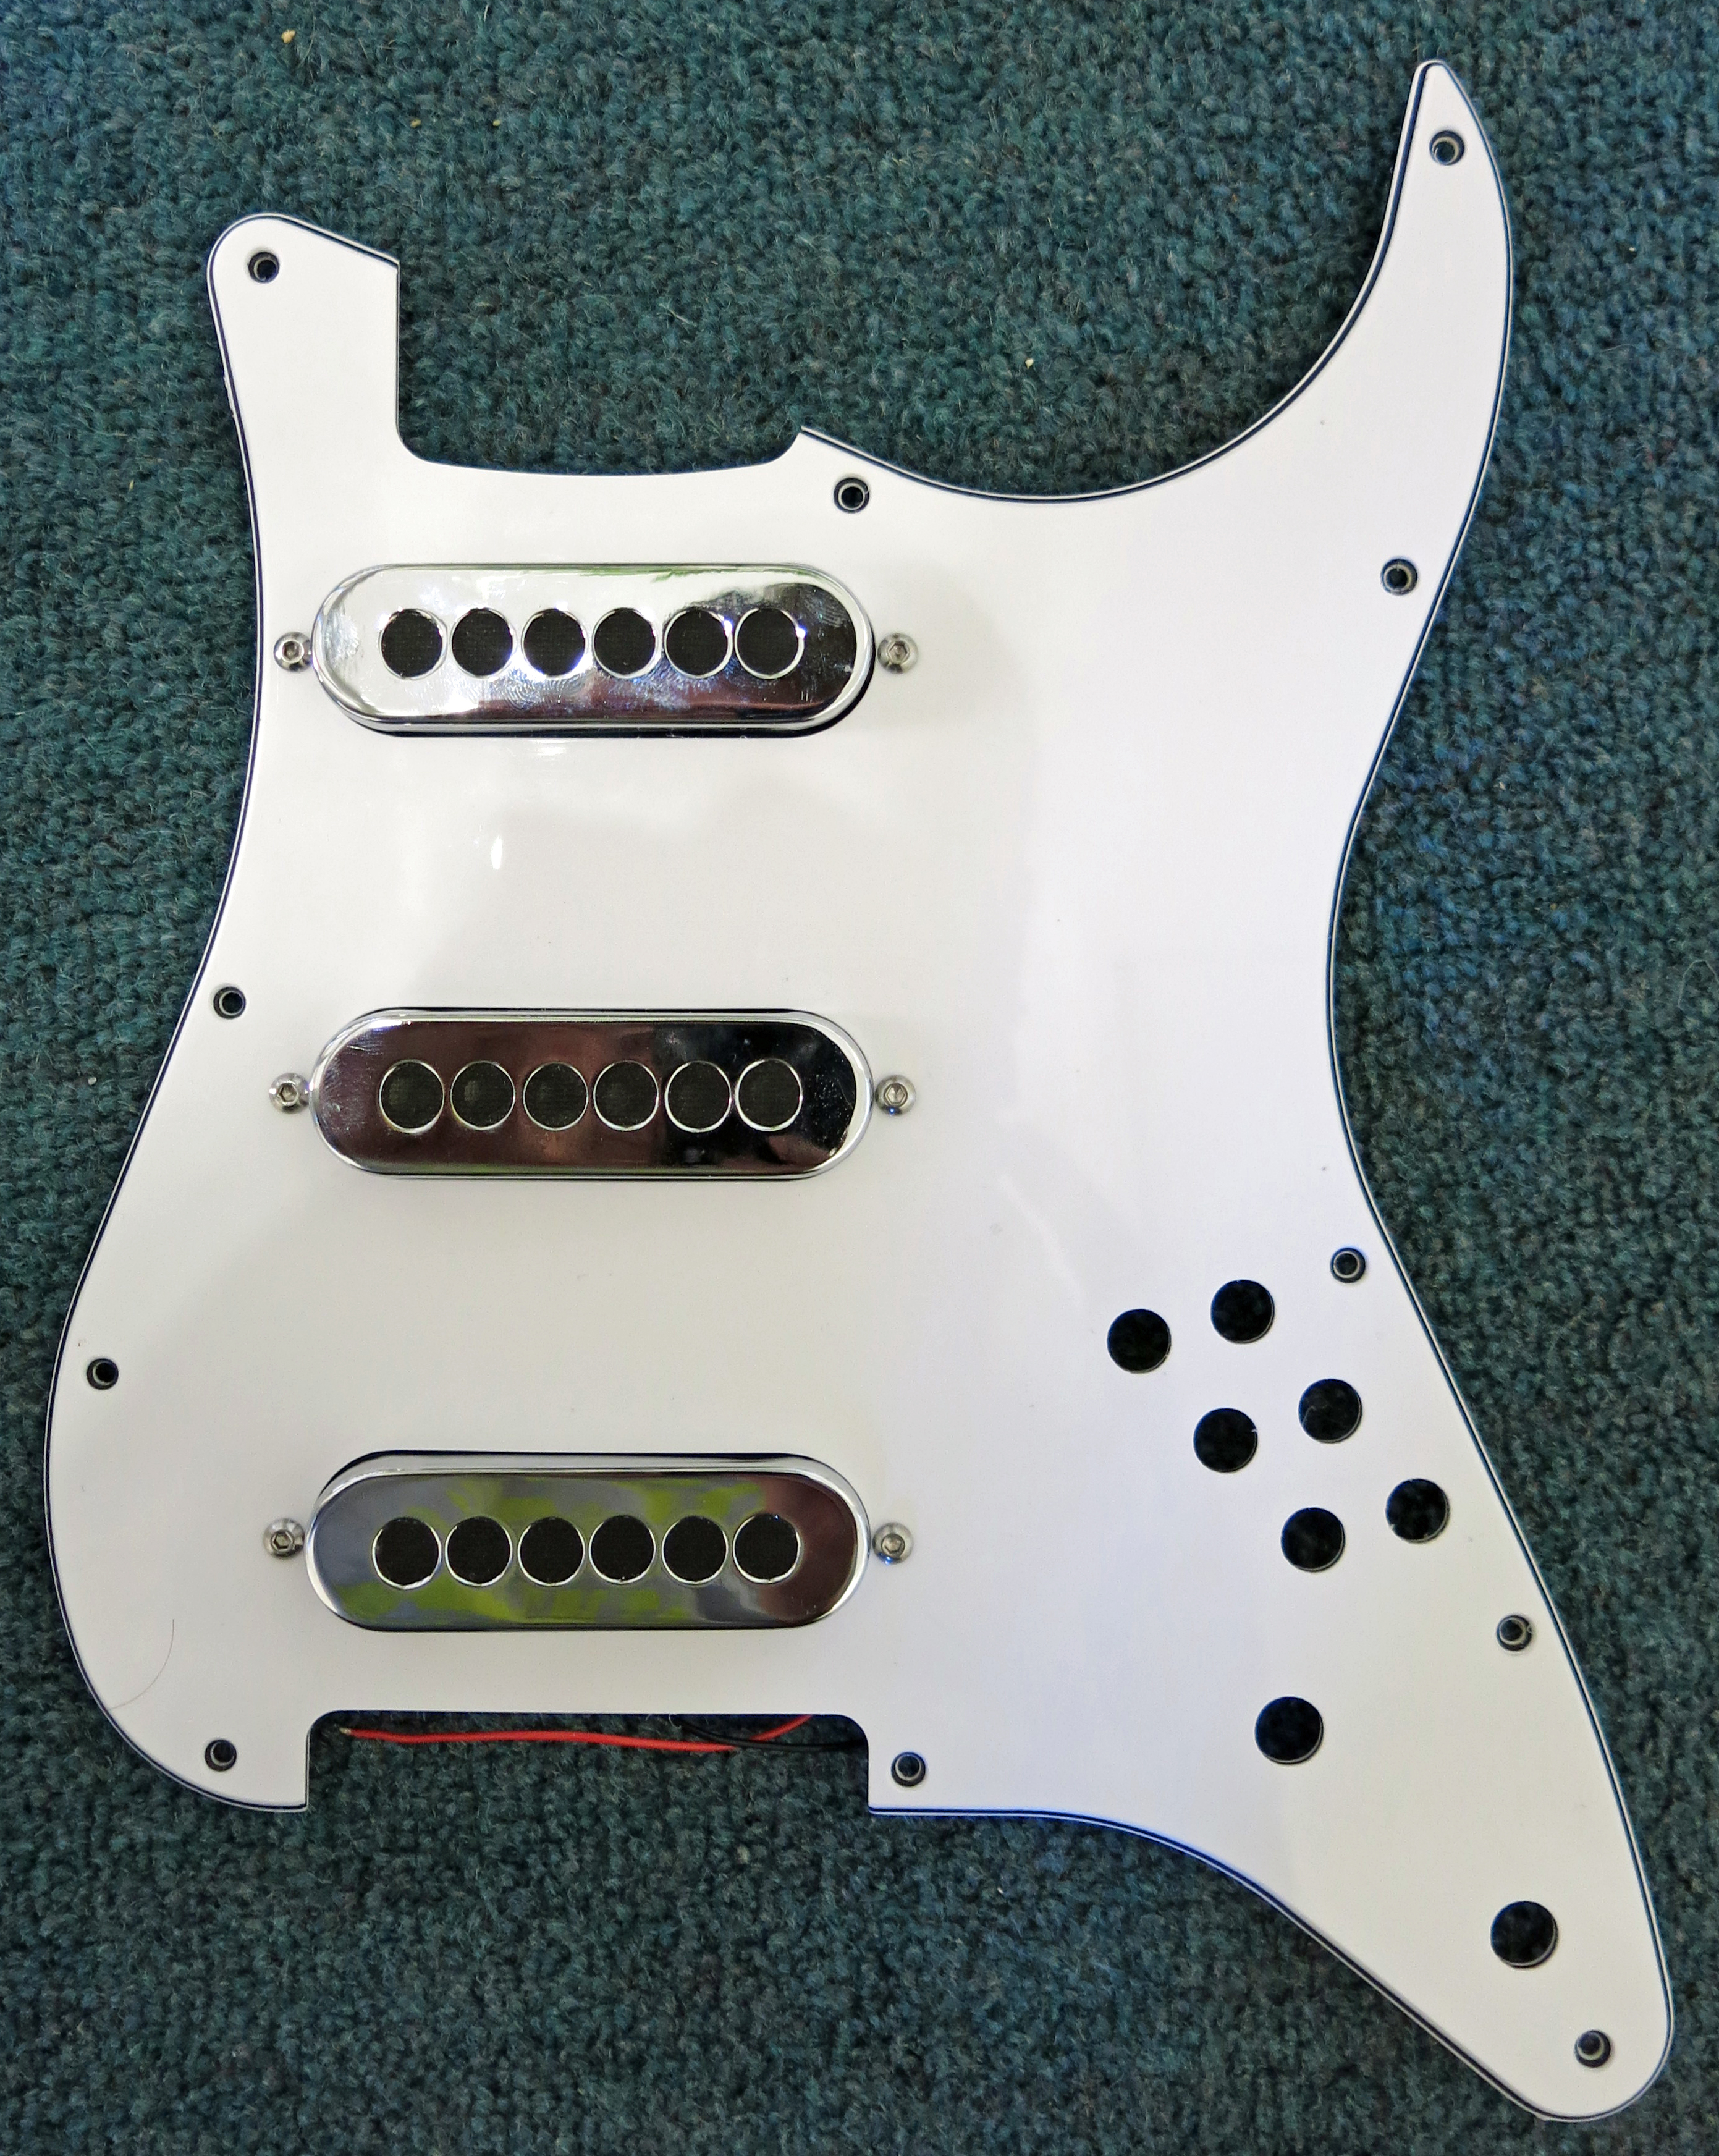


The most challenging part was getting the conical and cylindrical elements of the screw hole countersinks sized and positioned correctly so that the raised part of the Fender No.4 countersunk wood screws just protruded above the surface. This was worth pursuing via CNC because drilling twenty of these manually on a drill press very accurately with a drill change from M3 to M6 is a very tedious exercise. Note that I changed the shape of the cutout around the tremolo plate to reduce the gap between the front edge of the plate and the pickguard. This is my aesthetic preference because I don’t like the large gap on the OEM design and is not a design error. Please bear this in mind if you download my design sketches and use them for your own project.
Next article:
Part 4: Hardware upgrades
Previous article:
Part 2: Pickups
