In parallel with assembly of the final quality Brian May Red Special replica guitar body, I prepared some veneering and staining test blocks from an offcut left after CNC routing the upper body section and a panel from the vintage mahogany fireplace. The objectives were to practice applying veneer which was a new technique to me, evaluate the most effective adhesive for this and also evaluate the appearance of wood stain. [Note that these tests were carried out with a mixture of Rustins Red Mahogany and Brown Mahogany wood stain but as you will read in later posts, I used only Red Mahogany on the final guitar body.]
I considered using West System 205/105 epoxy resin (preferred by Greg Fryer from his boat building experience) to glue the mahogany veneer to the blockboard but this seemed unnecessarily costly and technically challenging. I was unable to get sufficiently specific advice from their technical support function to reassure me that bleed through could be avoided even with the addition of a filler such as colloidal silica. Therefore, I decided to test the same Titebond Original wood glue I used to glue the blockboard itself.
I cleaned the blockboard and veneer with acetone, smeared a light, even coating of glue on the blockboard surface only using one finger, laid the veneer on, smoothed it out then inverted the piece and weighted it down evenly with some house bricks using greaseproof paper to cover the upper and lower surfaces. The result was satisfactory with only a limited amount of bleed through in a small number of pores. I then applied black W S Jenkins Jecofill brand grain filler, flatted back and applied the stain using sponge applicators.


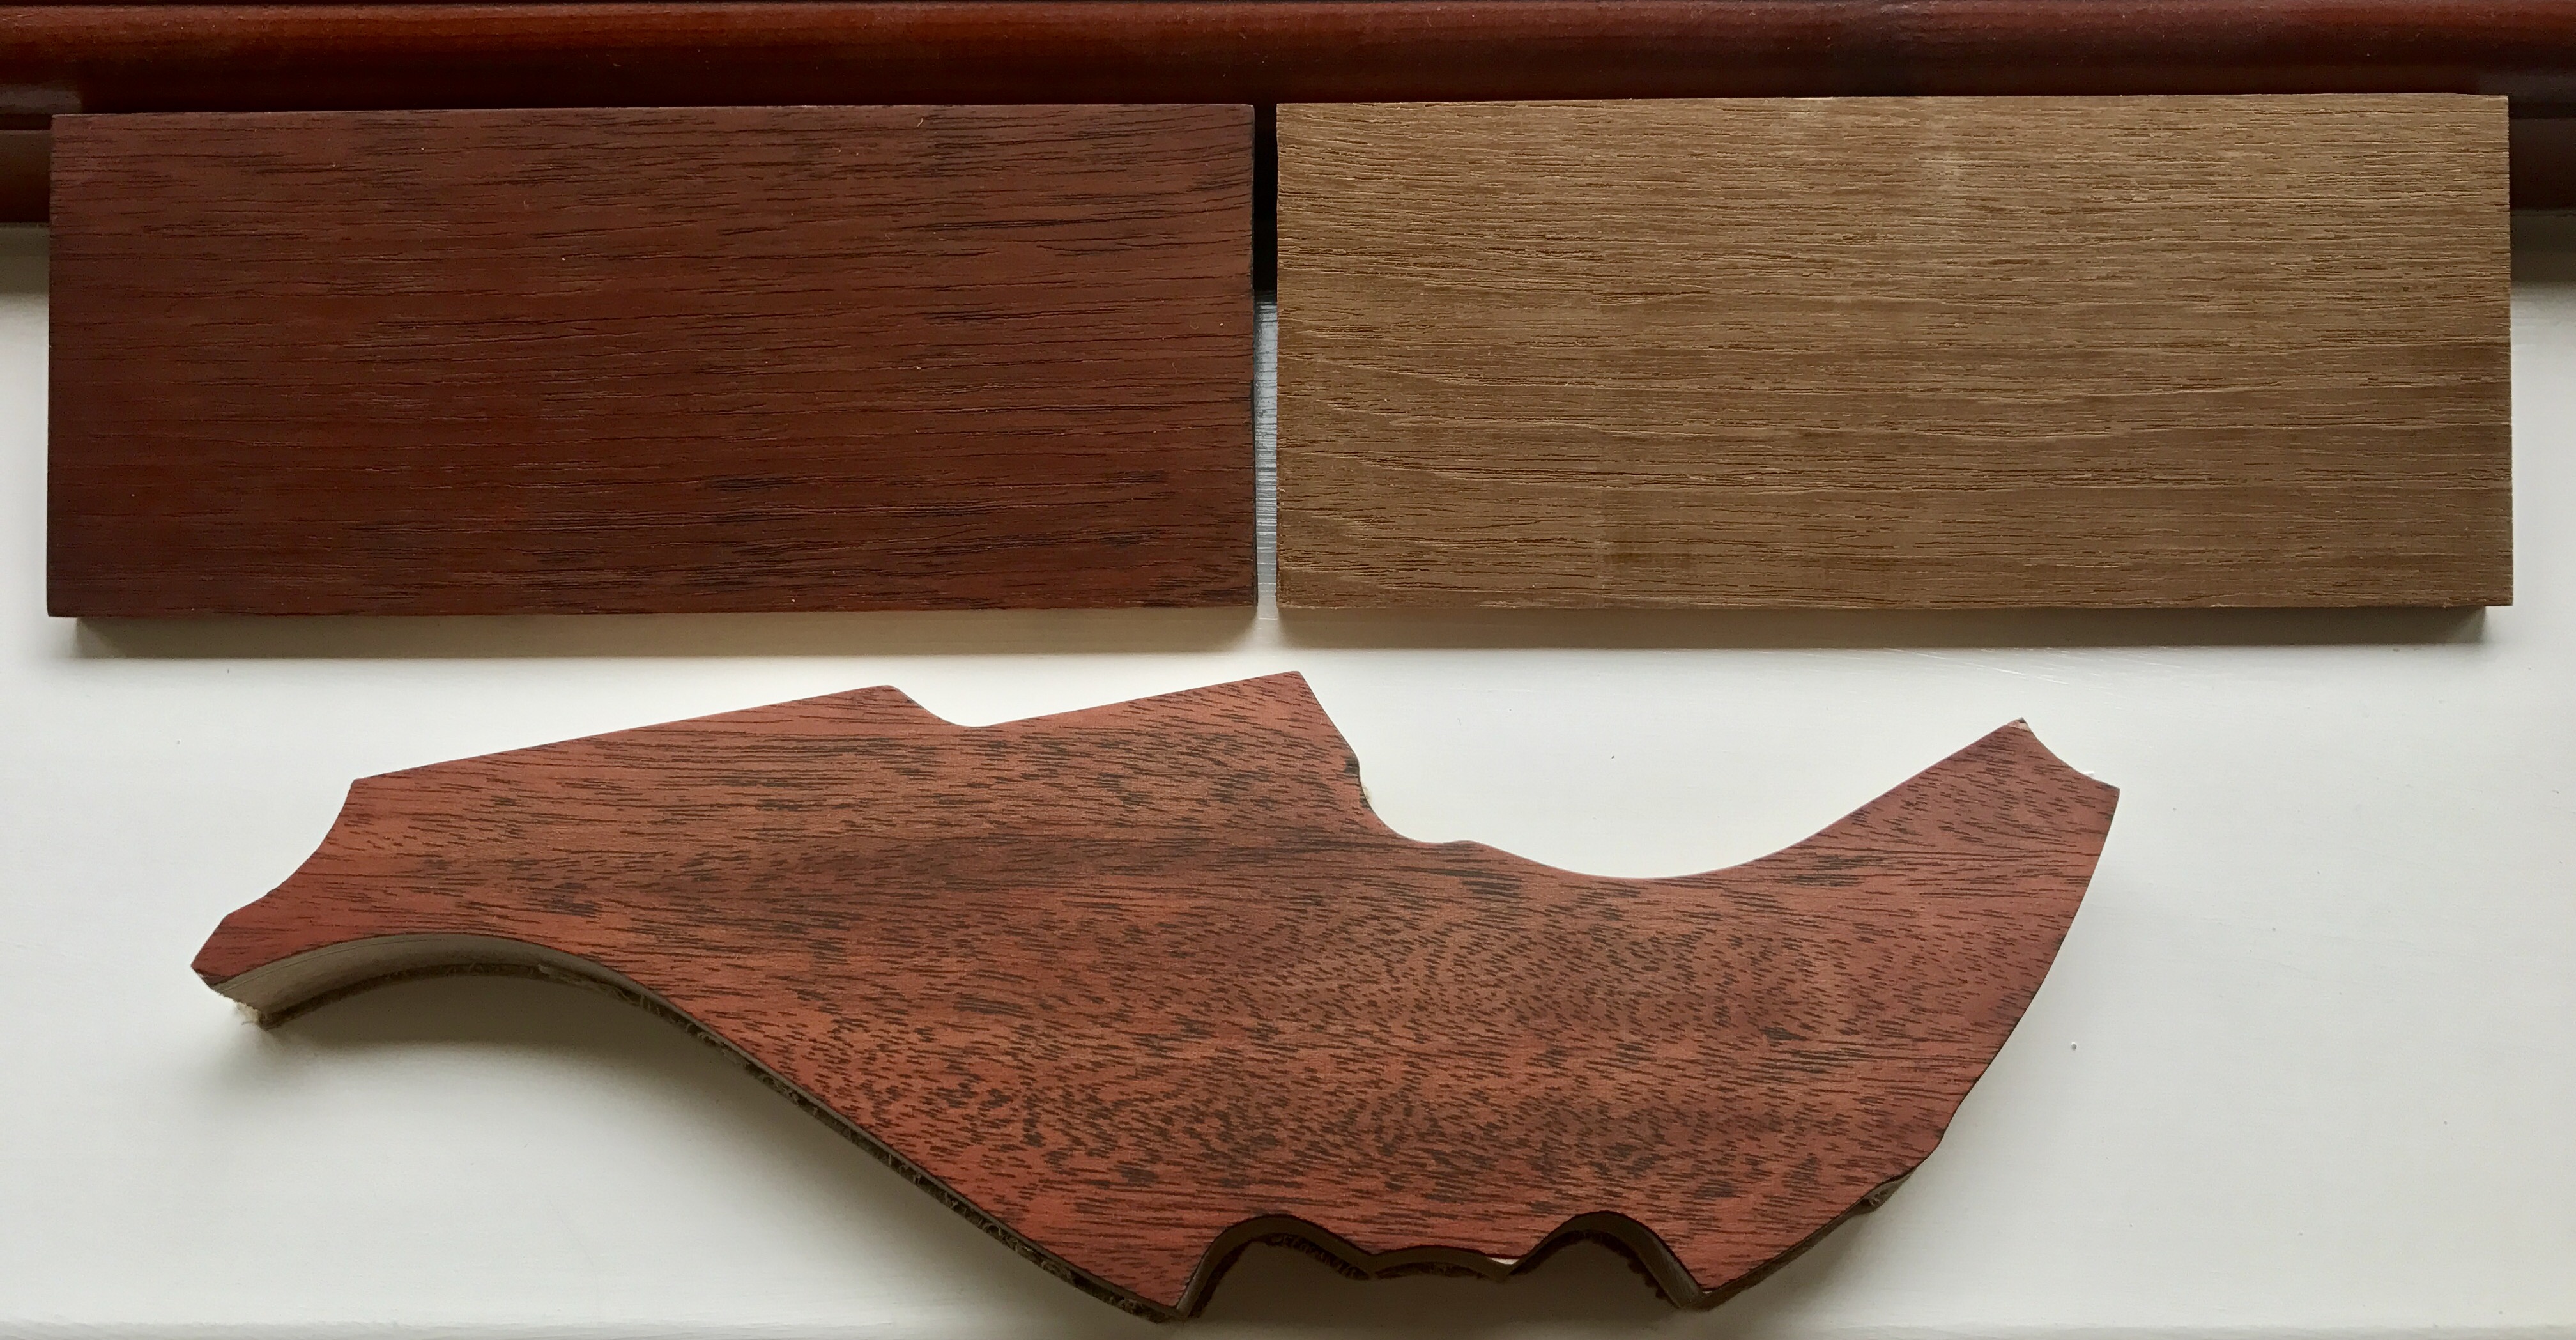
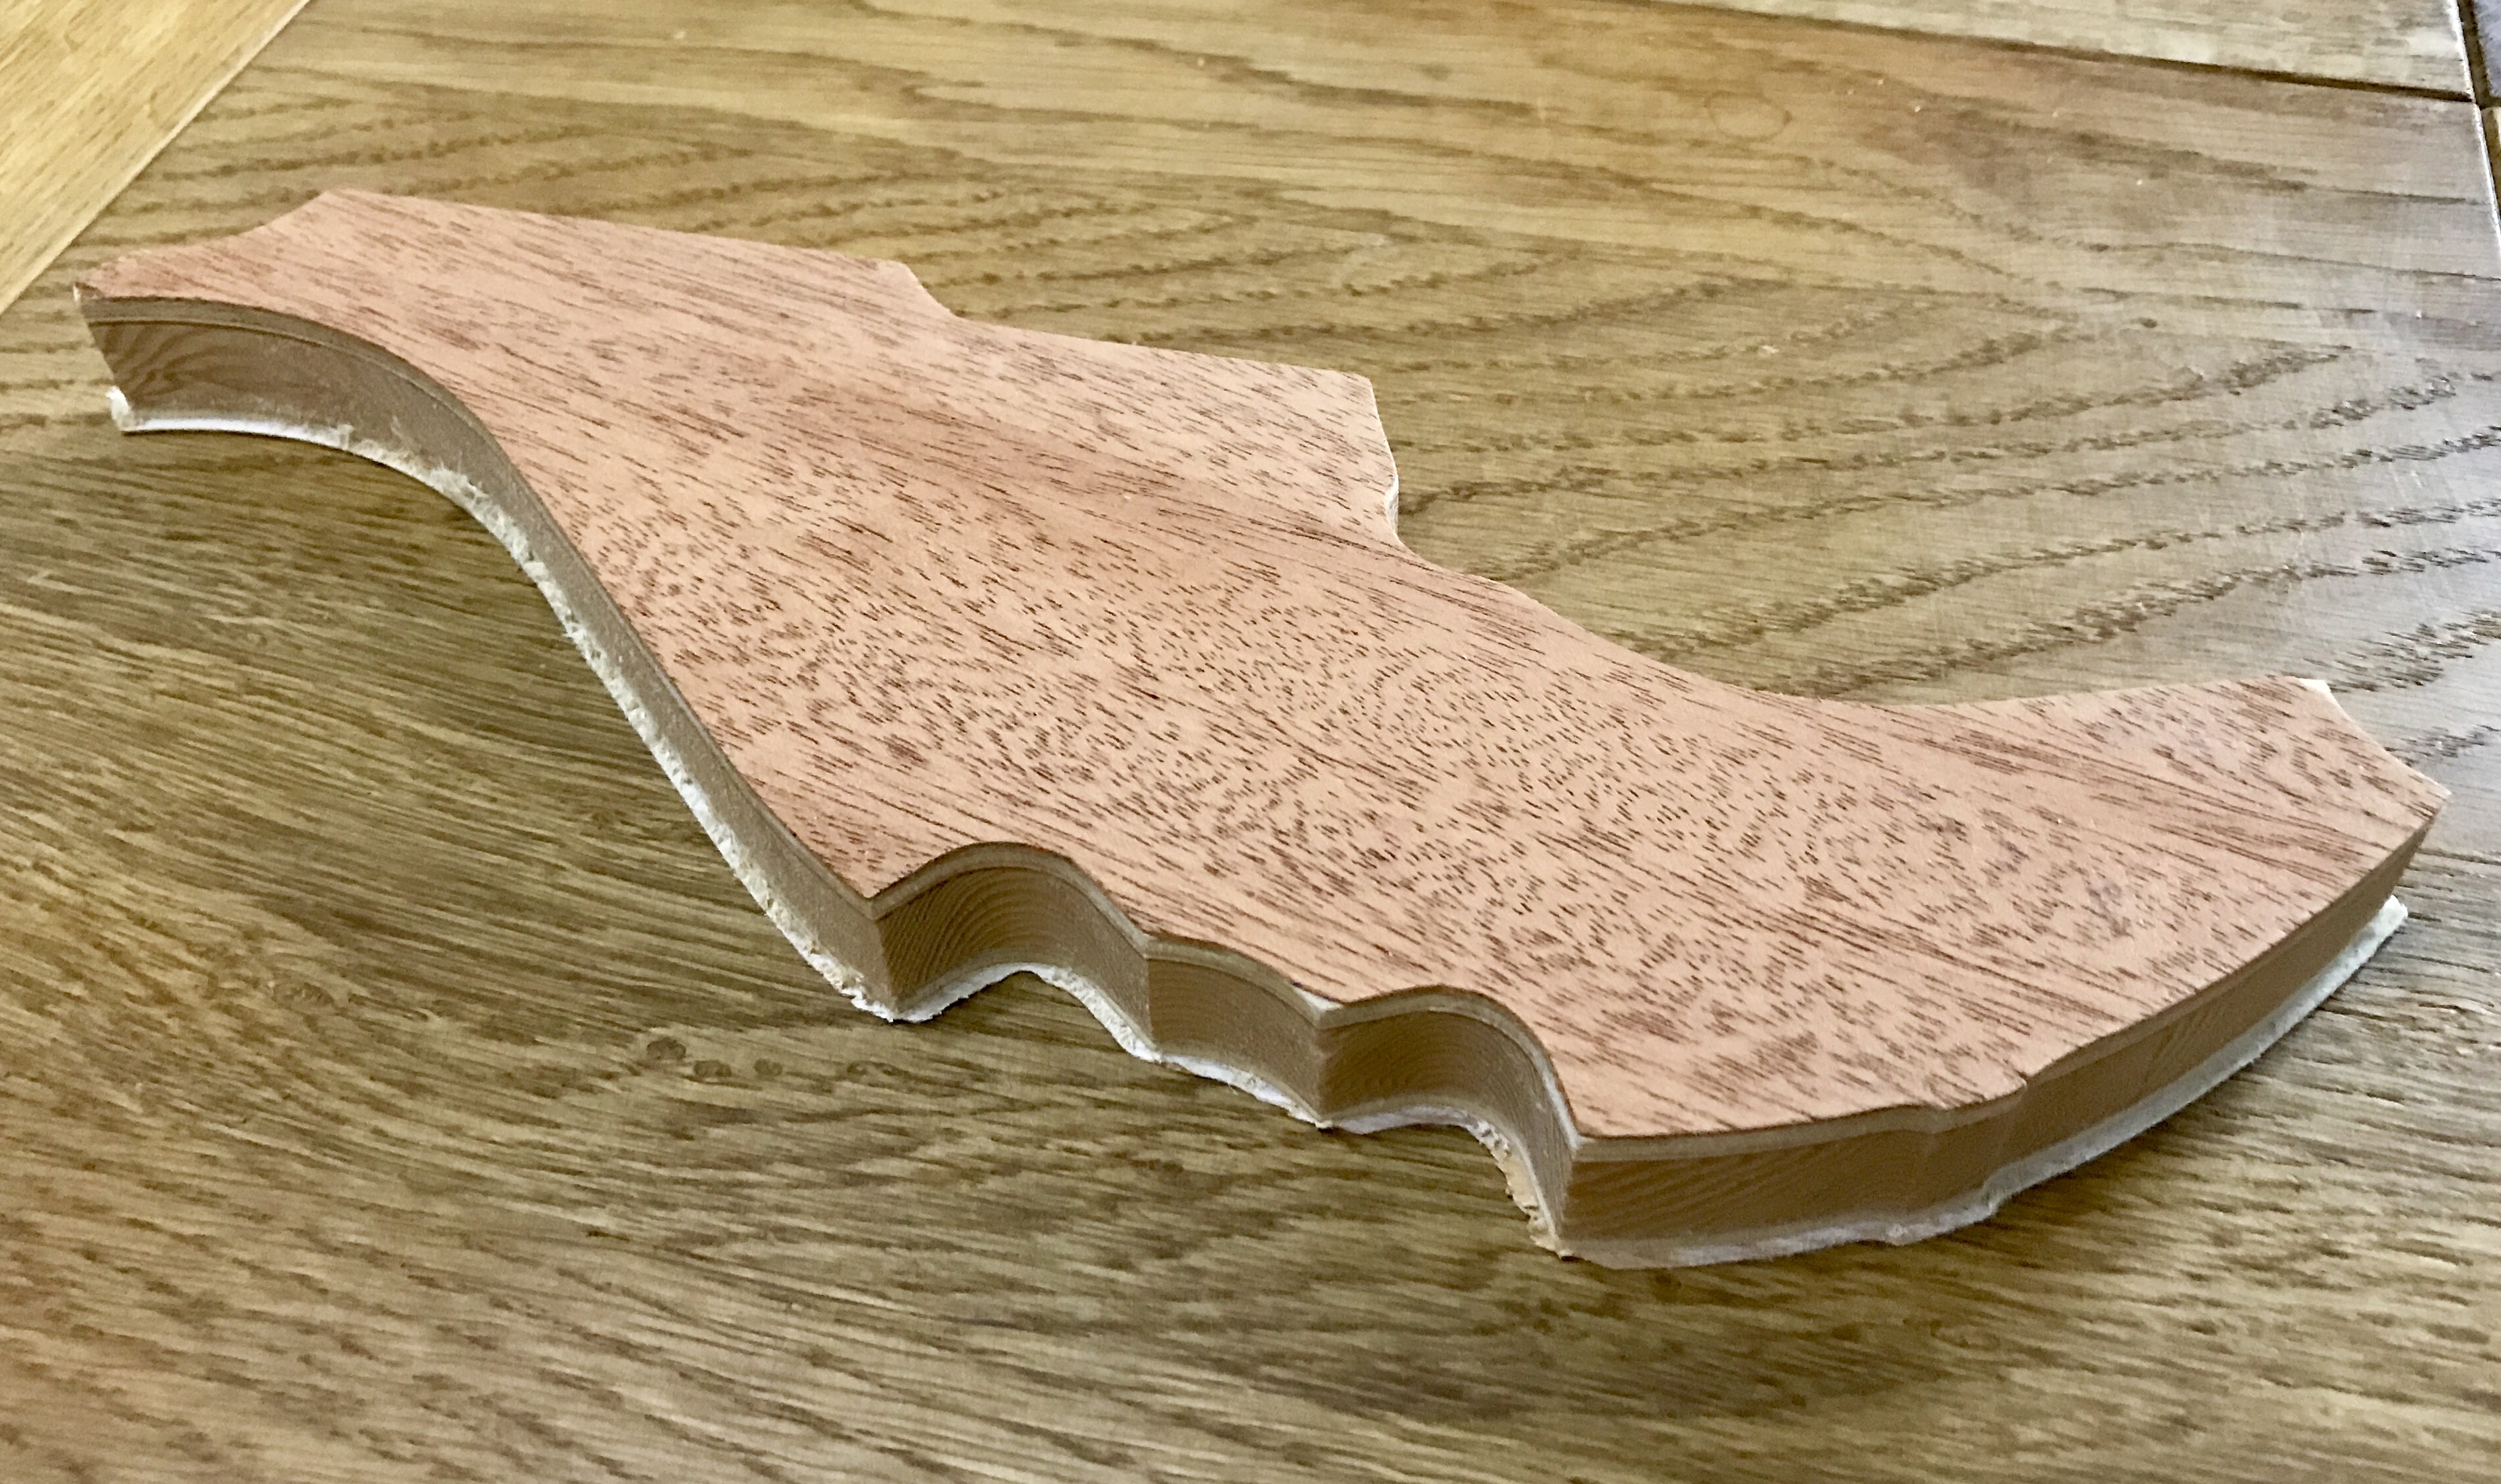


The photographs in the galleries are taken under various light conditions with the stain applied. Natural light on the window ledge, flash (obvious) and daylight LED indoors. Applying lacquer makes a huge difference to the appearance because it greatly enhances the chatoyancy or ‘Tiger’s Eye’ effect.
Next article:
Parts 31-33: Body Assembly
Previous article:
Part 28: The Body (Final Quality CNC Cut)
