In May 2014, I carried out some stain tests with various mix ratios of Rustins Red Mahogany and Rustins Brown Mahogany wood stain to evaluate how best to replicate the orange-brown hue of the original Red Special. I later learned from Greg Fryer that Brian had originally used only red mahogany Furniglas wood stain with no brown in the mix. I had incorrectly assumed that the Joy branded wood stain pictured in another photograph of his workshop was labelled “brown” but I later realised that this was in fact ebony coloured wood stain which he likely used on the exposed wood in the neck mortise in the body.
Brian also confirmed in the Red Special book that the guitar was originally more red that it appears now, presumably as some of the chromophores in the vintage stain changed chemically with age and exposure to natural and artificial light. Therefore, although my deduction had an inappropriate basis, it was not actually unreasonable to use a red/brown mixture to replicate the modern appearance of the original Red Special guitar. I eventually settled on an 80:20 red/brown mix which resulted in a similar colour to my full size Brian May Red Special replica but for different reasons. For reference, I describe the grain filling and staining process on that later project in more detail here:
https://dsgb.net/projects/redspecial/part51/
The three pieces of mahogany pictured in the gallery below are grain filled, stained with 70:30, 80:20 and 90:10 mixtures of Rustins Red Mahogany to Rustins Brown Mahogany wood stain and coated with automotive cellulose aerosol lacquer. They were all taken in natural light on a window ledge at different angles. Although the difference is slight, a discernible increase in red hue can be seen from left to right.
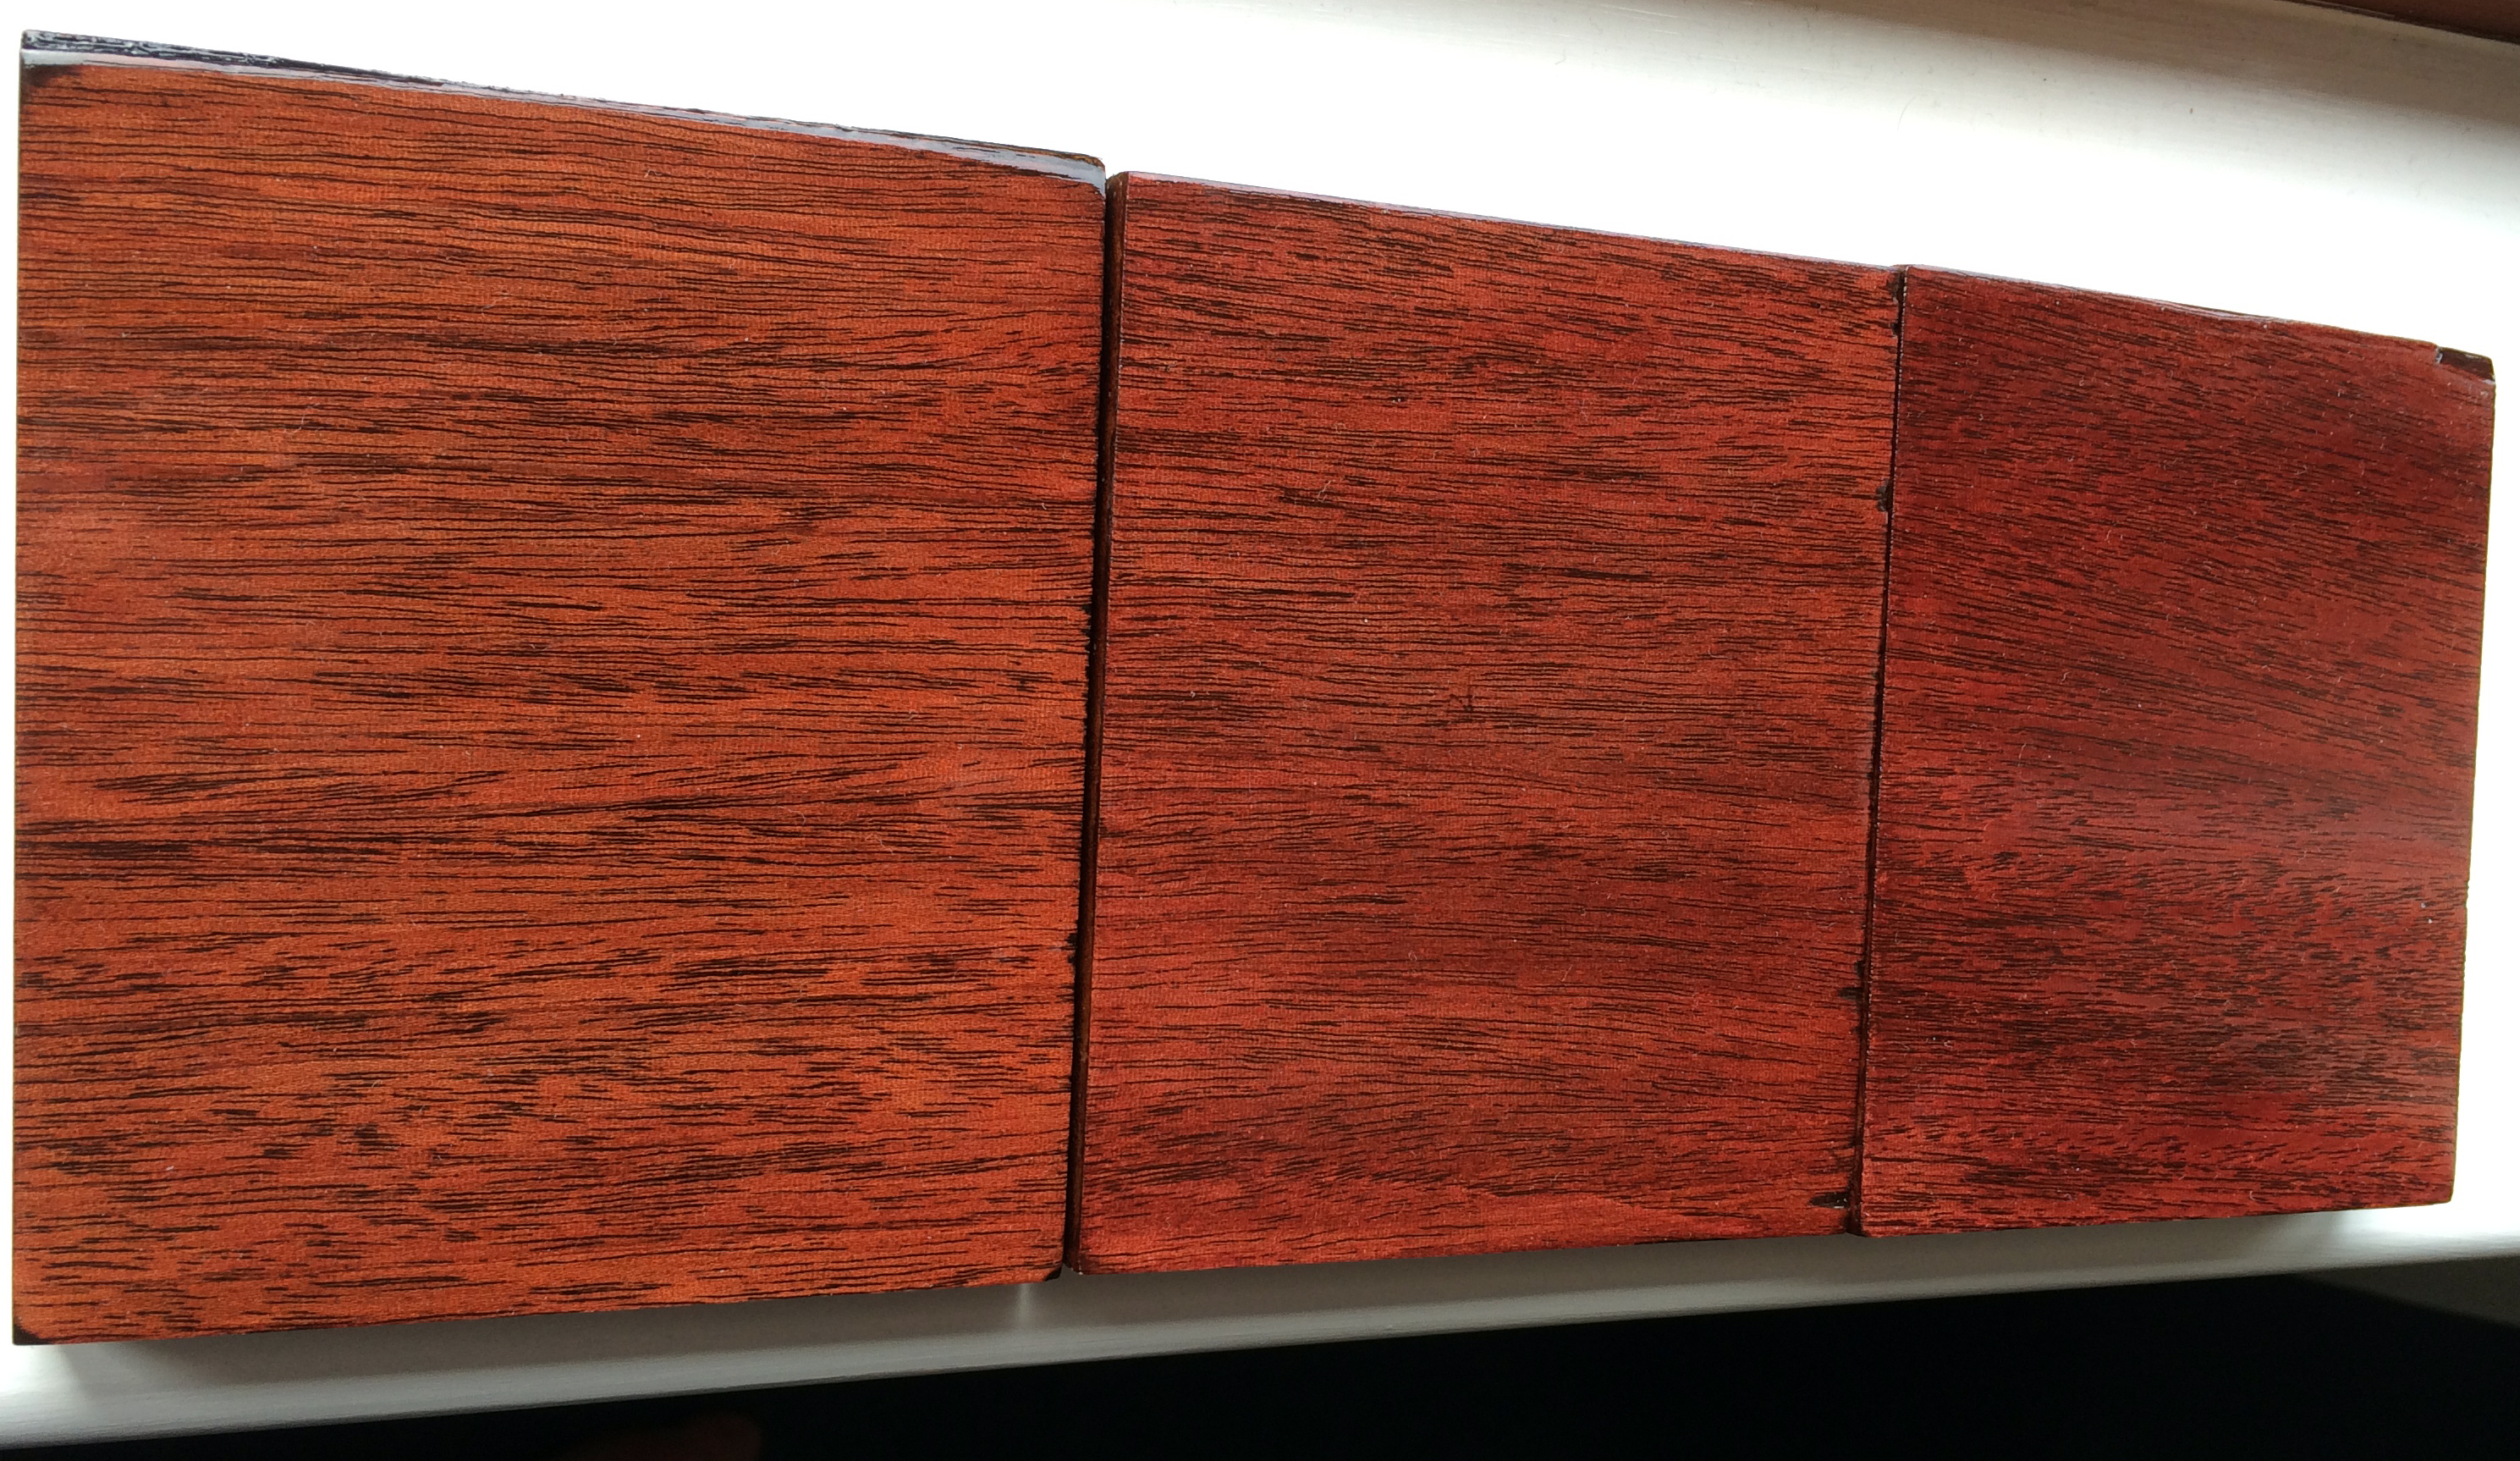
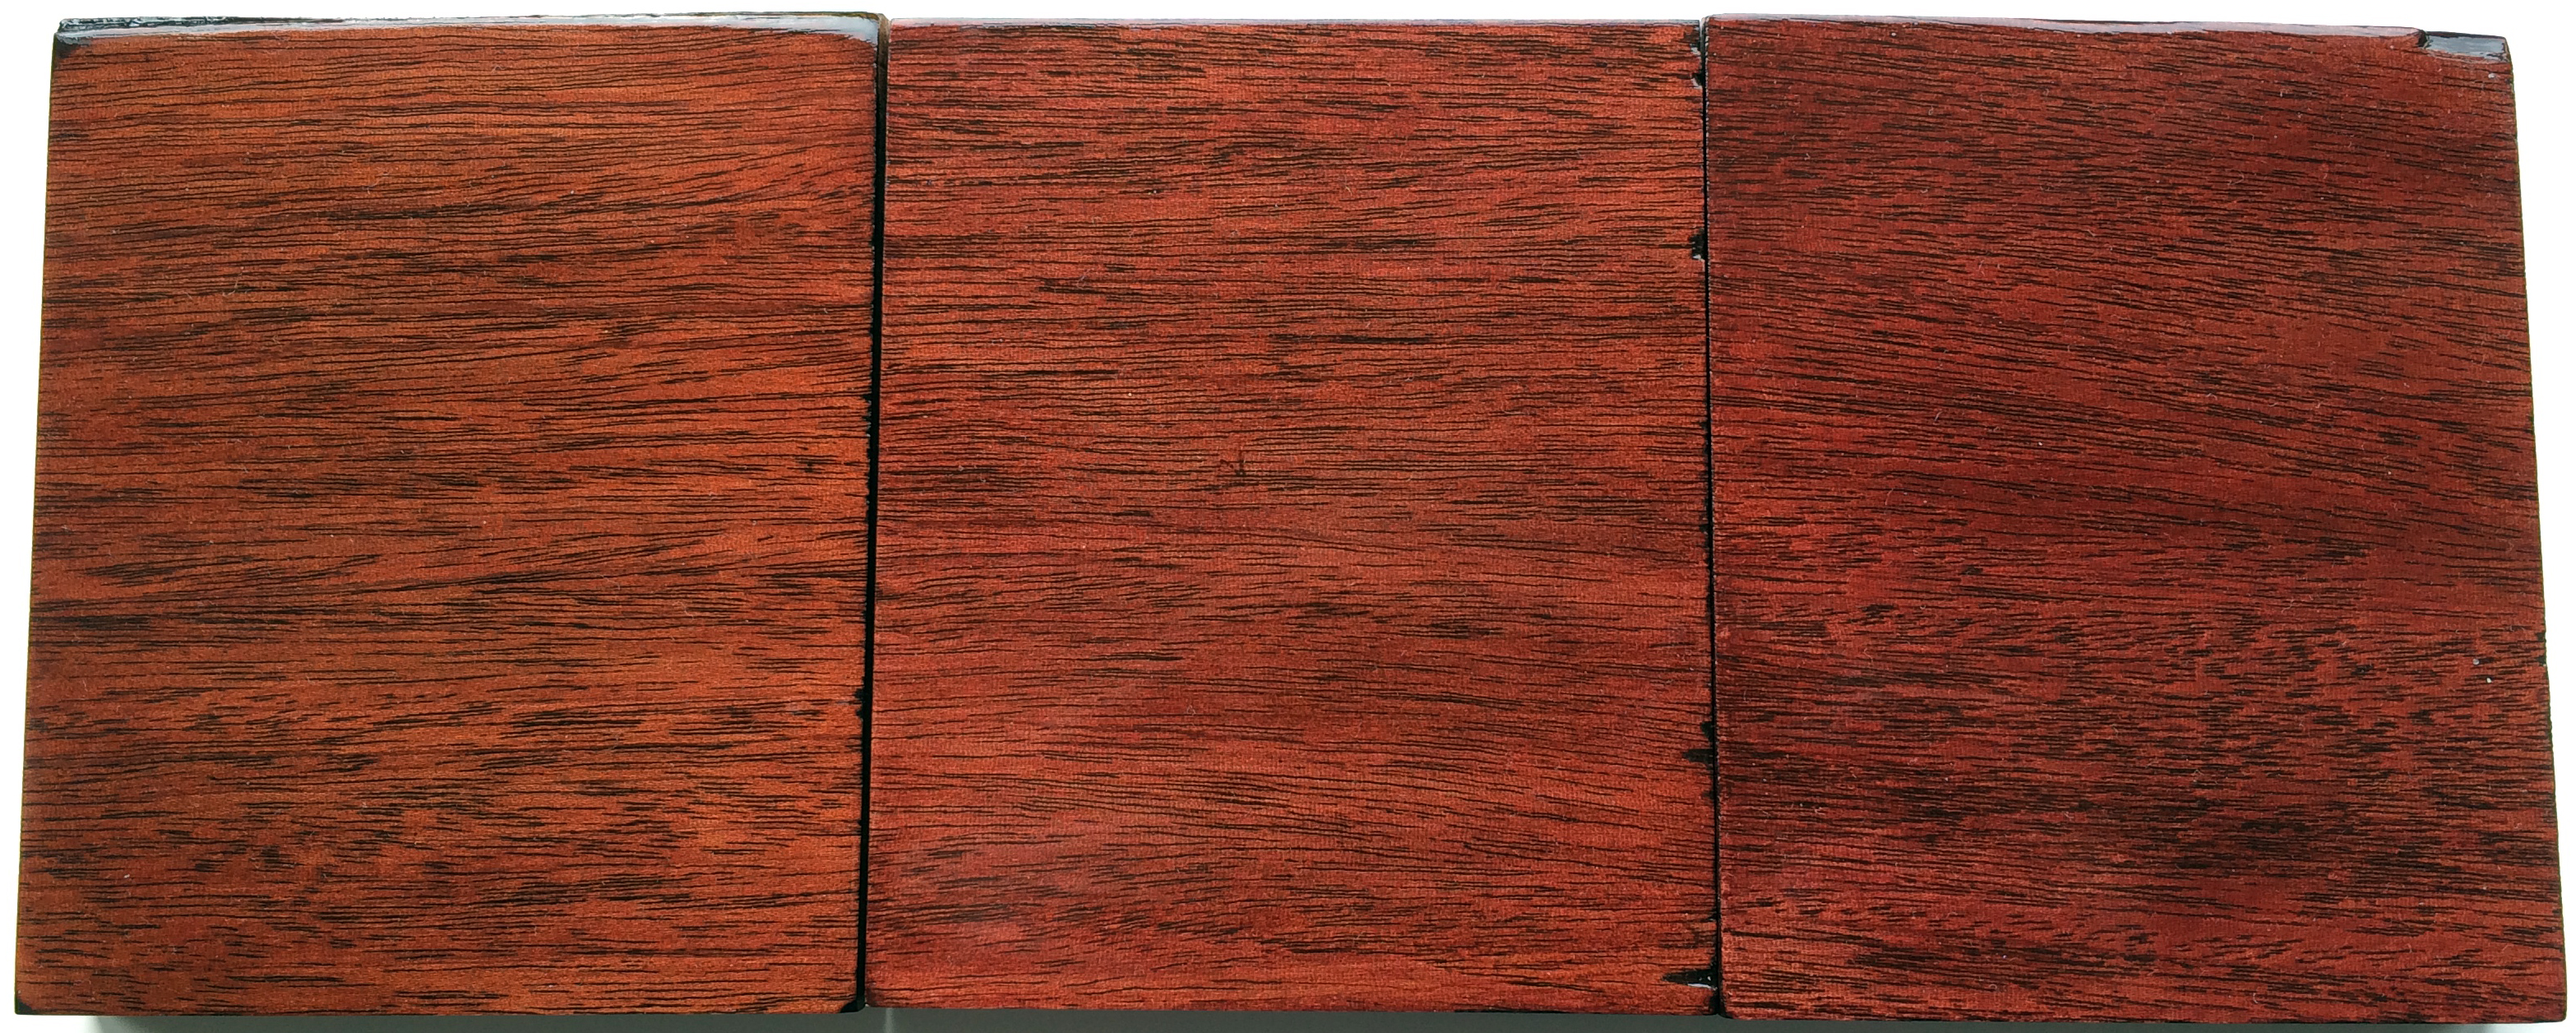
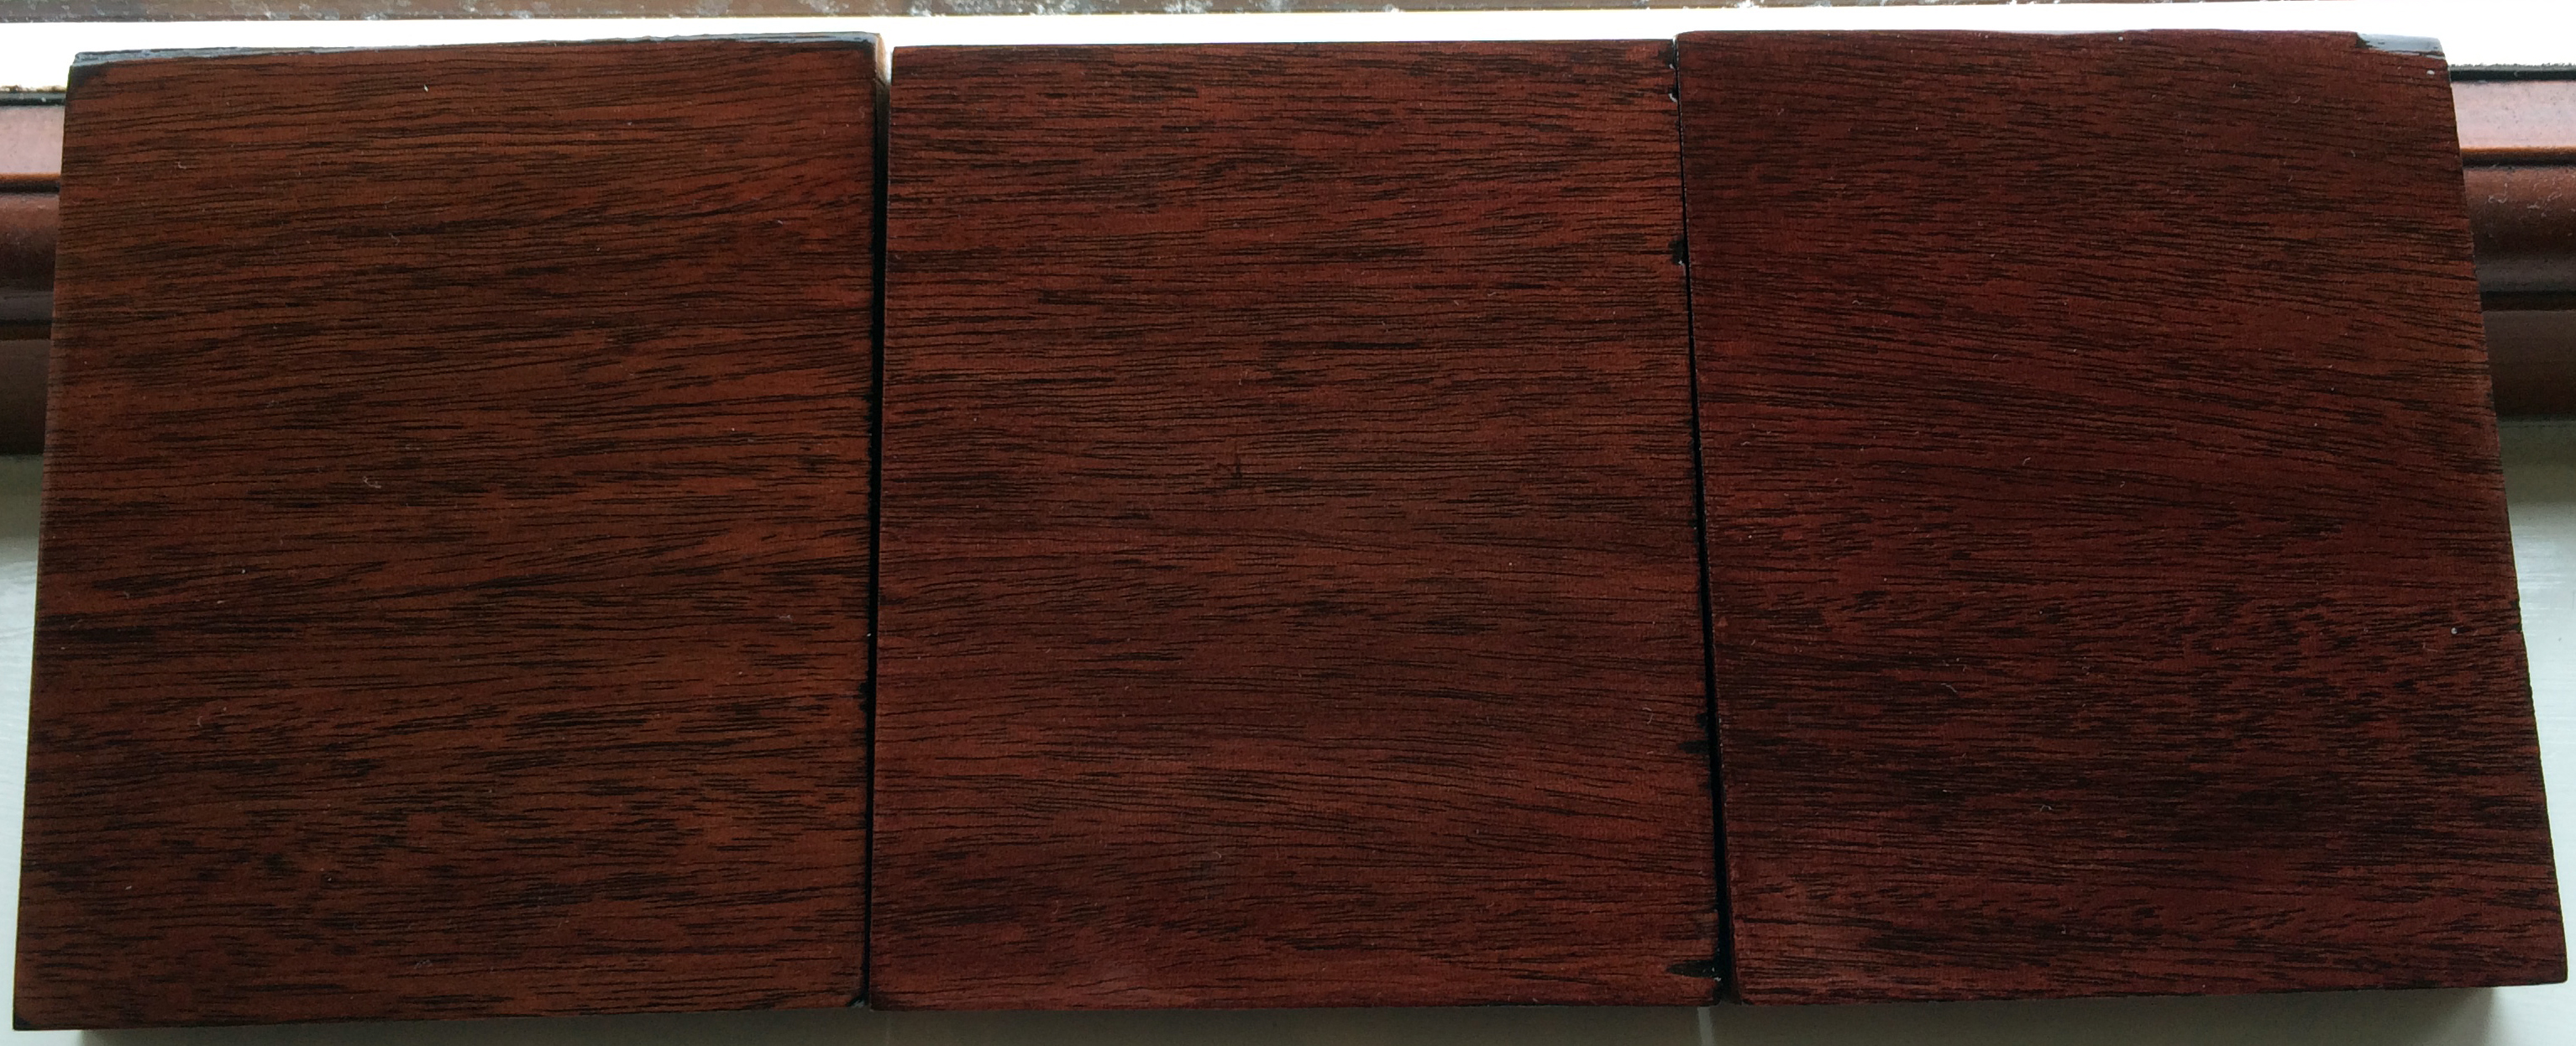
The images in the gallery below show the stained guitar woods at various angles. Without clear lacquer and under compact fluorescent artificial light, the browner hues appear more prominent.

Clear Lacquer Coating
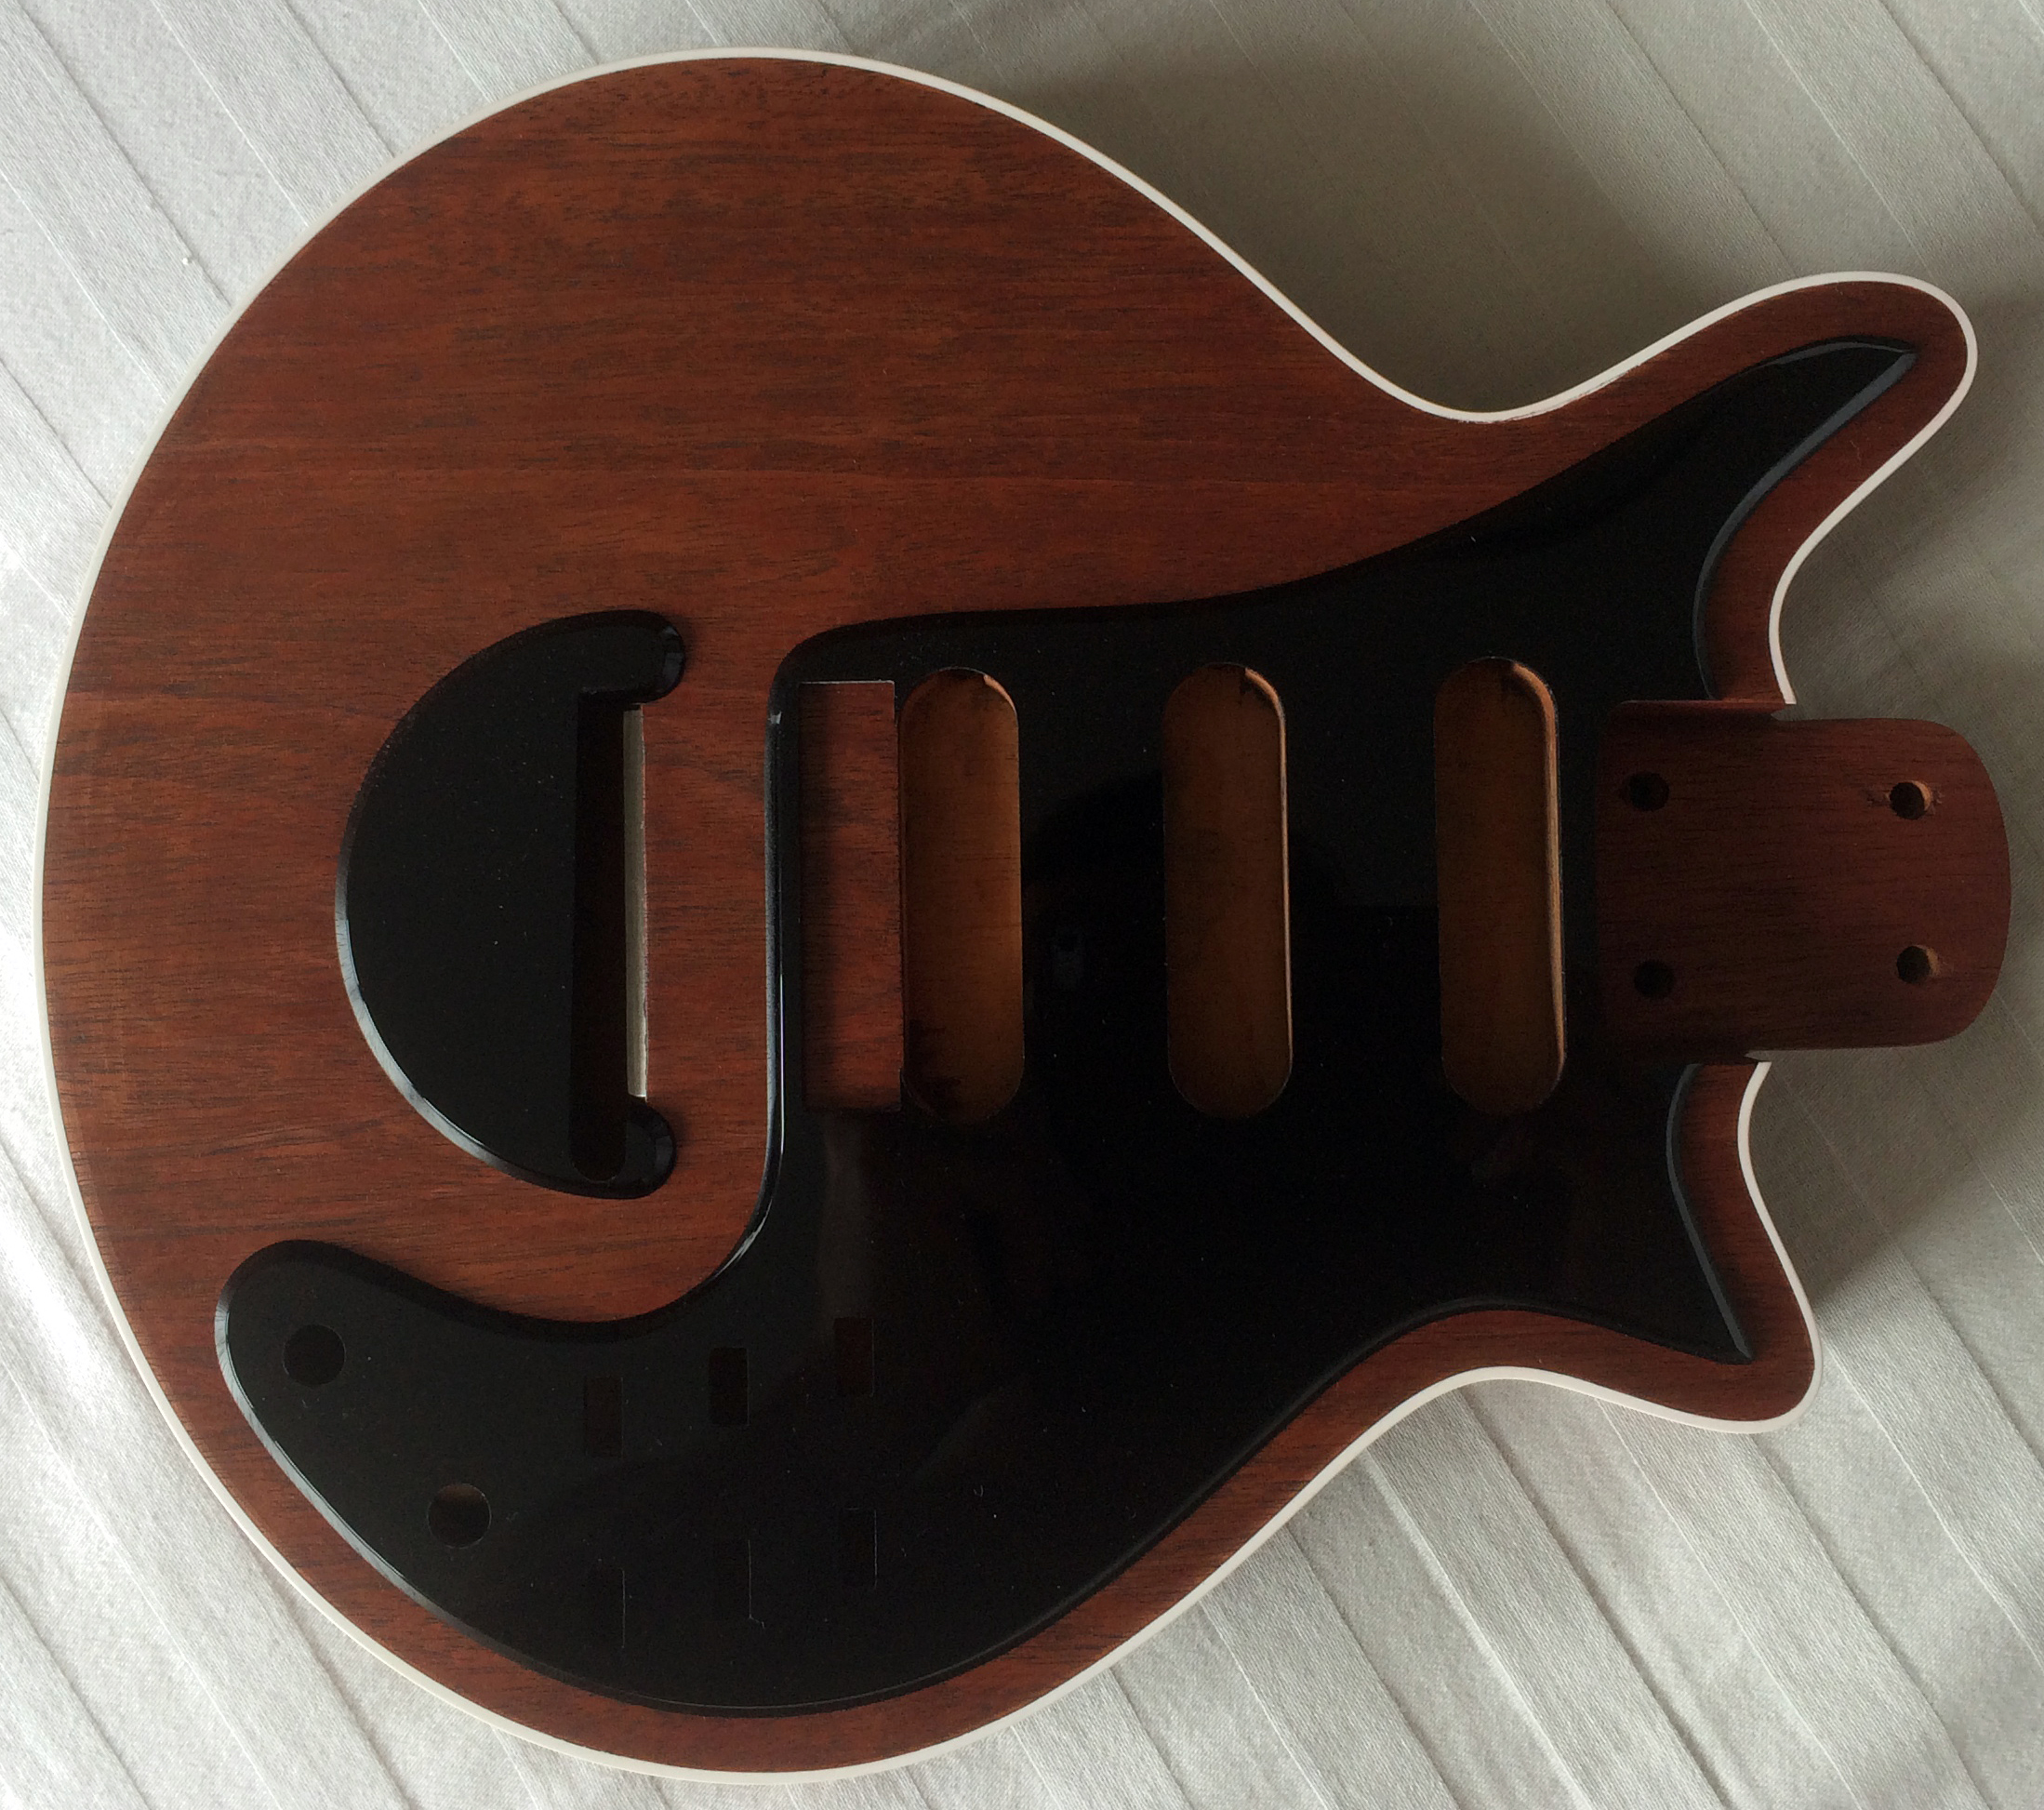
At this stage, I had no desire to attempt to apply a clear lacquer coat myself. When searching for experienced and reliable guitar finishing companies, the one that popped up prominently in the search was Spectrum Guitar Finishes who were based in Alicante, Spain. After making enquiries with the proprietor, the late Phil McAllister, it quickly became clear that they were an experienced and professional outfit such that it was probably worth spending the additional shipping charge and not worth trawling the internet for U.K. based outfits. I was advised of a 10 to 12 week lead time which was reassuringly long and suited my timescale for completing guitar and neck preparation. I advised Phil that my requirements were for a modern hard-wearing finish and he recommended polyester which sounded ideal.
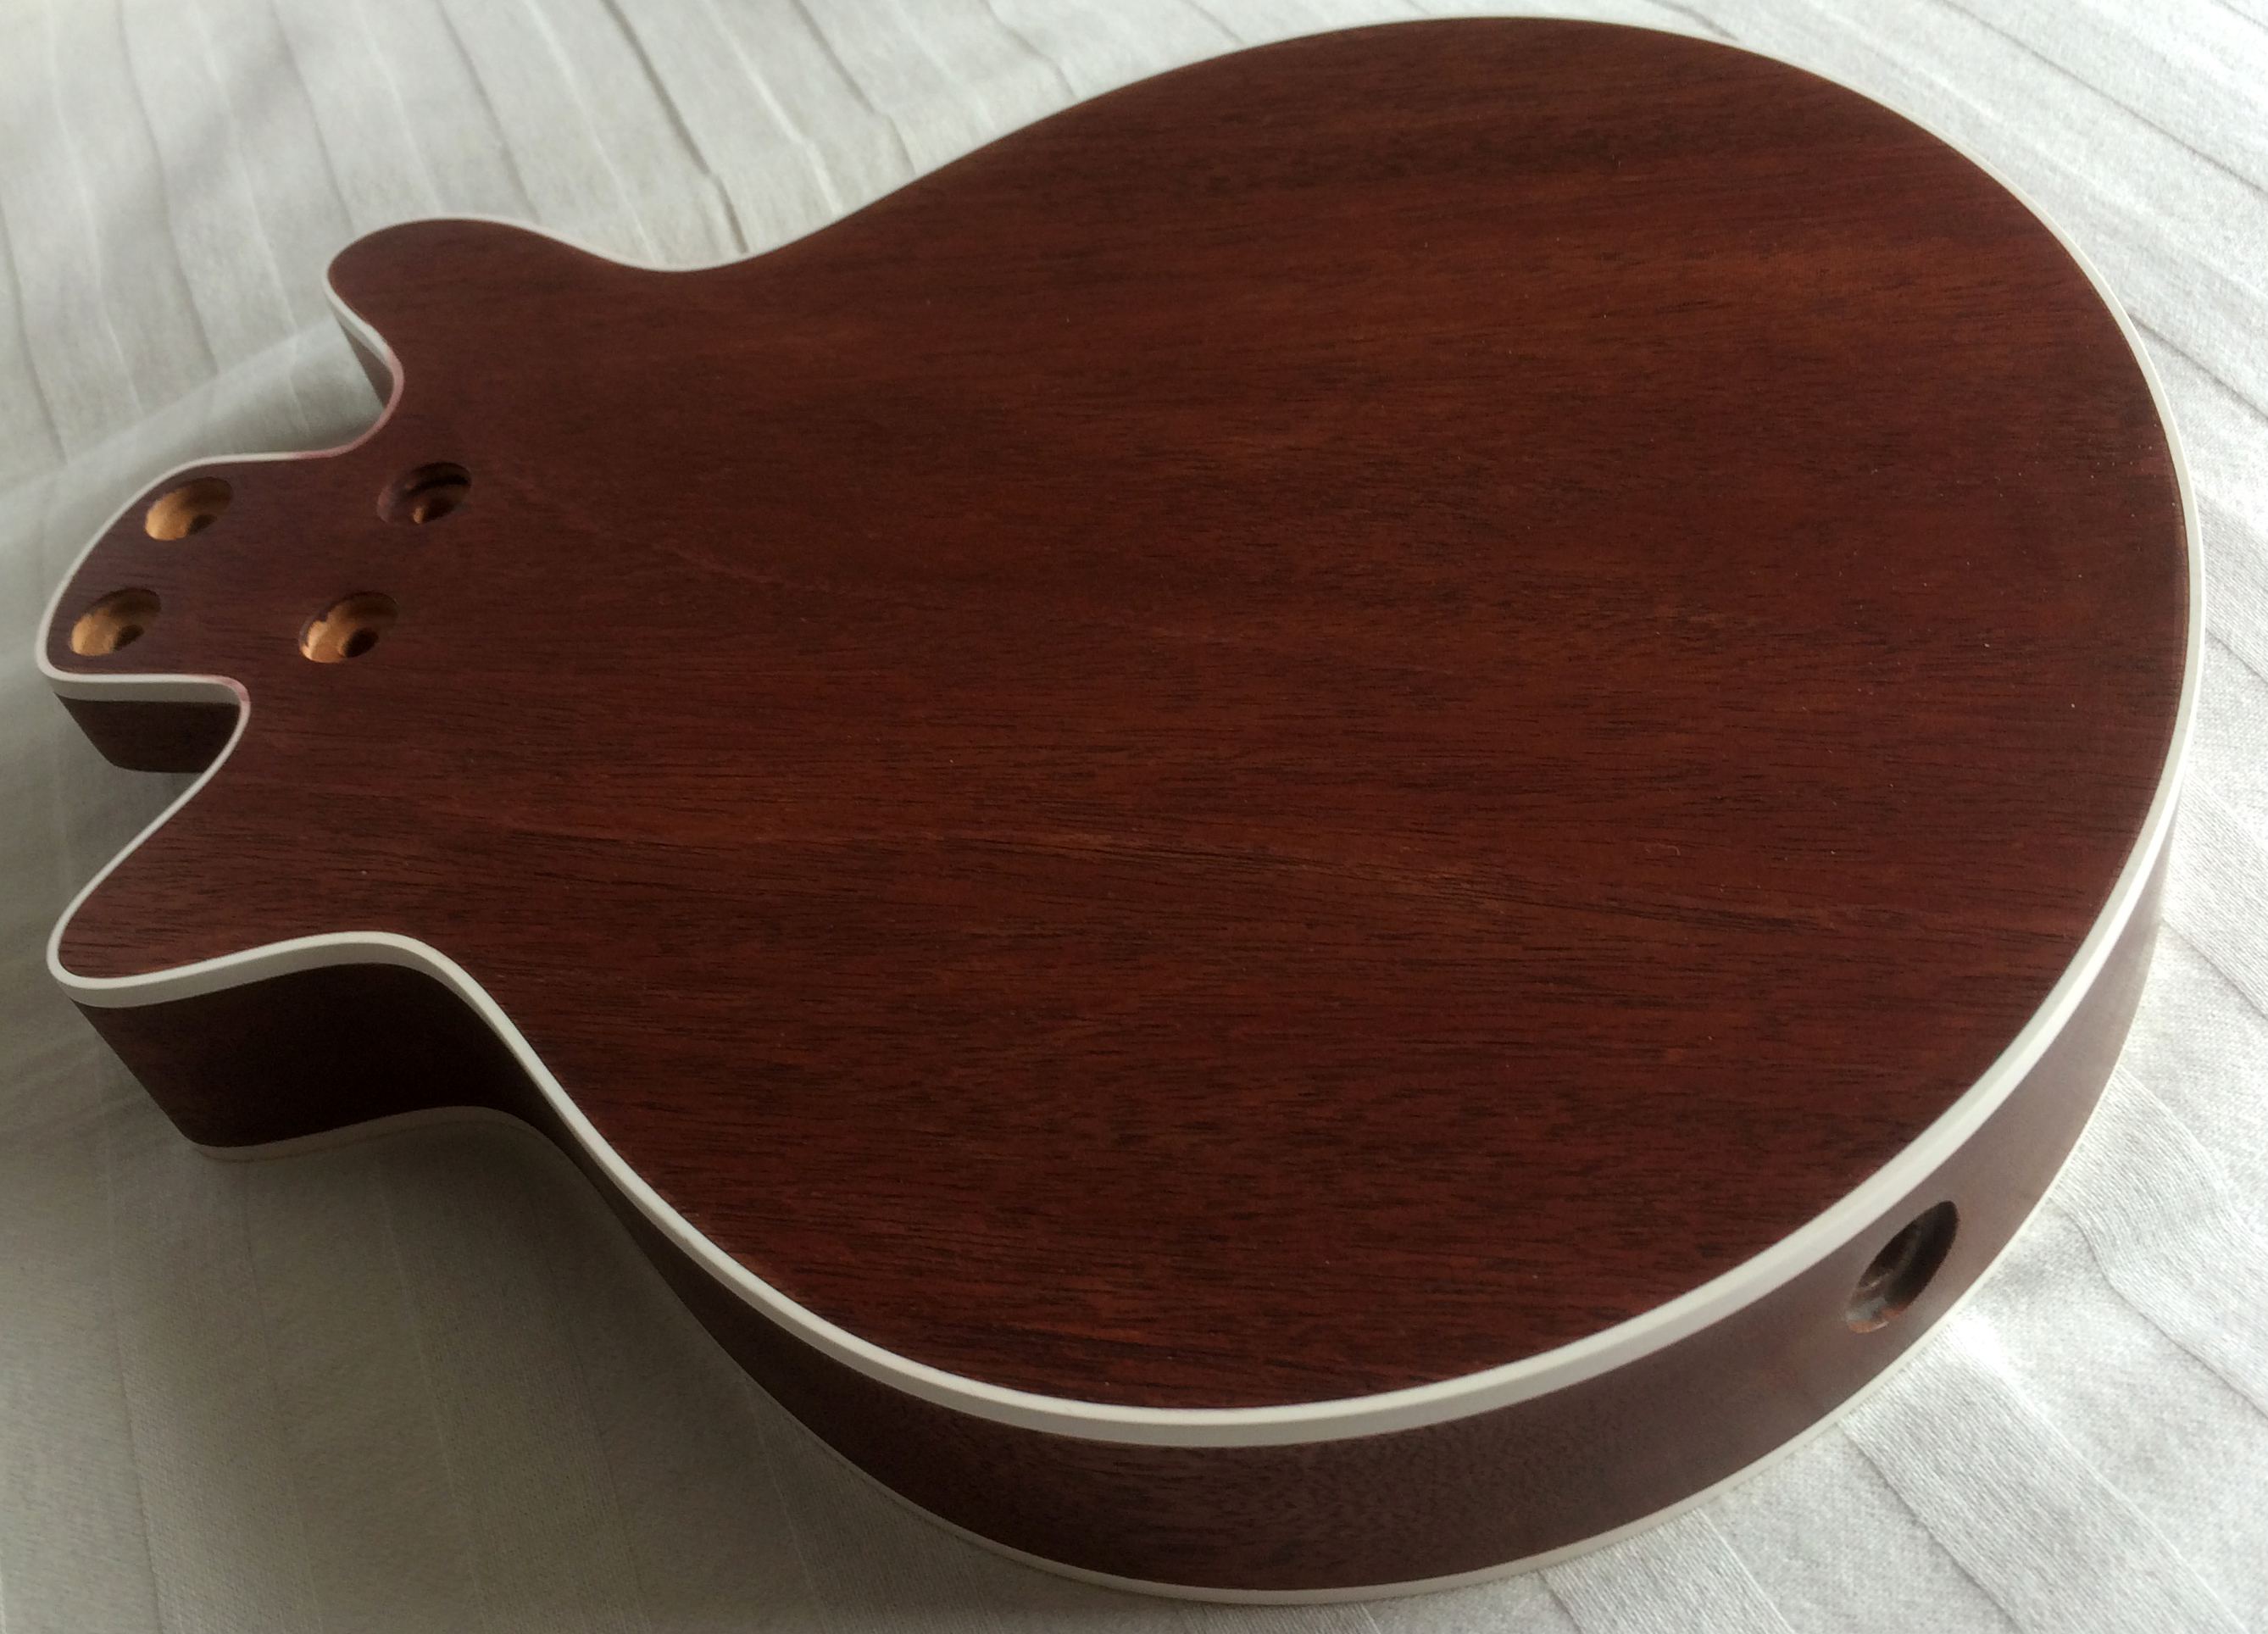
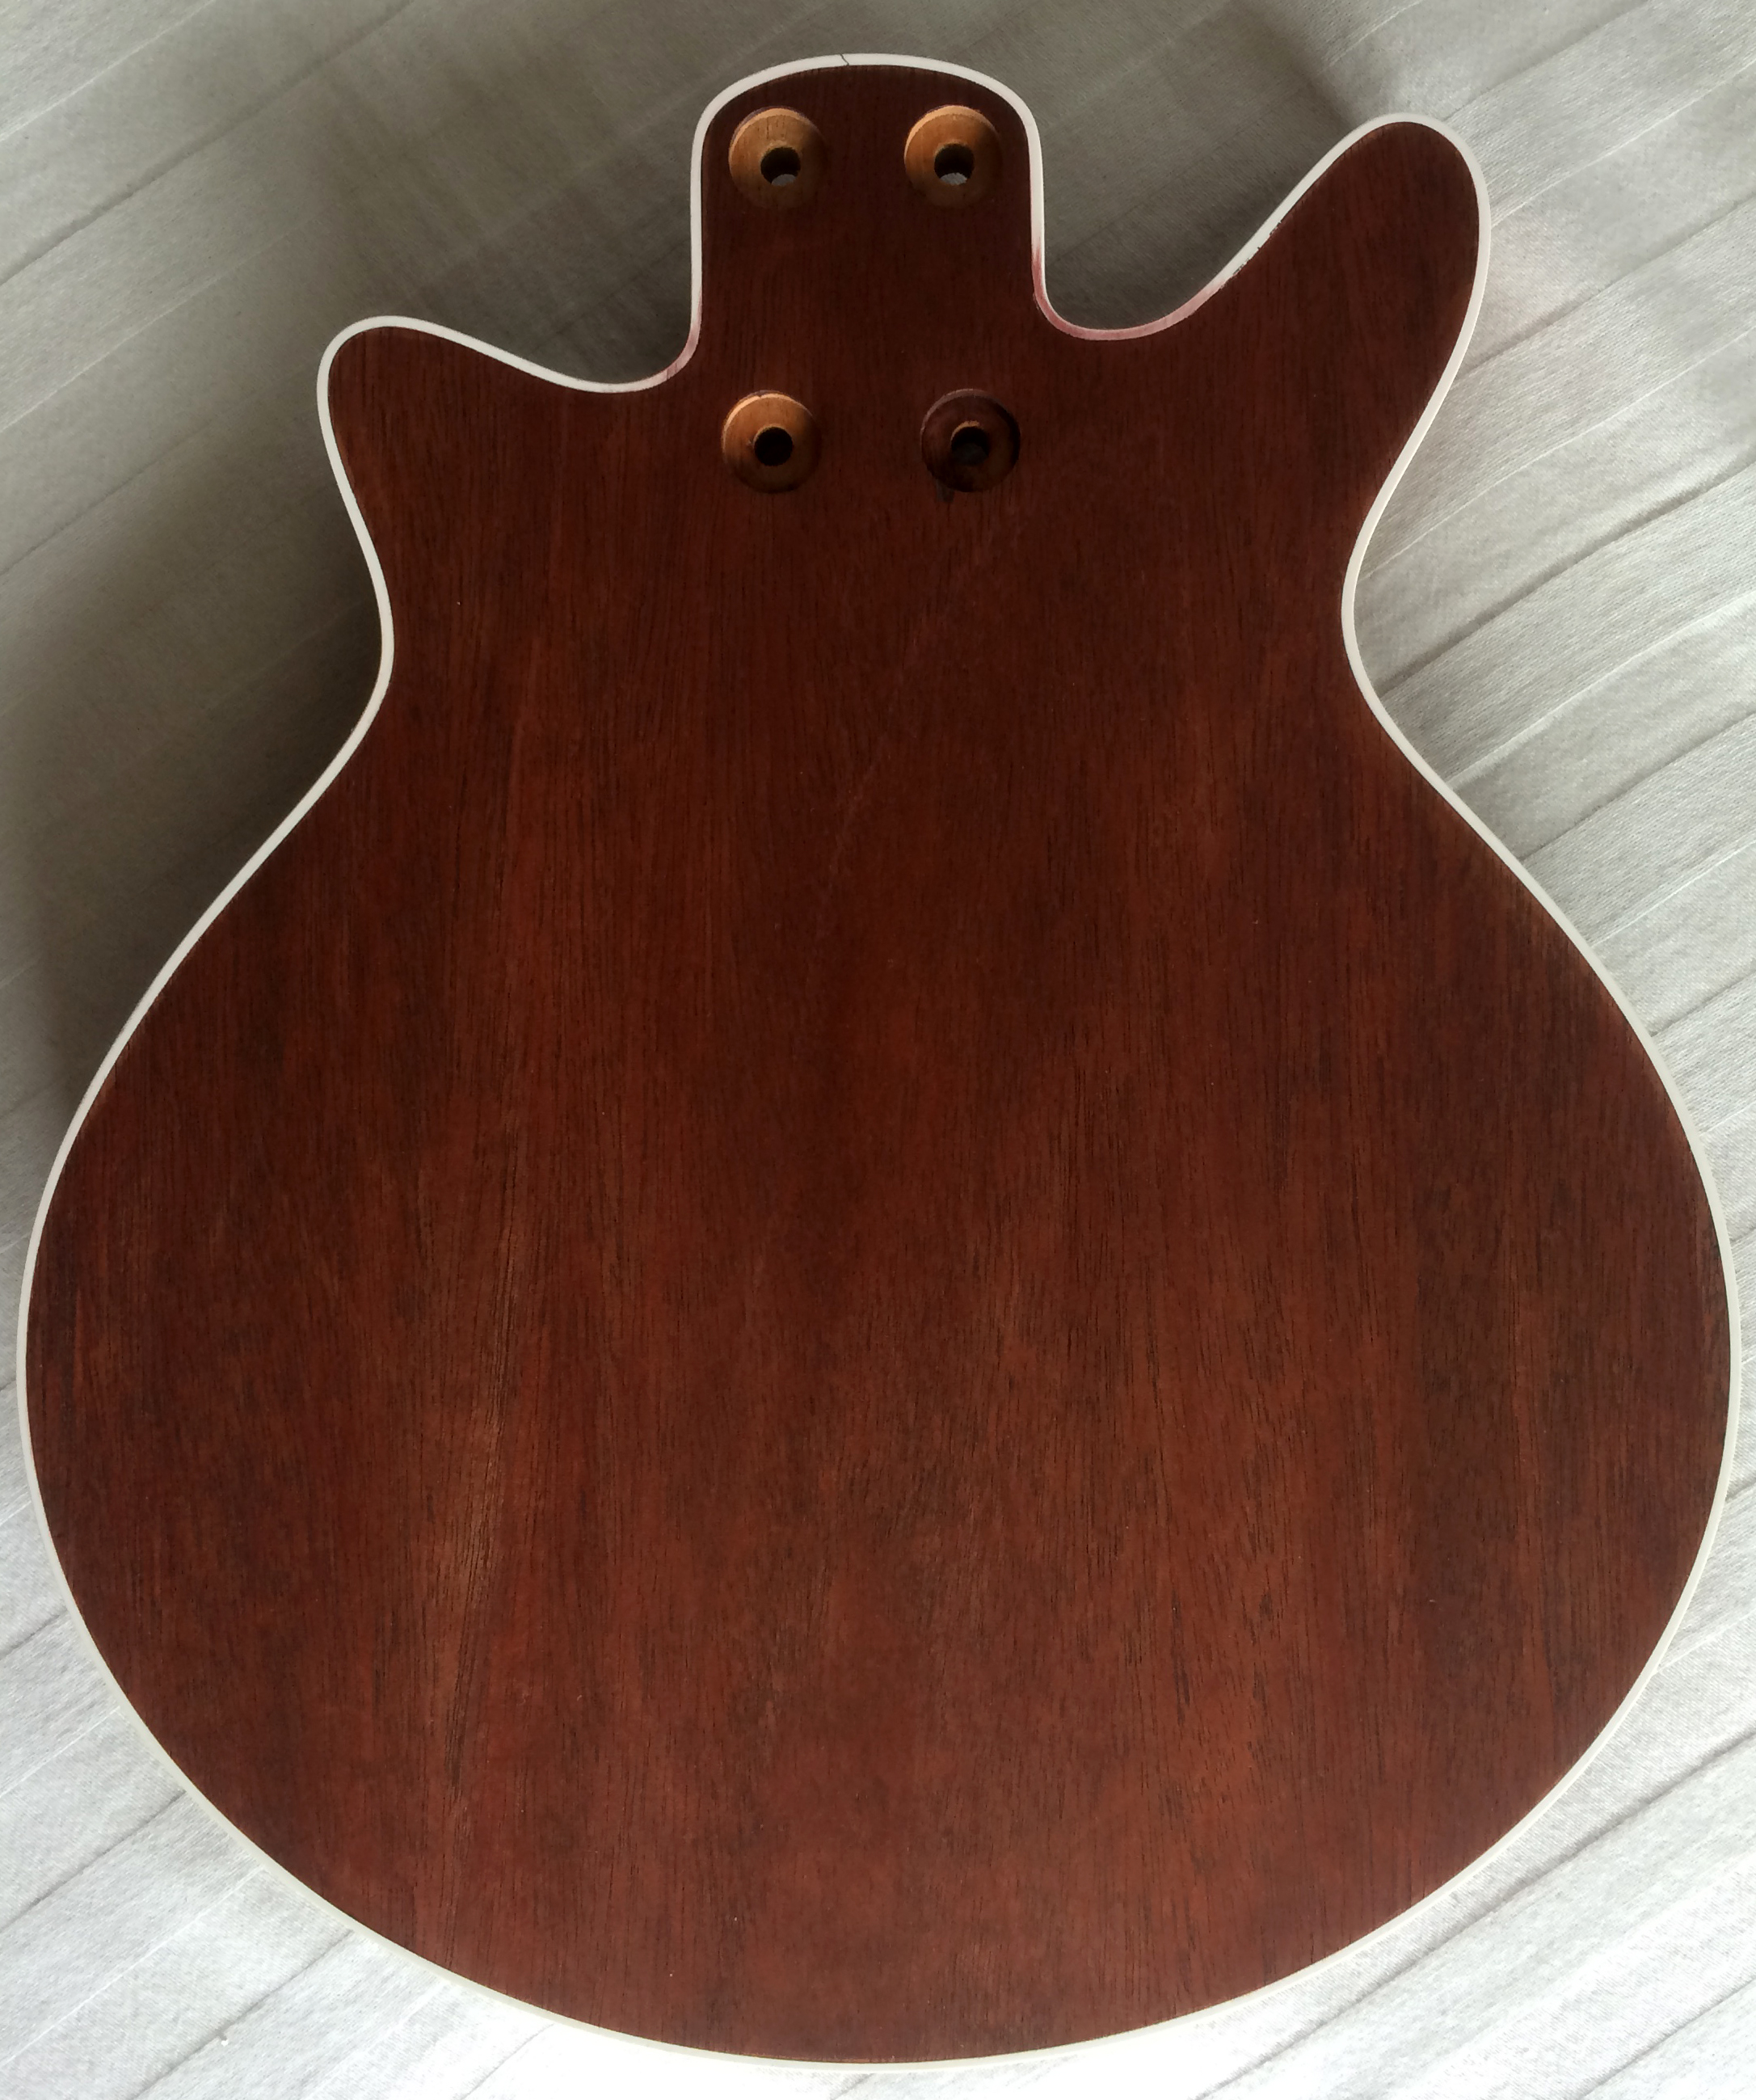
I was advised of an available workshop slot in mid July and the guitar and neck were packaged up and sent out on Monday, 4th August 2014. The guitar was returned inside two weeks, and was indeed stunning and very commercial looking as you can see in the pictures below which were taken by Phil before returning the body and neck. He even airbrushed over the join in the edge binding at the heel. The polyester finish is very resistant to scratches and mechanical damage and can be easily restored in a three stage process by:
(a) lightly abrading with a very fine grit wet and dry paper lubricated with water and washing up liquid
(b) machine or hand polishing out the dulled area using an automotive rubbing compound (3M Fast Cut is ideal) then
(c) machine or hand polishing with a fine automotive rubbing compound (T-Cut is ideal).
I invested in a 240 V Meguiars Dual Action polisher to make a better job of this.
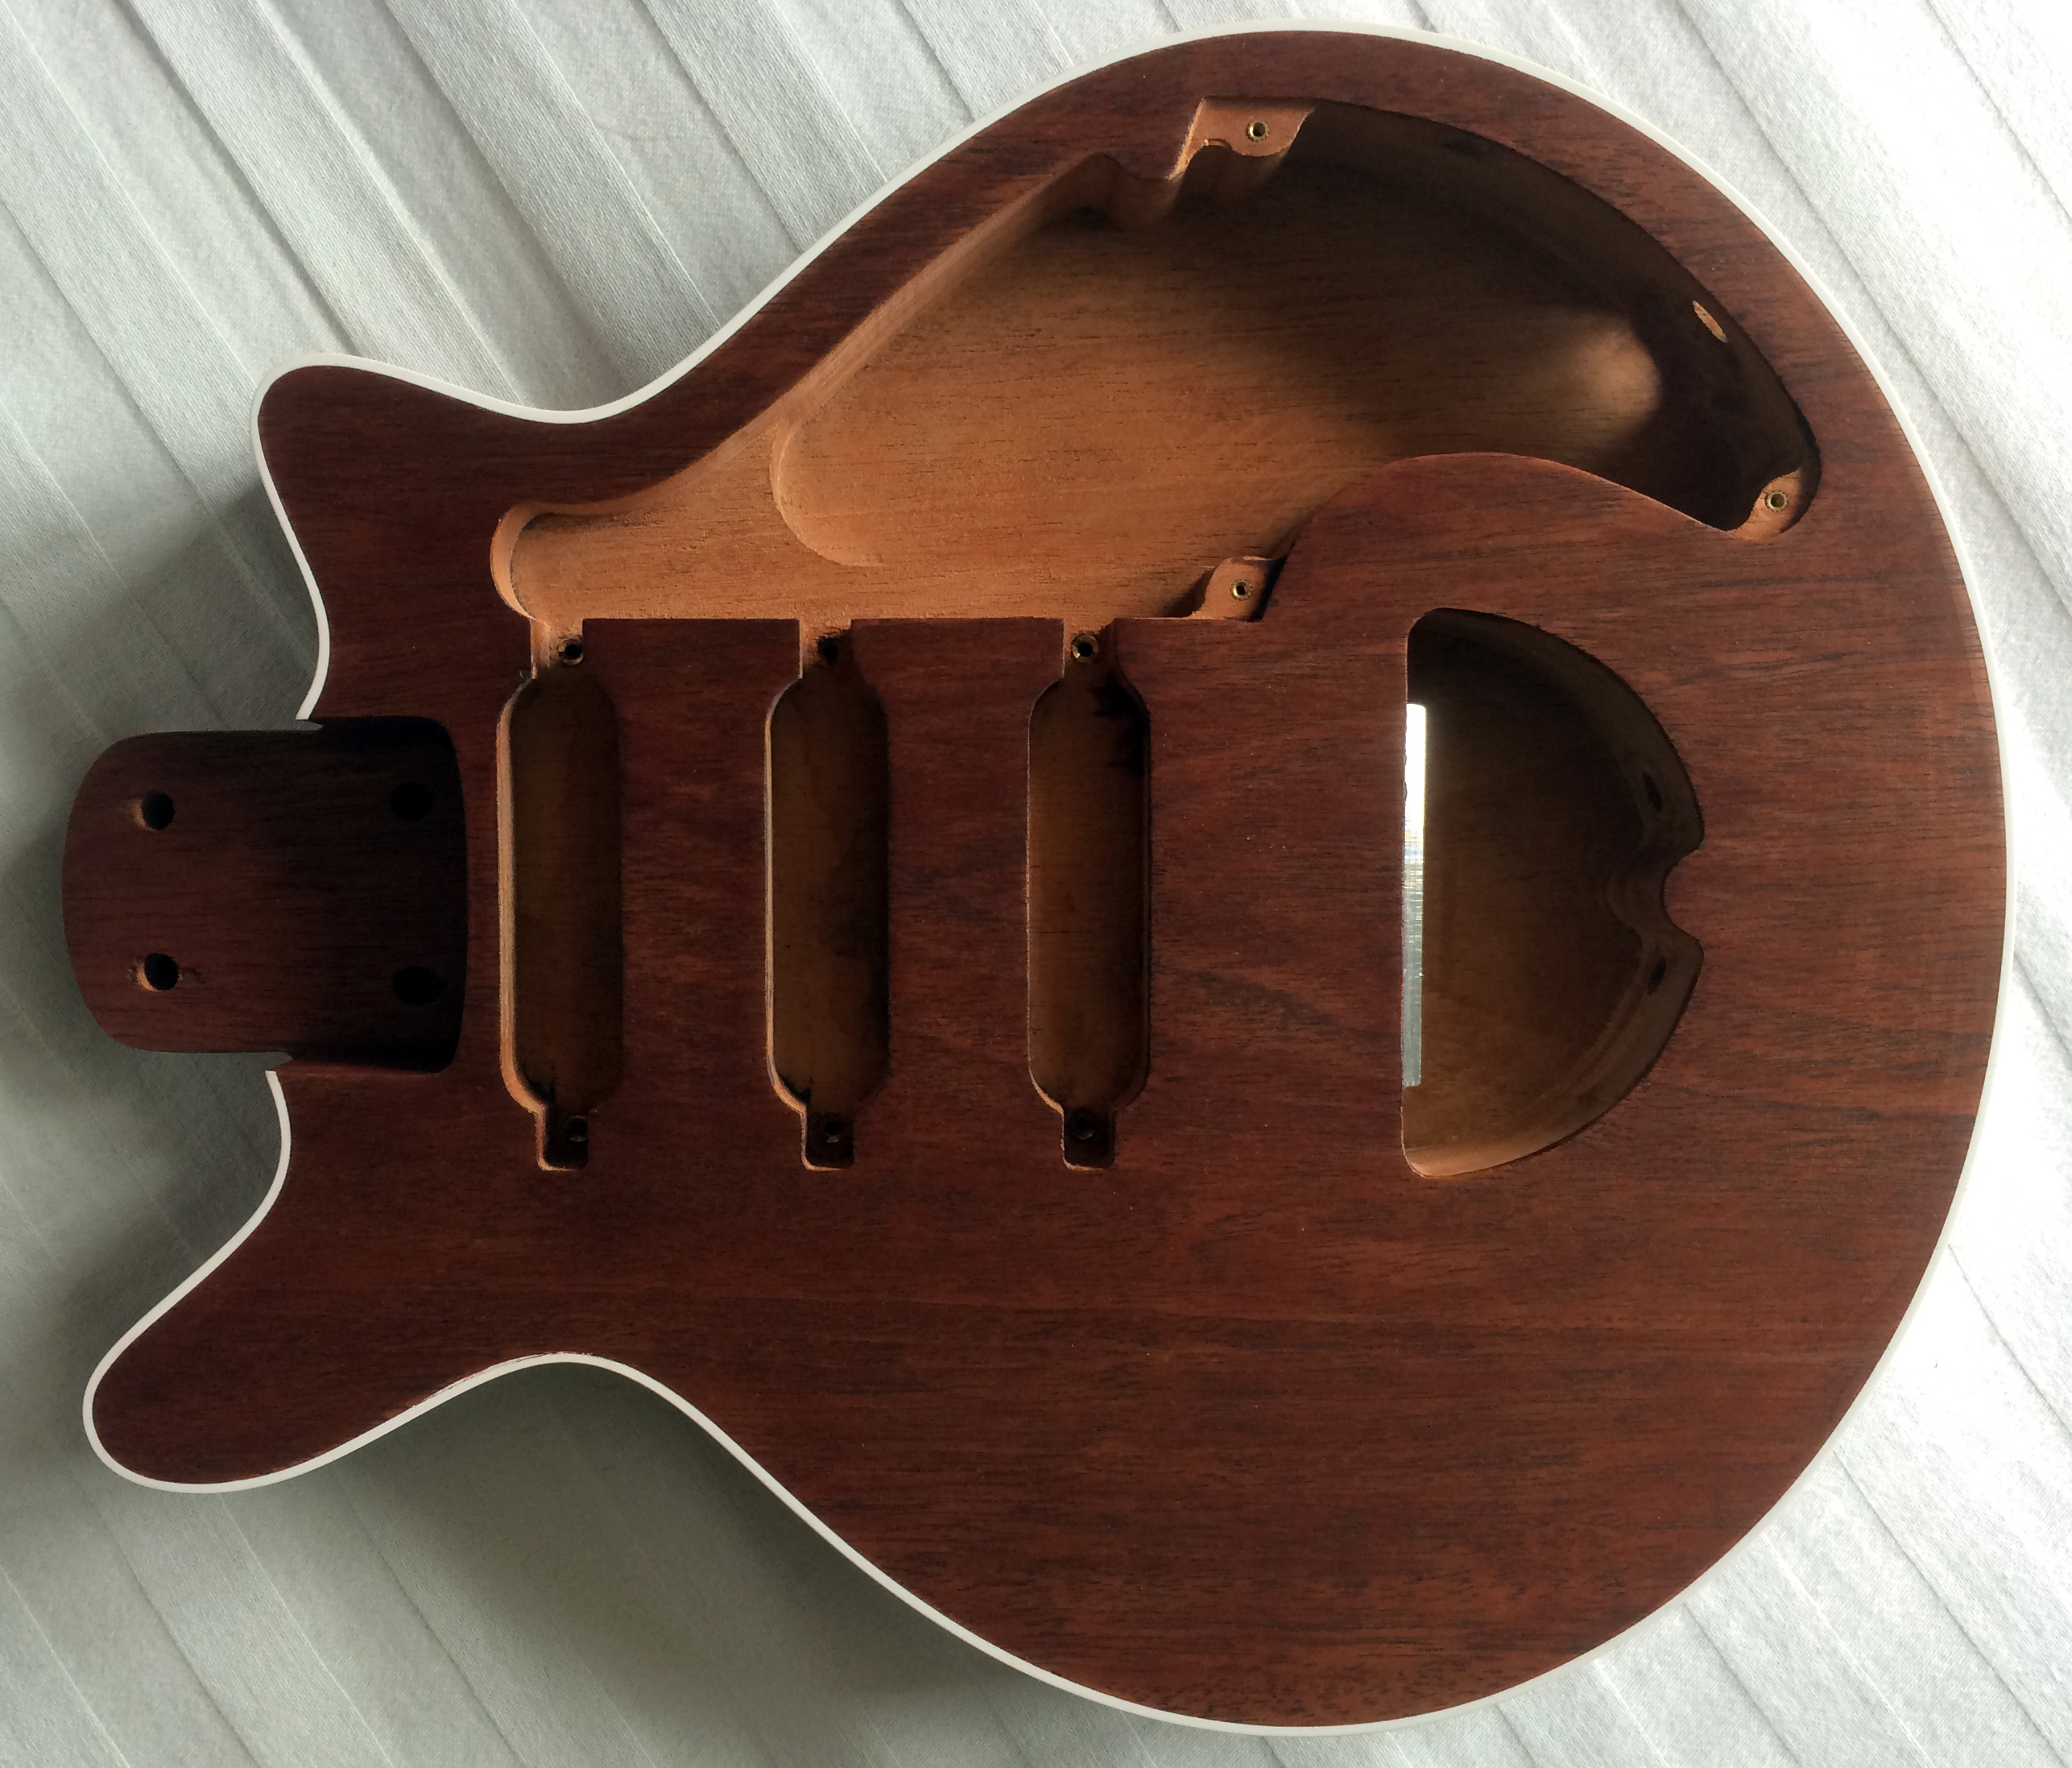
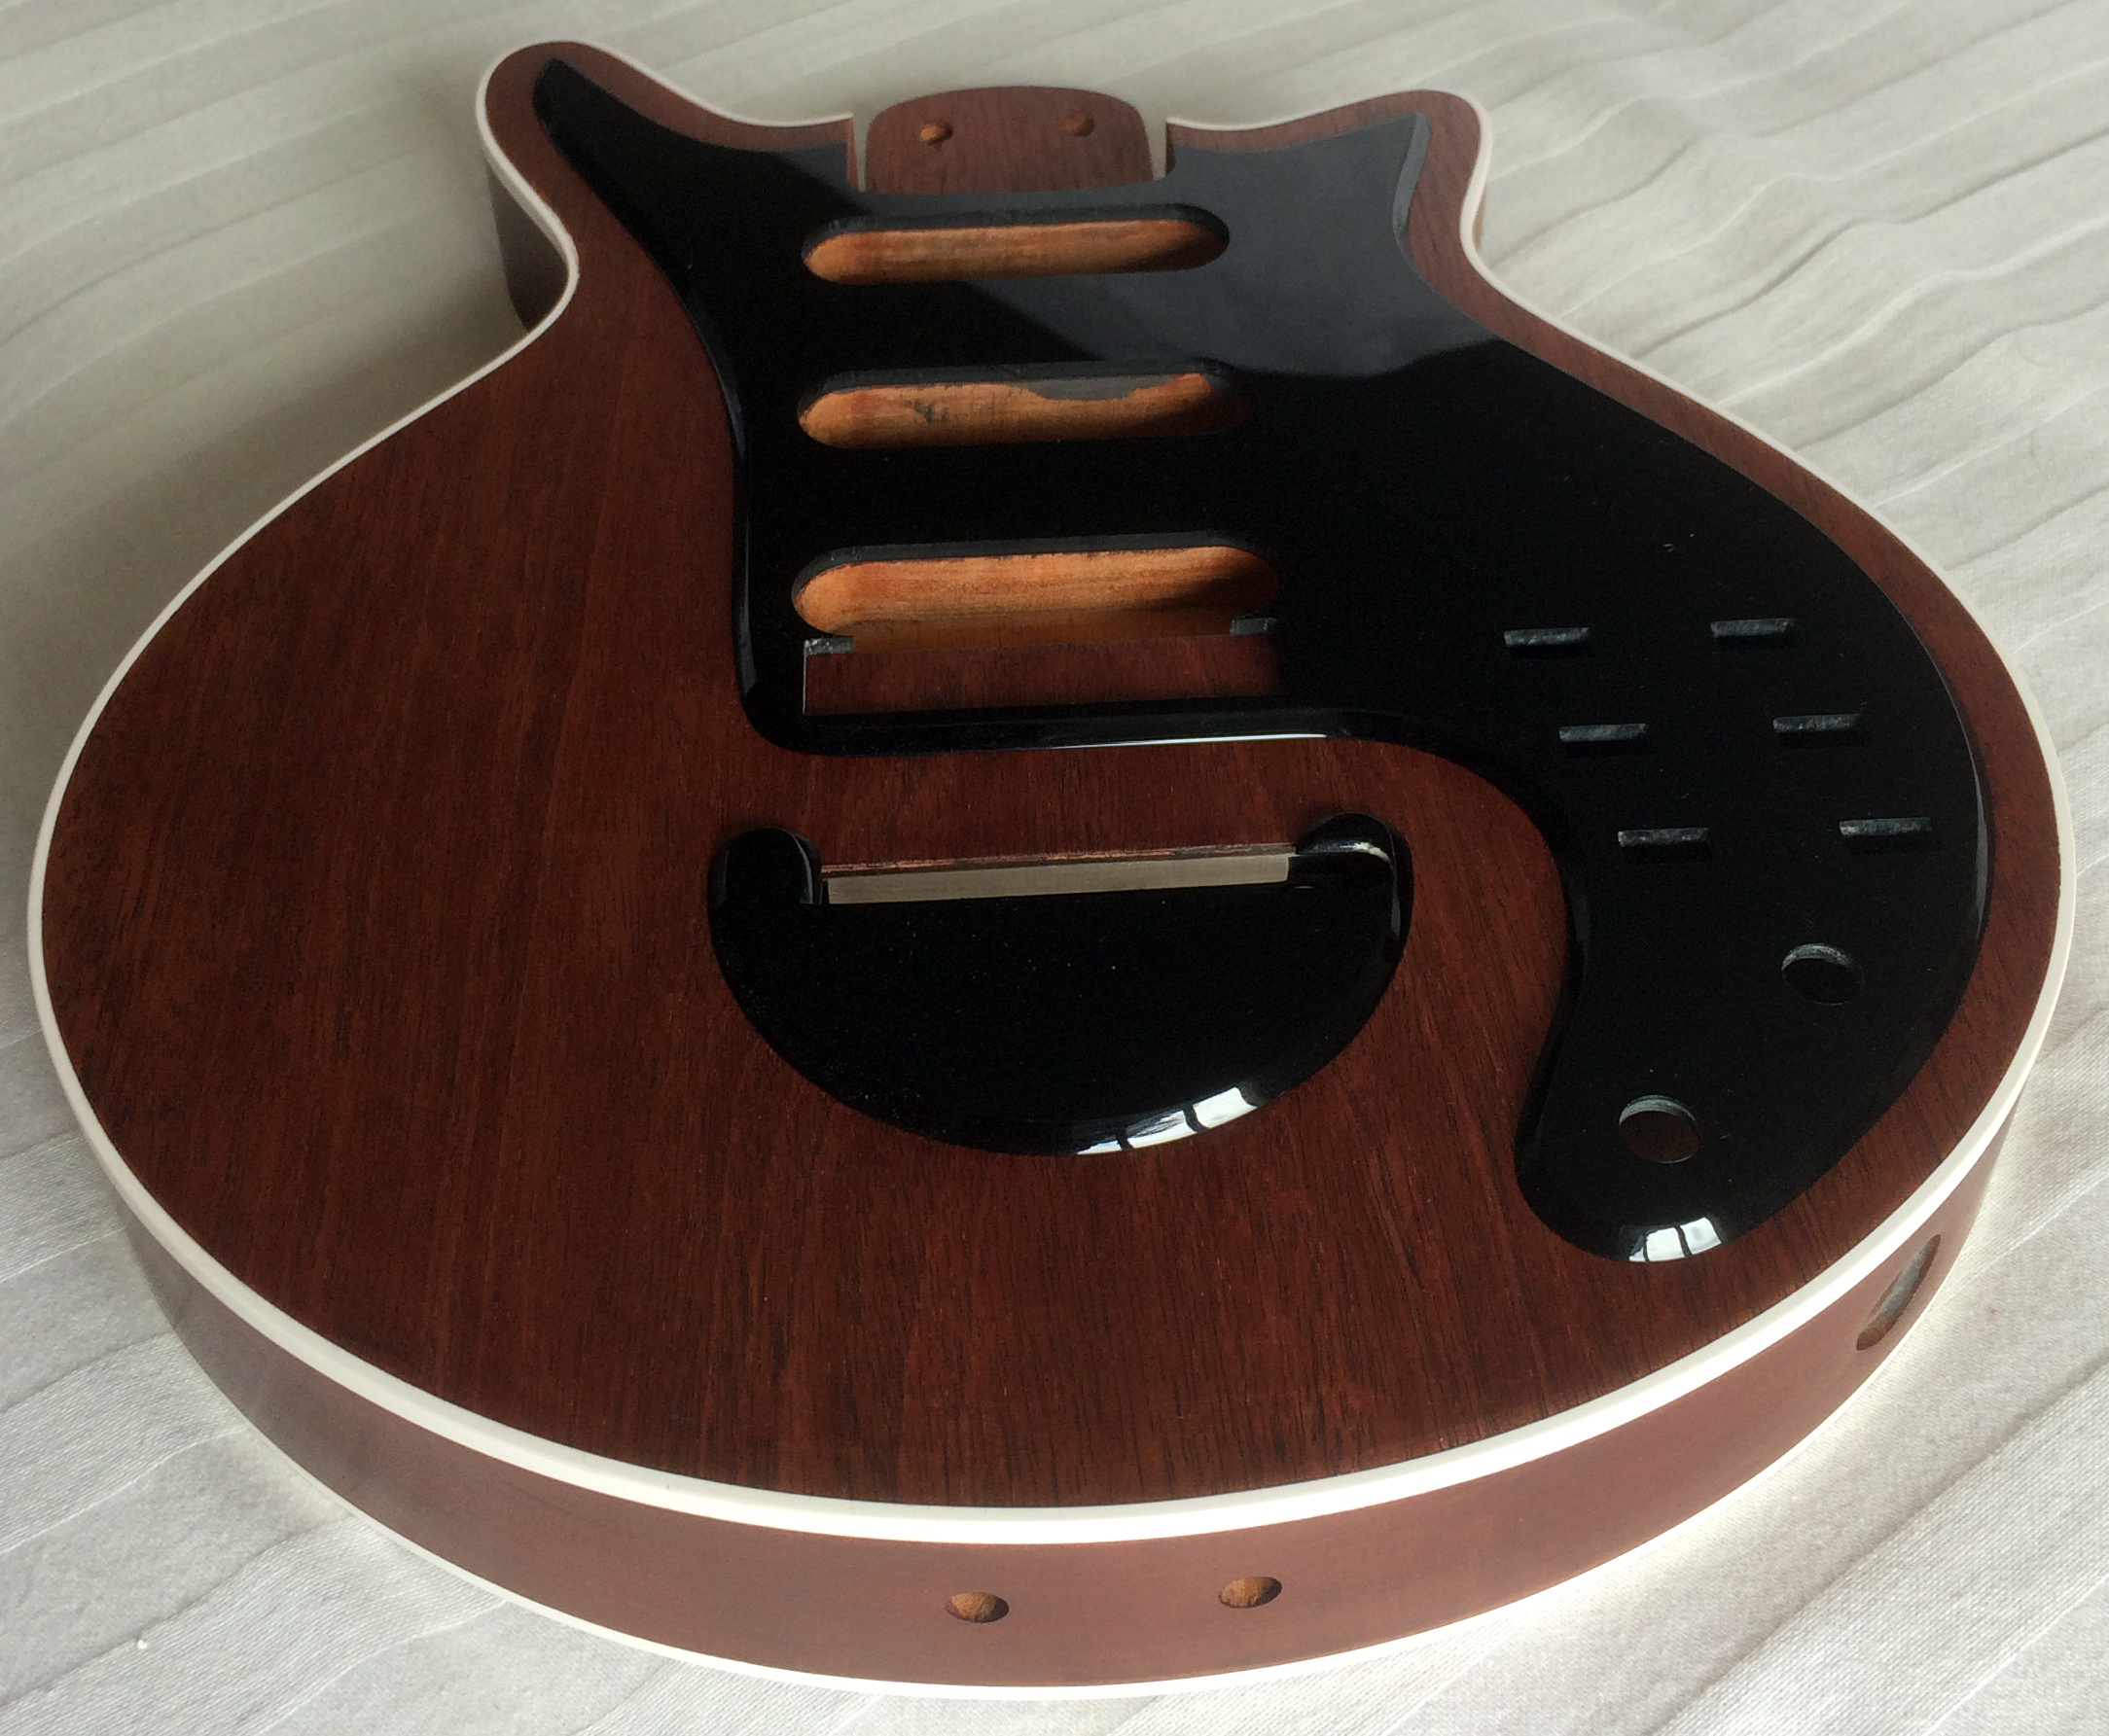
One cautionary note with the polyester coating that I had underestimated was that the lacquer is easily pulled off the surface leading to delamination. Had I known the full extent of this limitation, I would have progressed the work further to include drilling and installing the brass threaded inserts and, perhaps more fundamentally, increased the cavity dimensions by 0.5 to 1.0 mm. The polyester coating is very thick (0.35 mm) and had the result of substantially reducing the cavity sizes such that the pickups no longer fitted. This was worst in the control cavity where I had also not taken account of the thickness of the copper foil lining (0.1 mm) such that I had to rework the region in which the control plate would be mounted.
Next article:
Part 12: Making the Ebony Fretboard
Previous article:
Part 10: Body Edge Binding
