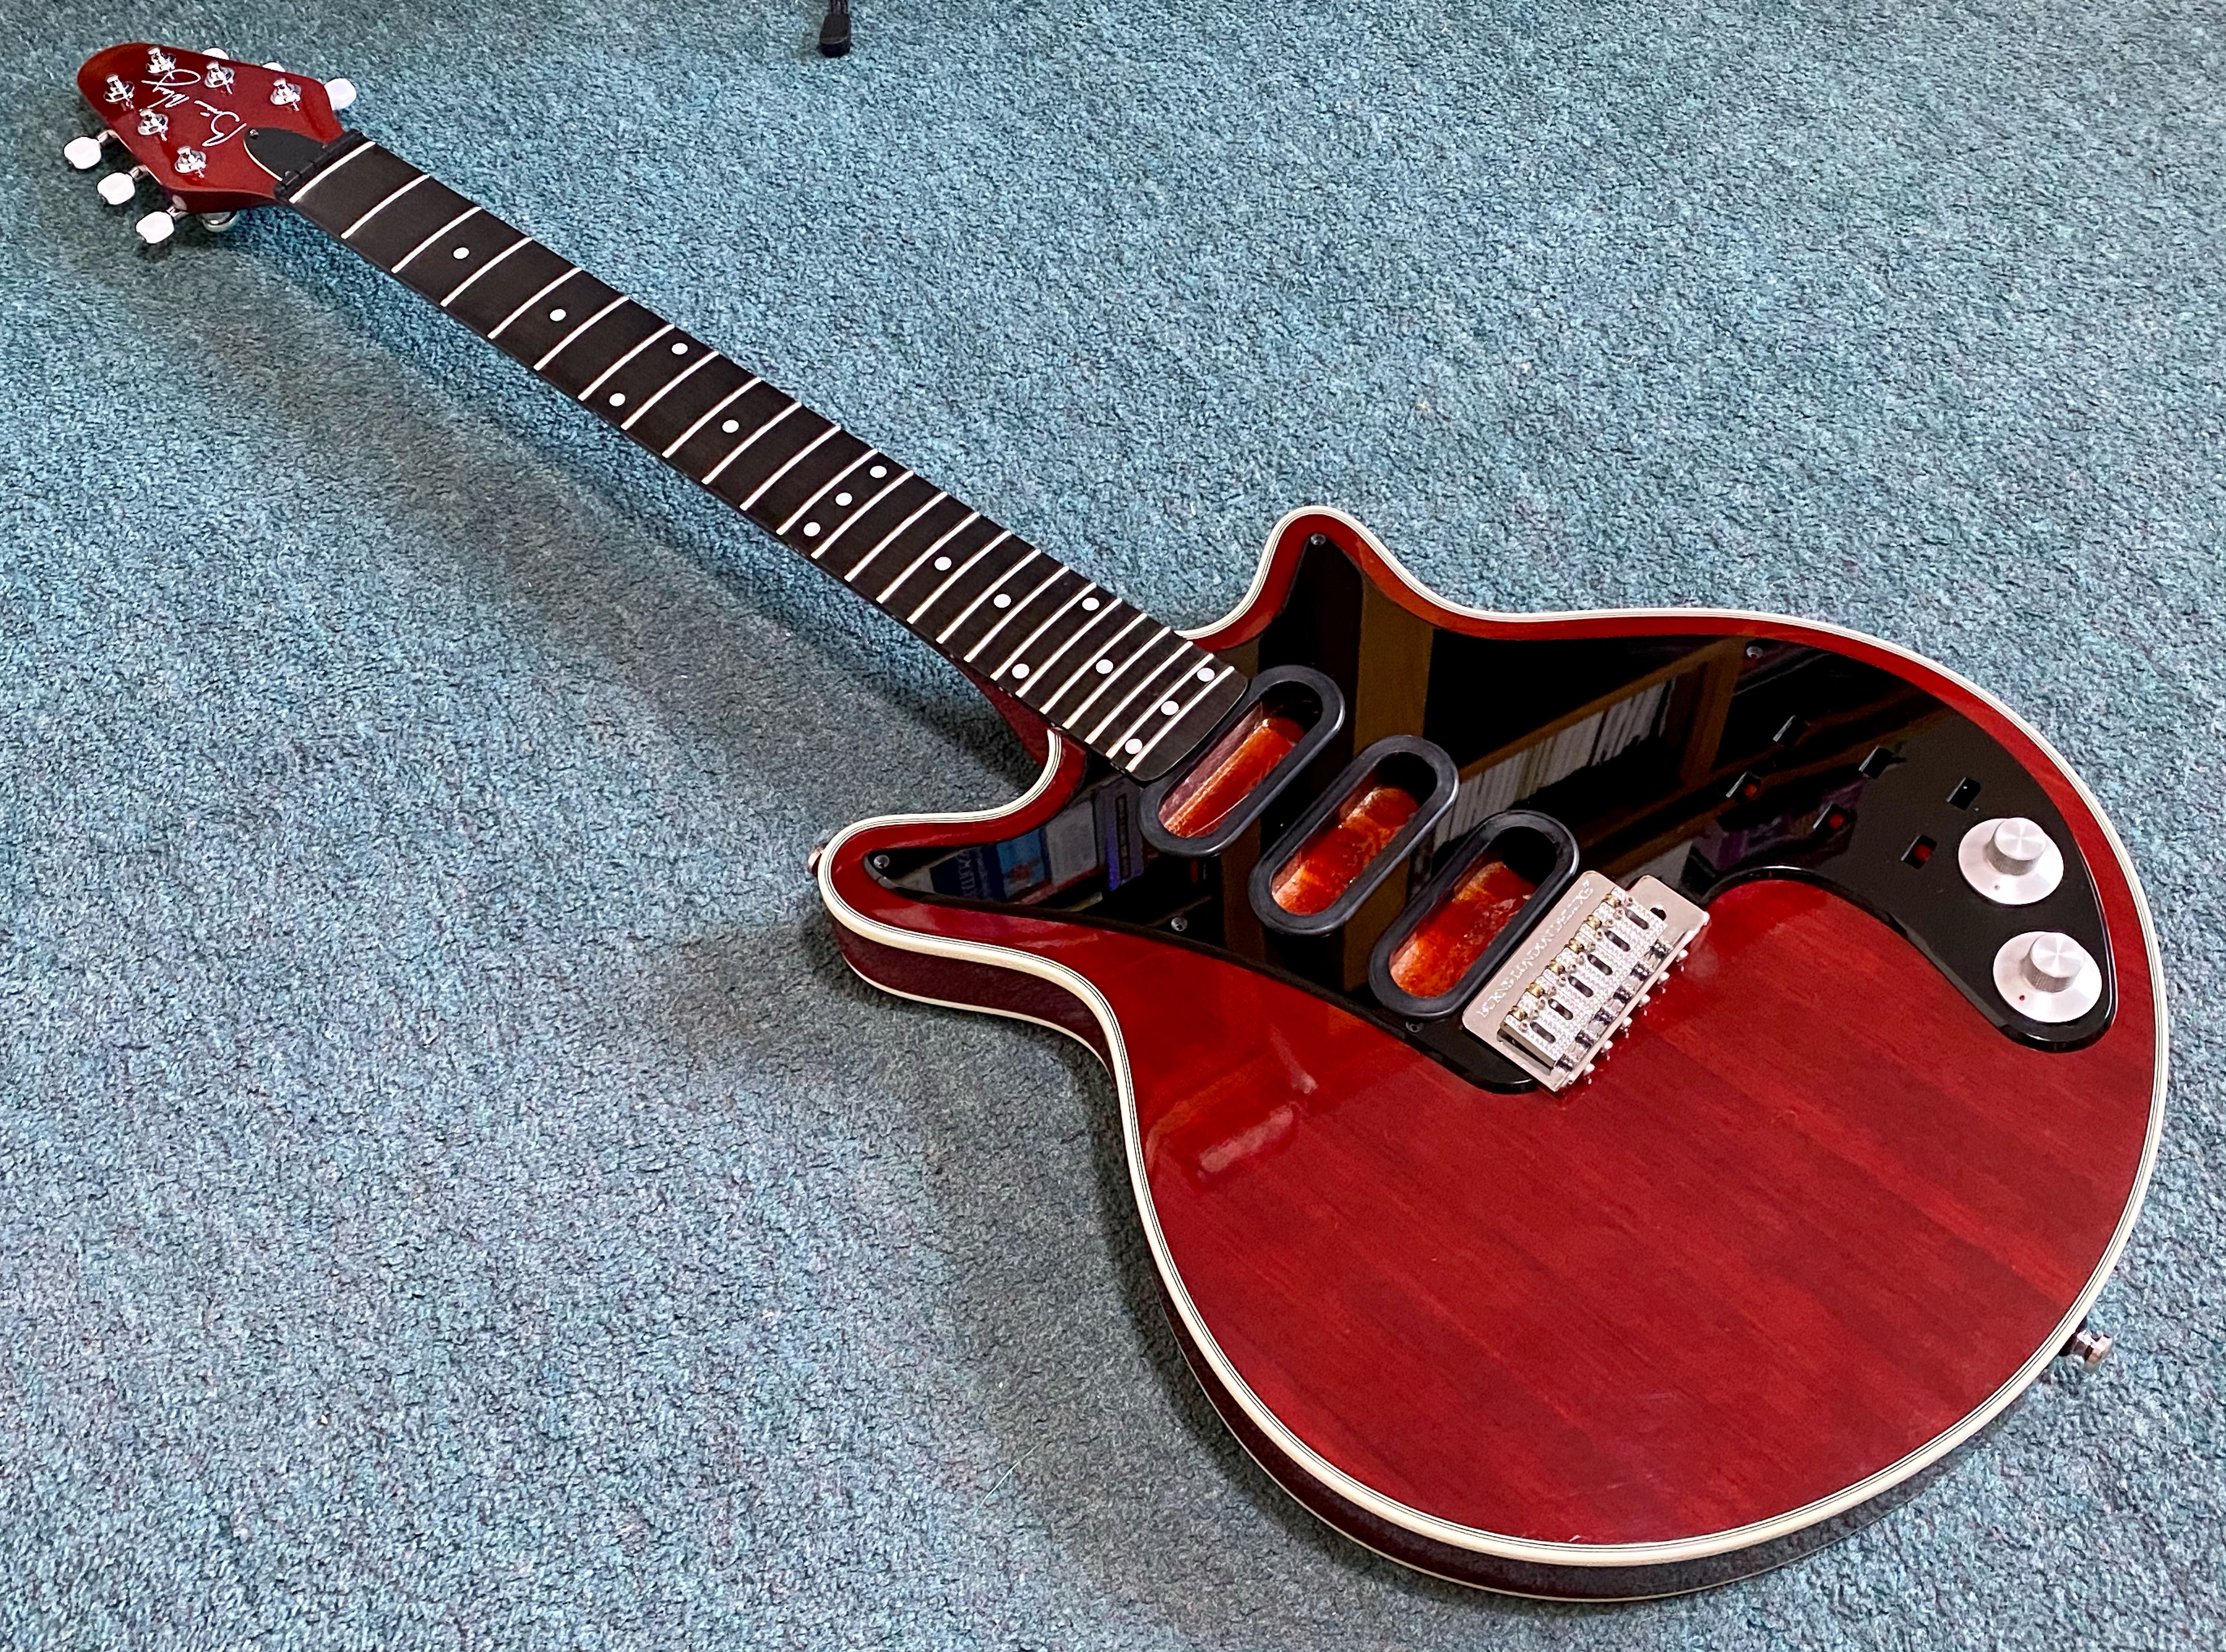
The first task after removing the freshly cut pickguard from the Stepcraft CNC machine bed is to dress the edge bevel first with 120 grit abrasive paper for safe handling and to avoid scratching the lacquer of the guitar body. In the embedded video below, I talk through the features of the new pickguard.
The fit, including the seating of all the screws into their countersinks was satisfactory so I moved on to mounting the switch carrier plate underneath the pickguard described in the next article in the series. Final preparation of the pickguard from this point involved squaring out the corners of the switch apertures with diamond files and dressing the edge bevel with graded abrasive papers from 300 through 600 to 2,000 grit wet and dry then final polishing with 3M scratch remover cutting compound and T-Cut polish.


Next article:
Part 5: Switch Mounting Plate
Previous article:
Part 3: Routing and Milling Operations
