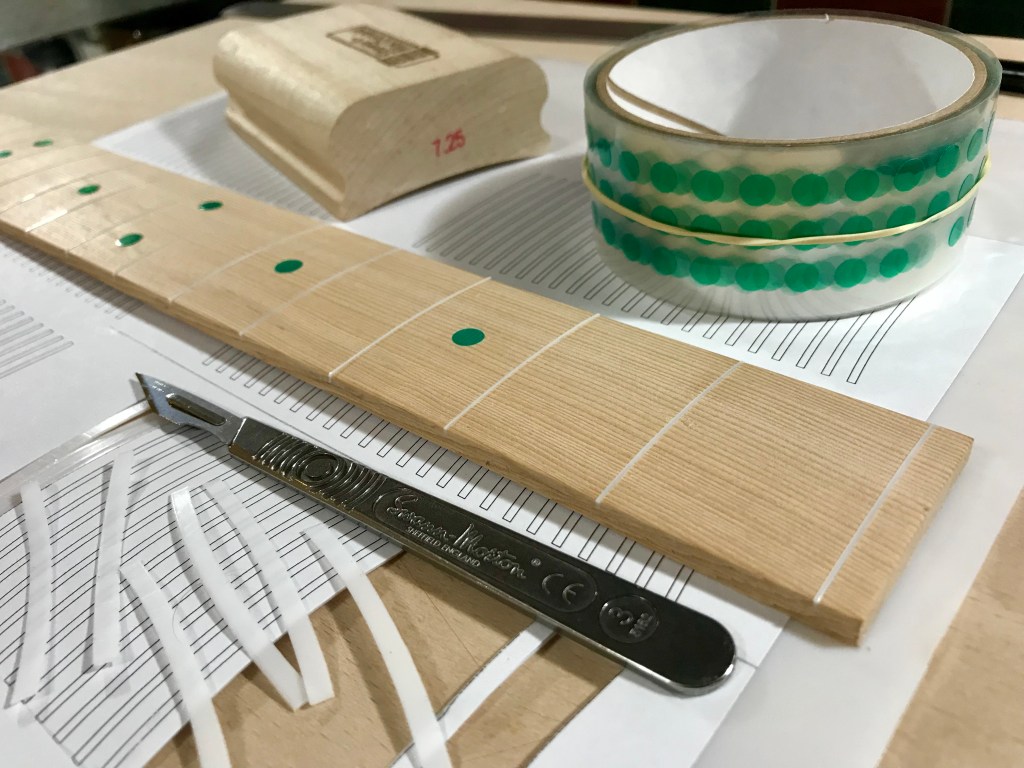
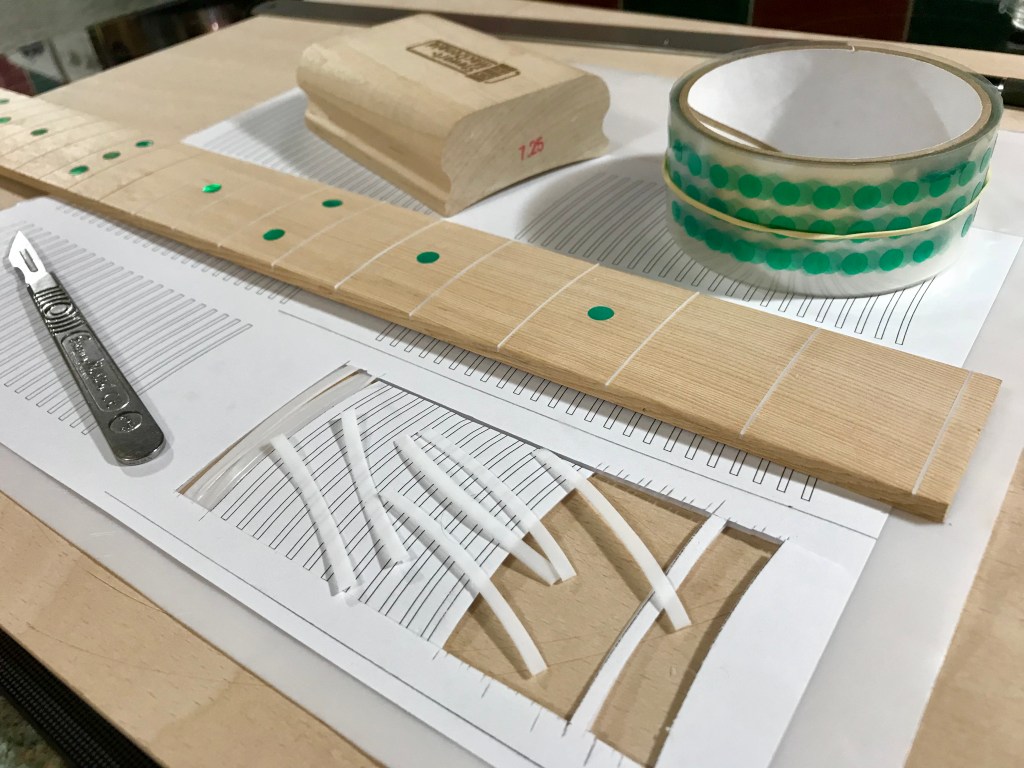
On the fretboard, any non-uniformity in the join between the oak fretboard and mahogany neck was made good with Ronseal high performance wood filler and scraped flush. The neck was then masked with a combination of 3M blue vinyl masking tape to ensure a sharp, well-defined edge and 3M Scotch Blue paper masking tape to completely cover the exposed wood. I masked the fret slots with 0.6 mm PTFE (Teflon) sheet cut into strips with a craft knife.
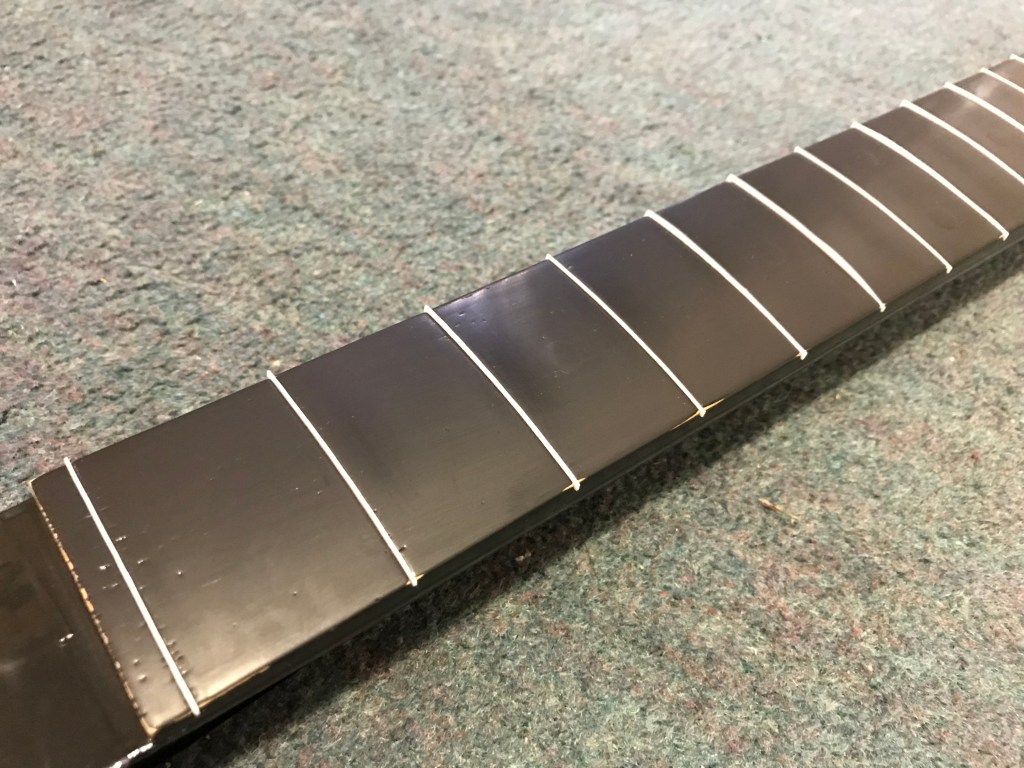
To finish the fretboard, I used Plasti-Kote brand aerosol based black paint which is described by the manufacturer as “ultra smooth, providing flawless coverage that dries quickly to a tough, durable finish”. I applied three light coats of matt black primer then three coats of gloss. I elected to remove the fret slot masking strips and lightly cut back the coating at this stage to assess the coverage and response of the paint to abrasion. You can see from the attached images that the wood grain remains clearly visible after the three primer coats and one gloss coat, and that pockmarks remain after three gloss coats have been applied.
It is difficult to fully exclude dust and debris unless a ventilated spray booth or hood with filtered supply and extraction is used. I don’t have access to such a facility so the best budget solution I could achieve was the very large cardboard box that housed my Makita 2704 table saw. I vacuumed out airborne overspray and shut the lid flaps after each coat. I raised the ambient temperature in my garage using a thermostatically controlled Dragon oil-filled radiator to 25-30°C before spraying and during curing for best results.


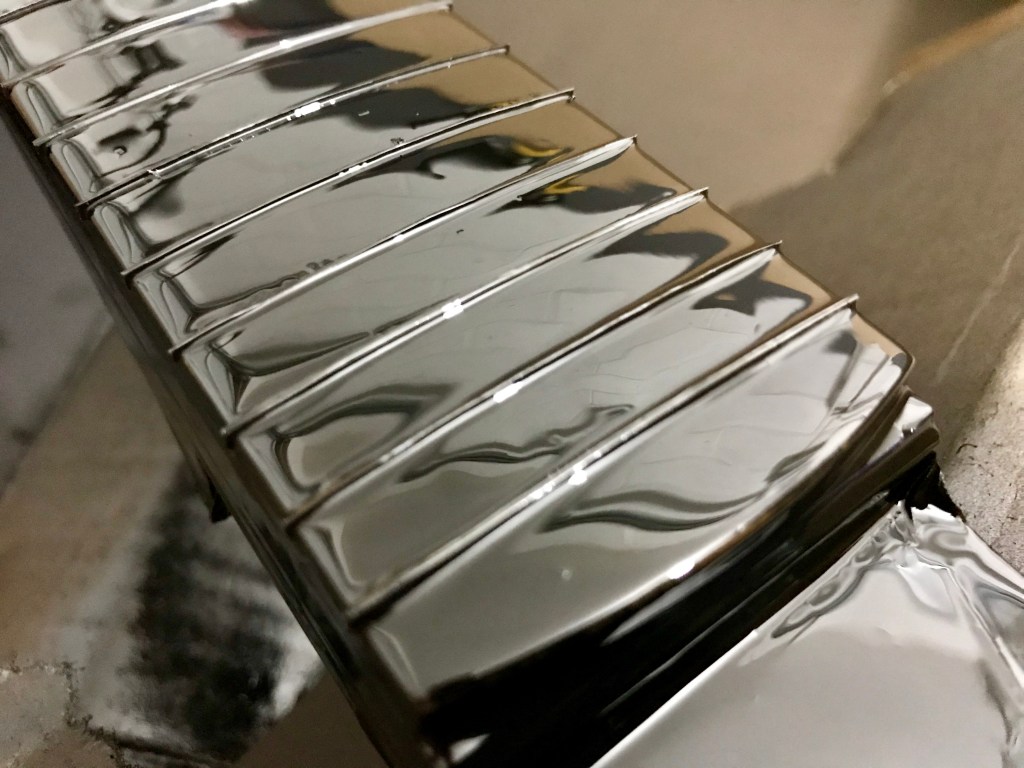


After flatting back with 2000 grit wet and dry abrasive paper and super fine finishing pads, I inserted fresh PTFE masking strips and applied a further four coats of gloss black Plasti-Kote. The result at this stage is highly satisfactory but a further flat-back and re-coat will still be required to guarantee that any embedded debris is removed and pockmarks are fully filled.
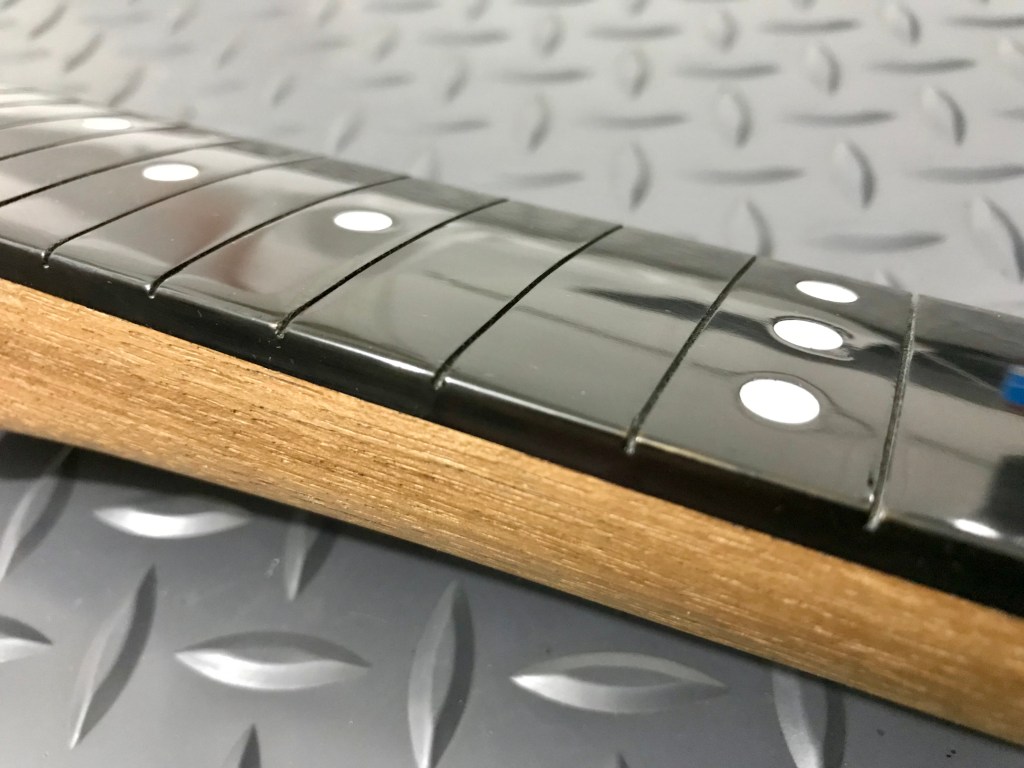
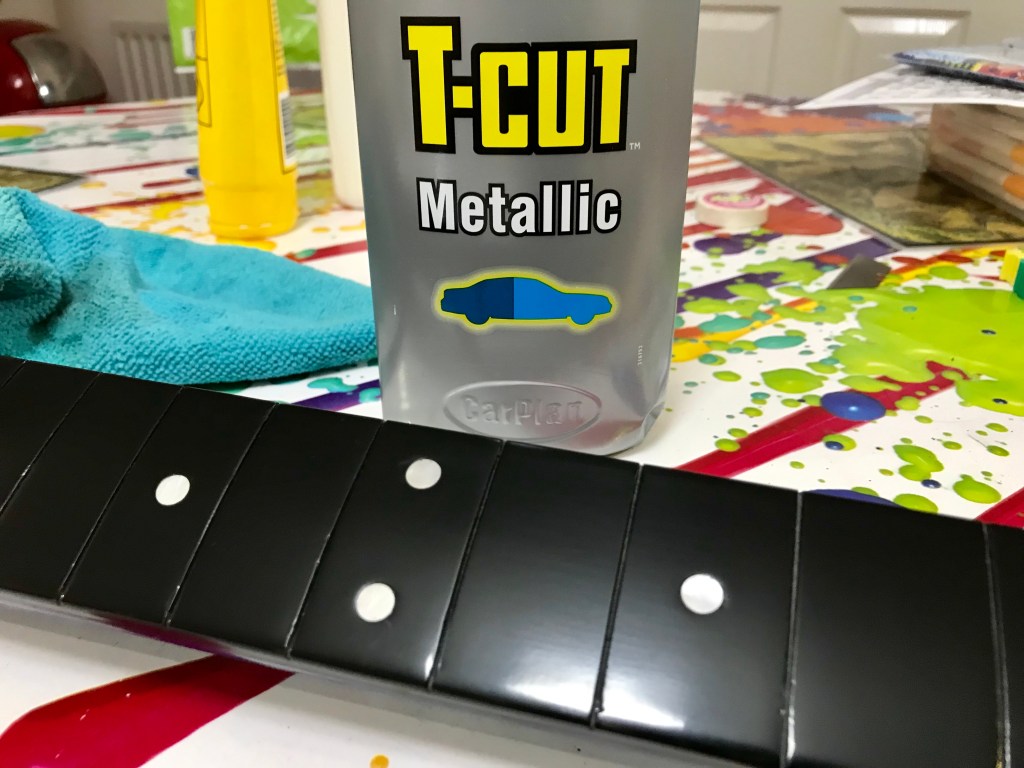
To complete the fretboard finishing, I removed any small surface flaws in the otherwise uniform, gloss black paint finish with 3M polishing papers then buffed back to a reasonable shine with the T-Cut variant for metallic finish vehicles and a micro fibre cloth. The Plasti-Kote gloss black aerosol paint is very durable and can be worked to a reasonable extent prior to applying clear lacquer. I scraped the paint off the masking dots carefully using a thin wooden dowel fashioned into a chisel point, removed the masking dots and used the dowel again to sharpen the paint edge around the dots. In this way, flaking of the surrounding paint can be avoided.


With the masking tape still applied, I carefully scraped off overspray to expose the blue vinyl masking tape then dressed the side with 3M polishing papers and buffed before removing all the masking tape. This left a sharply defined linear edge between the painted oak and the mahogany. I inadvertently scraped some black paint off the back rounded edge of the fretboard so some touching up will be required before moving on to lacquering. In retrospect, I did not need to apply so many coatings of gloss paint and should have deployed the very fine polishing papers and T-Cut buffing once all the depressions, etc. had been filled several coats previously.
Next article:
Part 51: Guitar Body Finishing
Previous article:
Part 49: Neck & Fretboard Finishing Preparation and Re-Work
