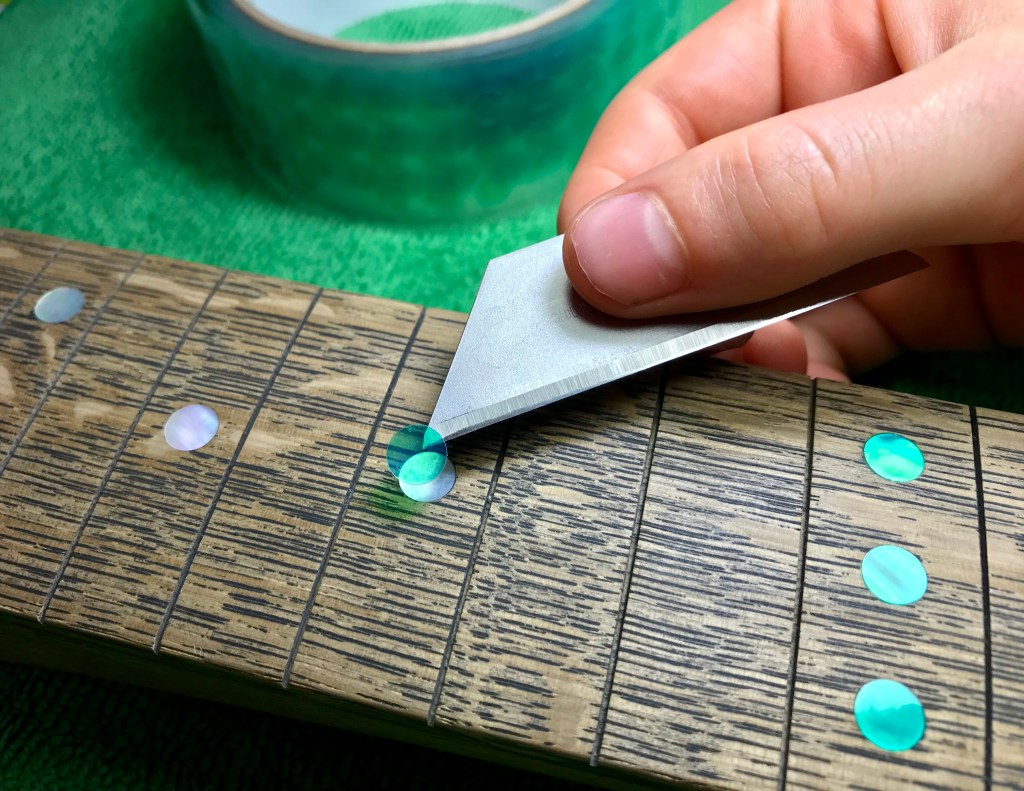
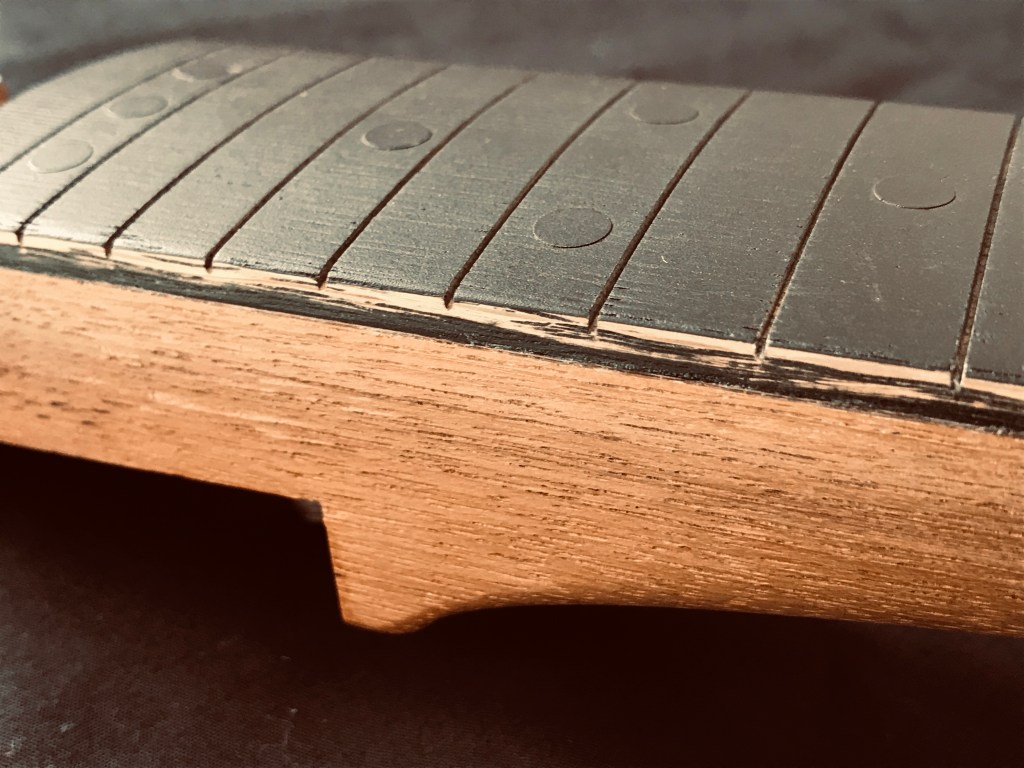
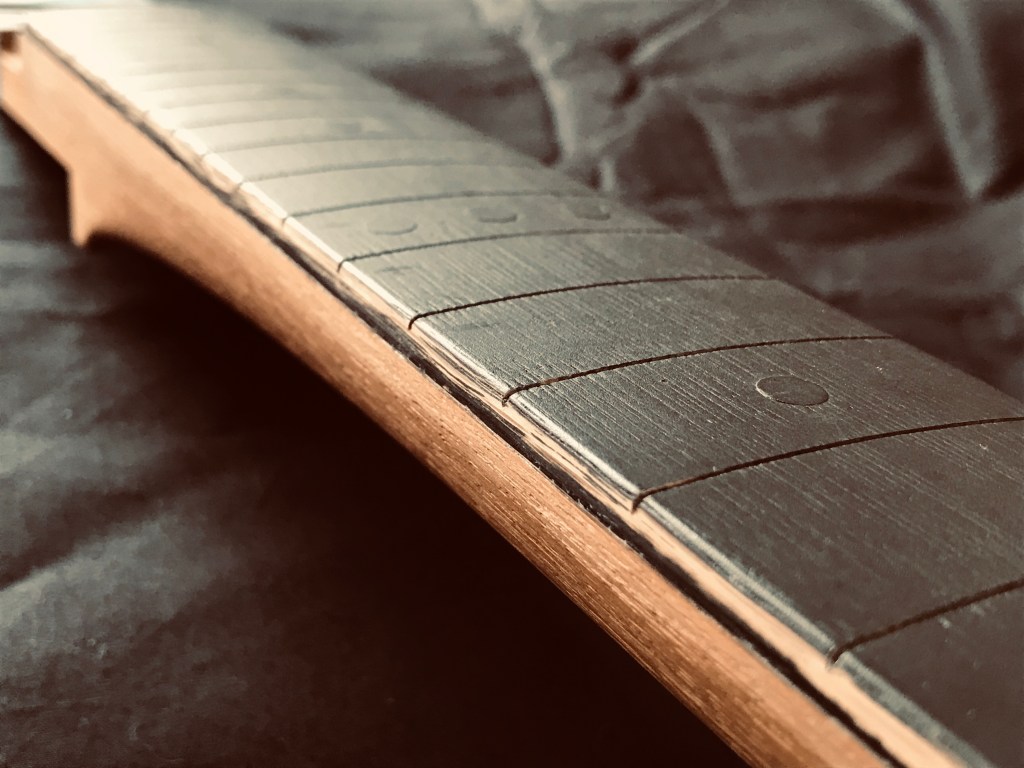
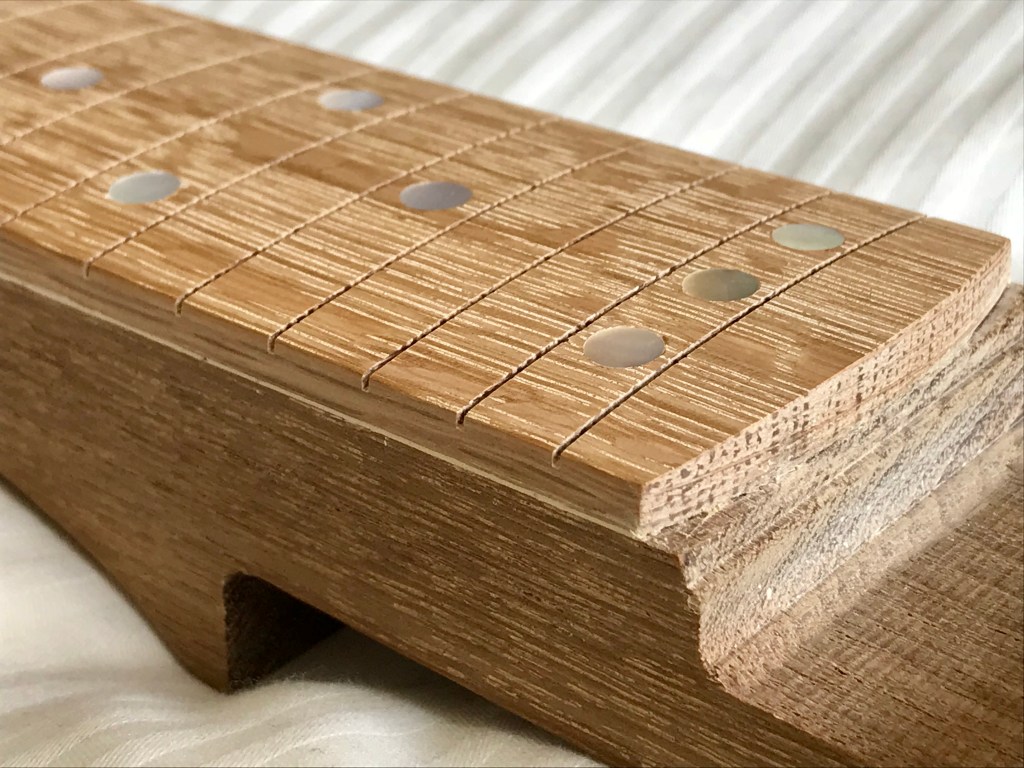
I prepared the fretboard for finishing by grain filling using W S Jenkins black Jecofill then flatting back with super fine grade wire wool and applying masking dots over the MoP fretboard markers. I masked the fret slots themselves with strips cut with a craft knife from 0.6 mm PTFE/Teflon sheet. I masked the join between the oak fretboard and mahogany neck on the neck side using 3M blue vinyl tape to obtain a sharply defined border and masked off the remainder of the mahogany neck with blue Scotch masking tape before spraying several coats of Plasti-Kote black undercoat on the fretboard.


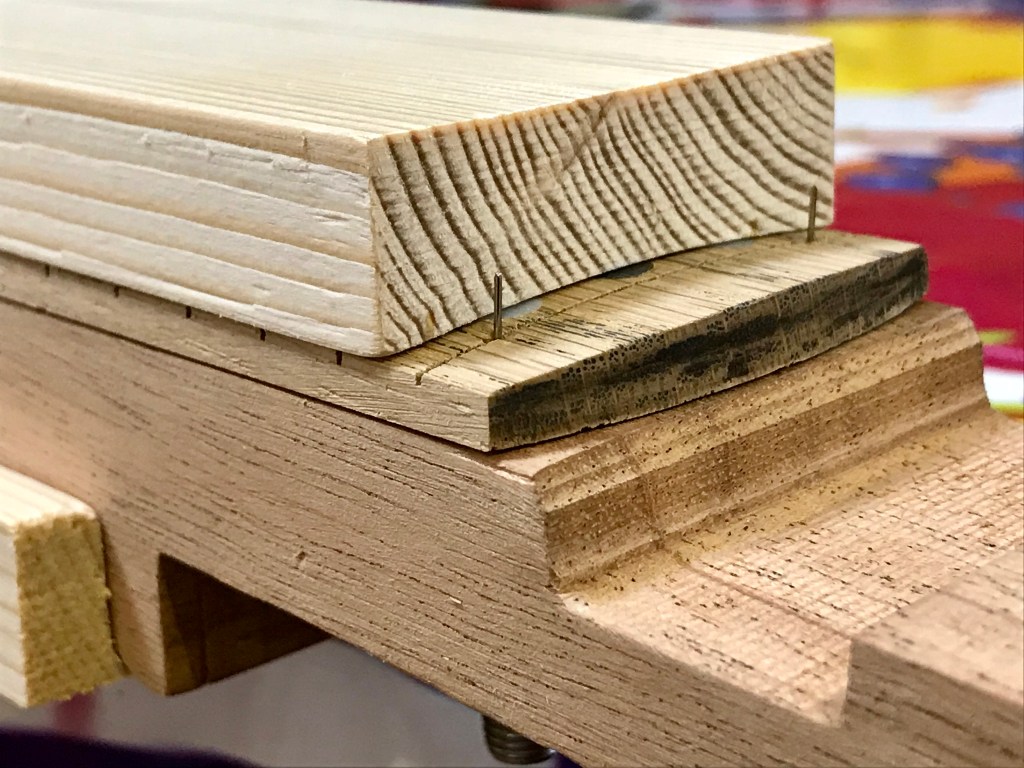
I carried out a test on the rough/test Khaya neck and oak fretboard, pinning the fretboard to the neck by drilling two 0.6 mm holes in the zero fret and the 24th fret with carbide drill bits (for stiffness) then inserting 0.6 mm diameter (23 SWG) stainless steel wire to hold it in position during gluing/clamping. This worked well so I proceeded to glue up the assembly again.
It is common practice to achieve this using panel pins which are 1/16″ (1.6 mm) diameter; the resulting larger hole will of course be hidden under the fret crown but I wondered if it was possible to do it in a more discreet way and still achieve a precise result. This appears to work and the increased stiffness of the stainless steel wire over standard steel wire undoubtedly helps in this regard. At this stage, the neck is ready for a recoat of Plasti-Kote on the edges before moving forward to applying the gloss black top coats.

In the video below, recorded during May 2021, a year after I completed the build project, I demonstrate how to make an acetate stencil (1:1 scale PDF file embedded below) using my CNC machine to help paint on the fretboard side markings (a detail which I never completed). I also demonstrate two alternative techniques to ebonise/black coat the oak fretboard that prospective Red Special builders should consider: Liberon wood dye and black cyanoacrylate superglue. The video lasts approximately 19 minutes and consists of twelve individual sequences which are time indexed in the description.
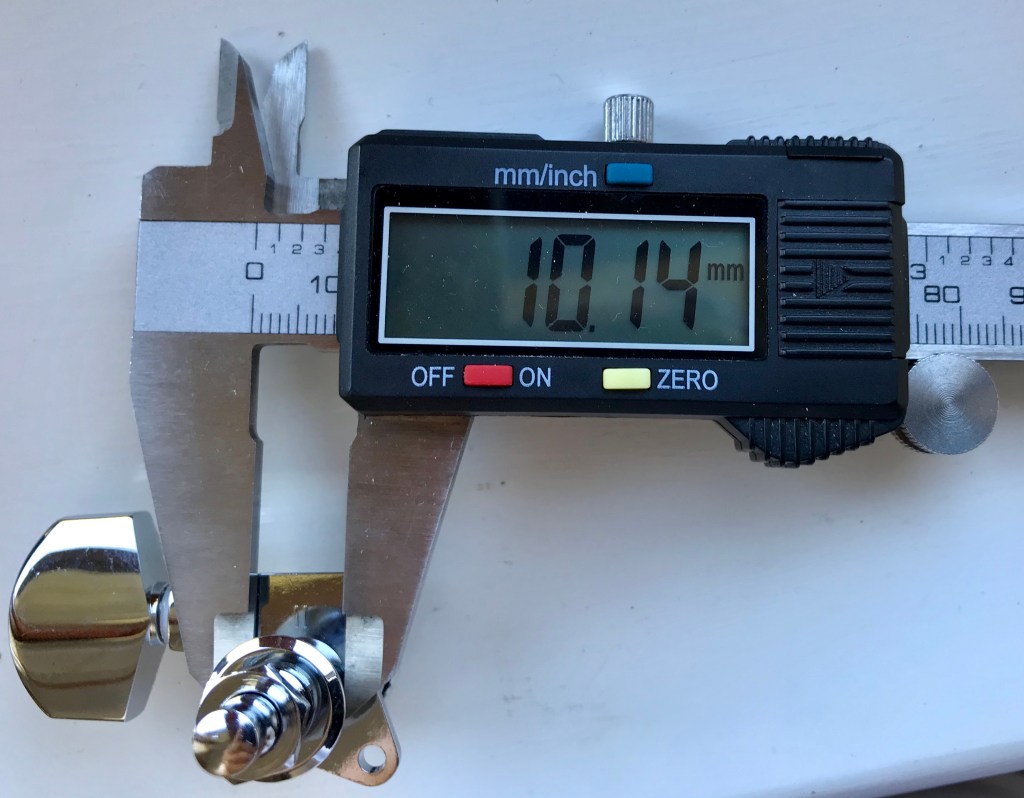
The tuner holes in the headstock were initially drilled to 3/8″ (9.5 mm) diameter then reamed accurately with a reamer of specific diameter to match the shaft diameter of the Schaller M6 3L3R chrome locking tuners (9.80 +/- 0.05 mm). However, I noticed when checking the actual diameter with digital calipers that three of the tuners in the set I bought two years ago have a non-uniform shaft diameter; this tapers to 10.10 +/- 0.05 mm at the base, presumably due to a manufacturing issue during chroming. The supplier (Touchstone Tonewoods) agreed to replace that set but it is worthwhile checking the actual dimensions of every component before fitting, especially if fine tolerances are required to ensure the correct fitting.


I experienced a setback when over-zealously drying the Plasti-Kote black undercoat spray paint in that the fretboard lifted of the neck. However, this presented an opportunity to (a) swap the undersized bolt I inadvertently fitted for one of the correct length and (b) design and implement a more robust method to reattach the fretboard than my initial attempt when the neck was still attached to its uncut surrounding frame. To this end, I designed and CNC cut some bespoke clamping cauls from spare 18 mm thick softwood timber: one with a 7.25″ radius and the same shape as the fretboard for the top and two with negative profiles of the underside of the neck and part of the tenon section.
Next article:
Part 50: Fretboard Finishing
Previous article:
Part 48: Drilling the Body and Neck Holes and Rebates
