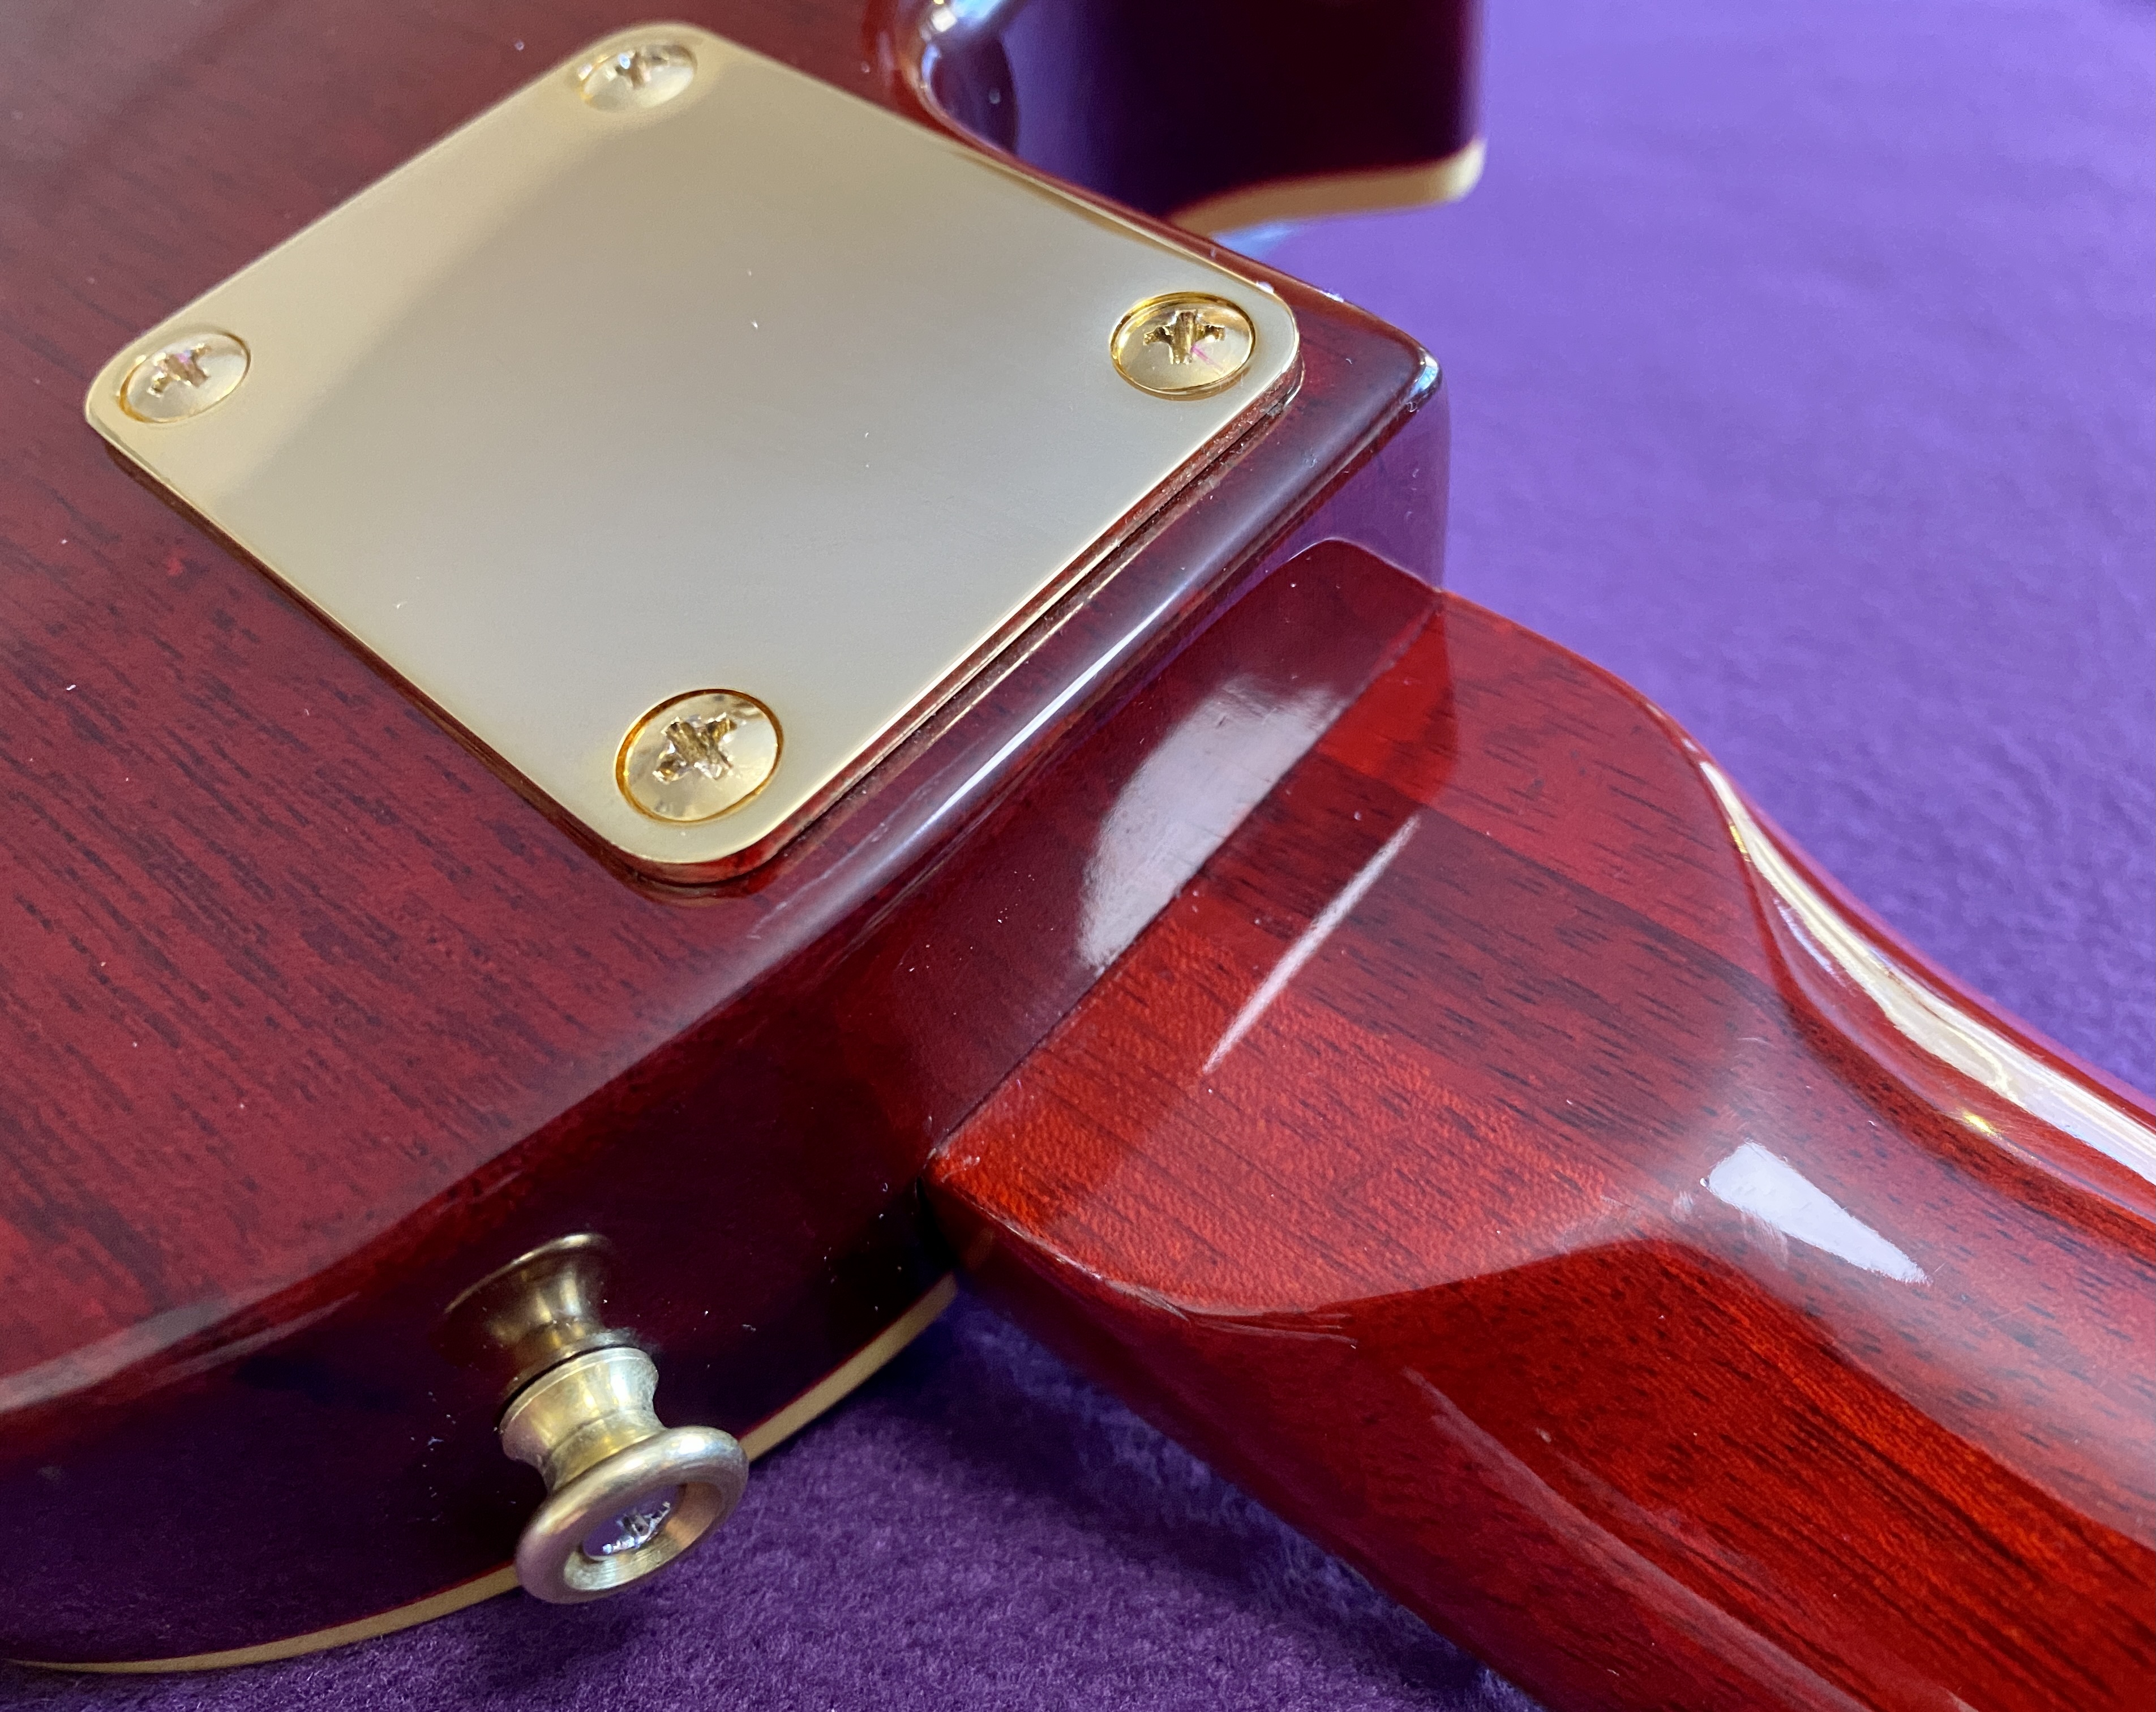
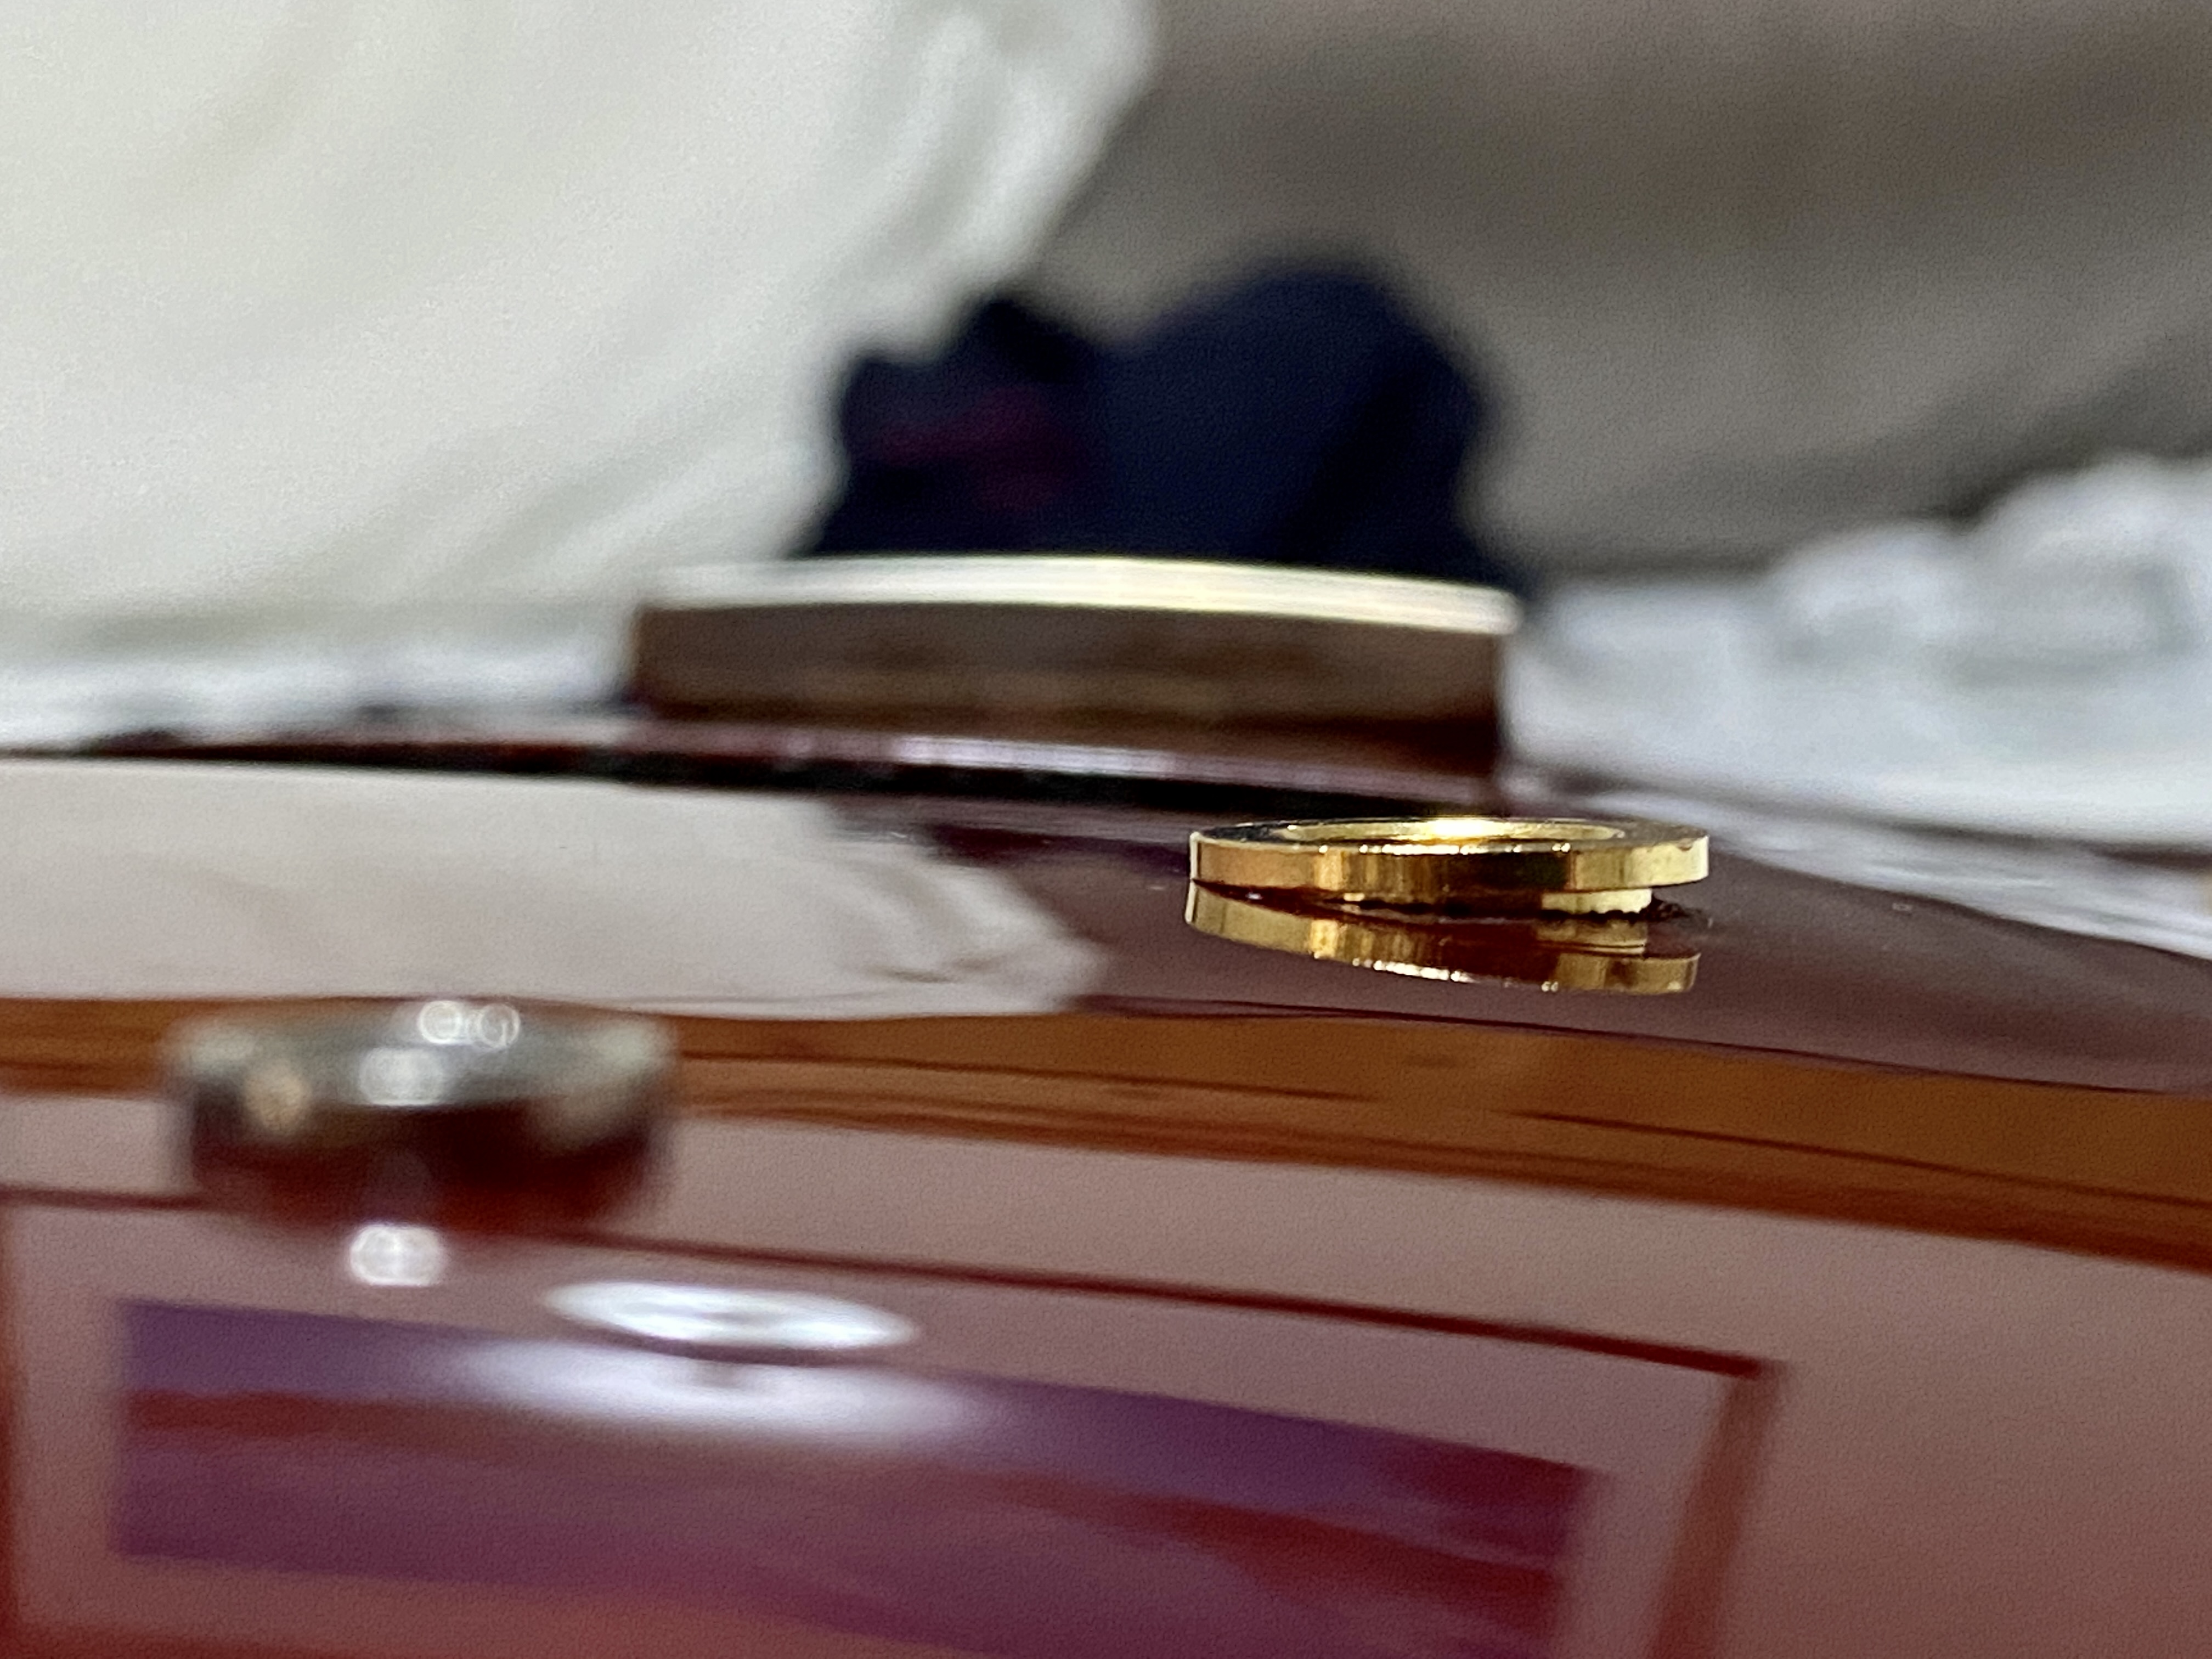
Although I initially intended to replace the generic hardware with genuine Gibson branded items where possible, the lack of availability of genuine hardware during global pandemic conditions in 2020/21 caused me to reevaluate this strategy. On reflection, this was not sensible, primarily because OEM hardware is often made on the same production lines as unbranded aftermarket equivalents then sold at large mark-ups, and where authenticity is not a significant factor in a guitar build, conversion or upgrade project, many good options are still available. This is certainly the case with Alnico II PAF humbucking pickups and Nashville style bridges. Ultimately, the only Gibson OEM hardware I bought was the brass strap buttons.
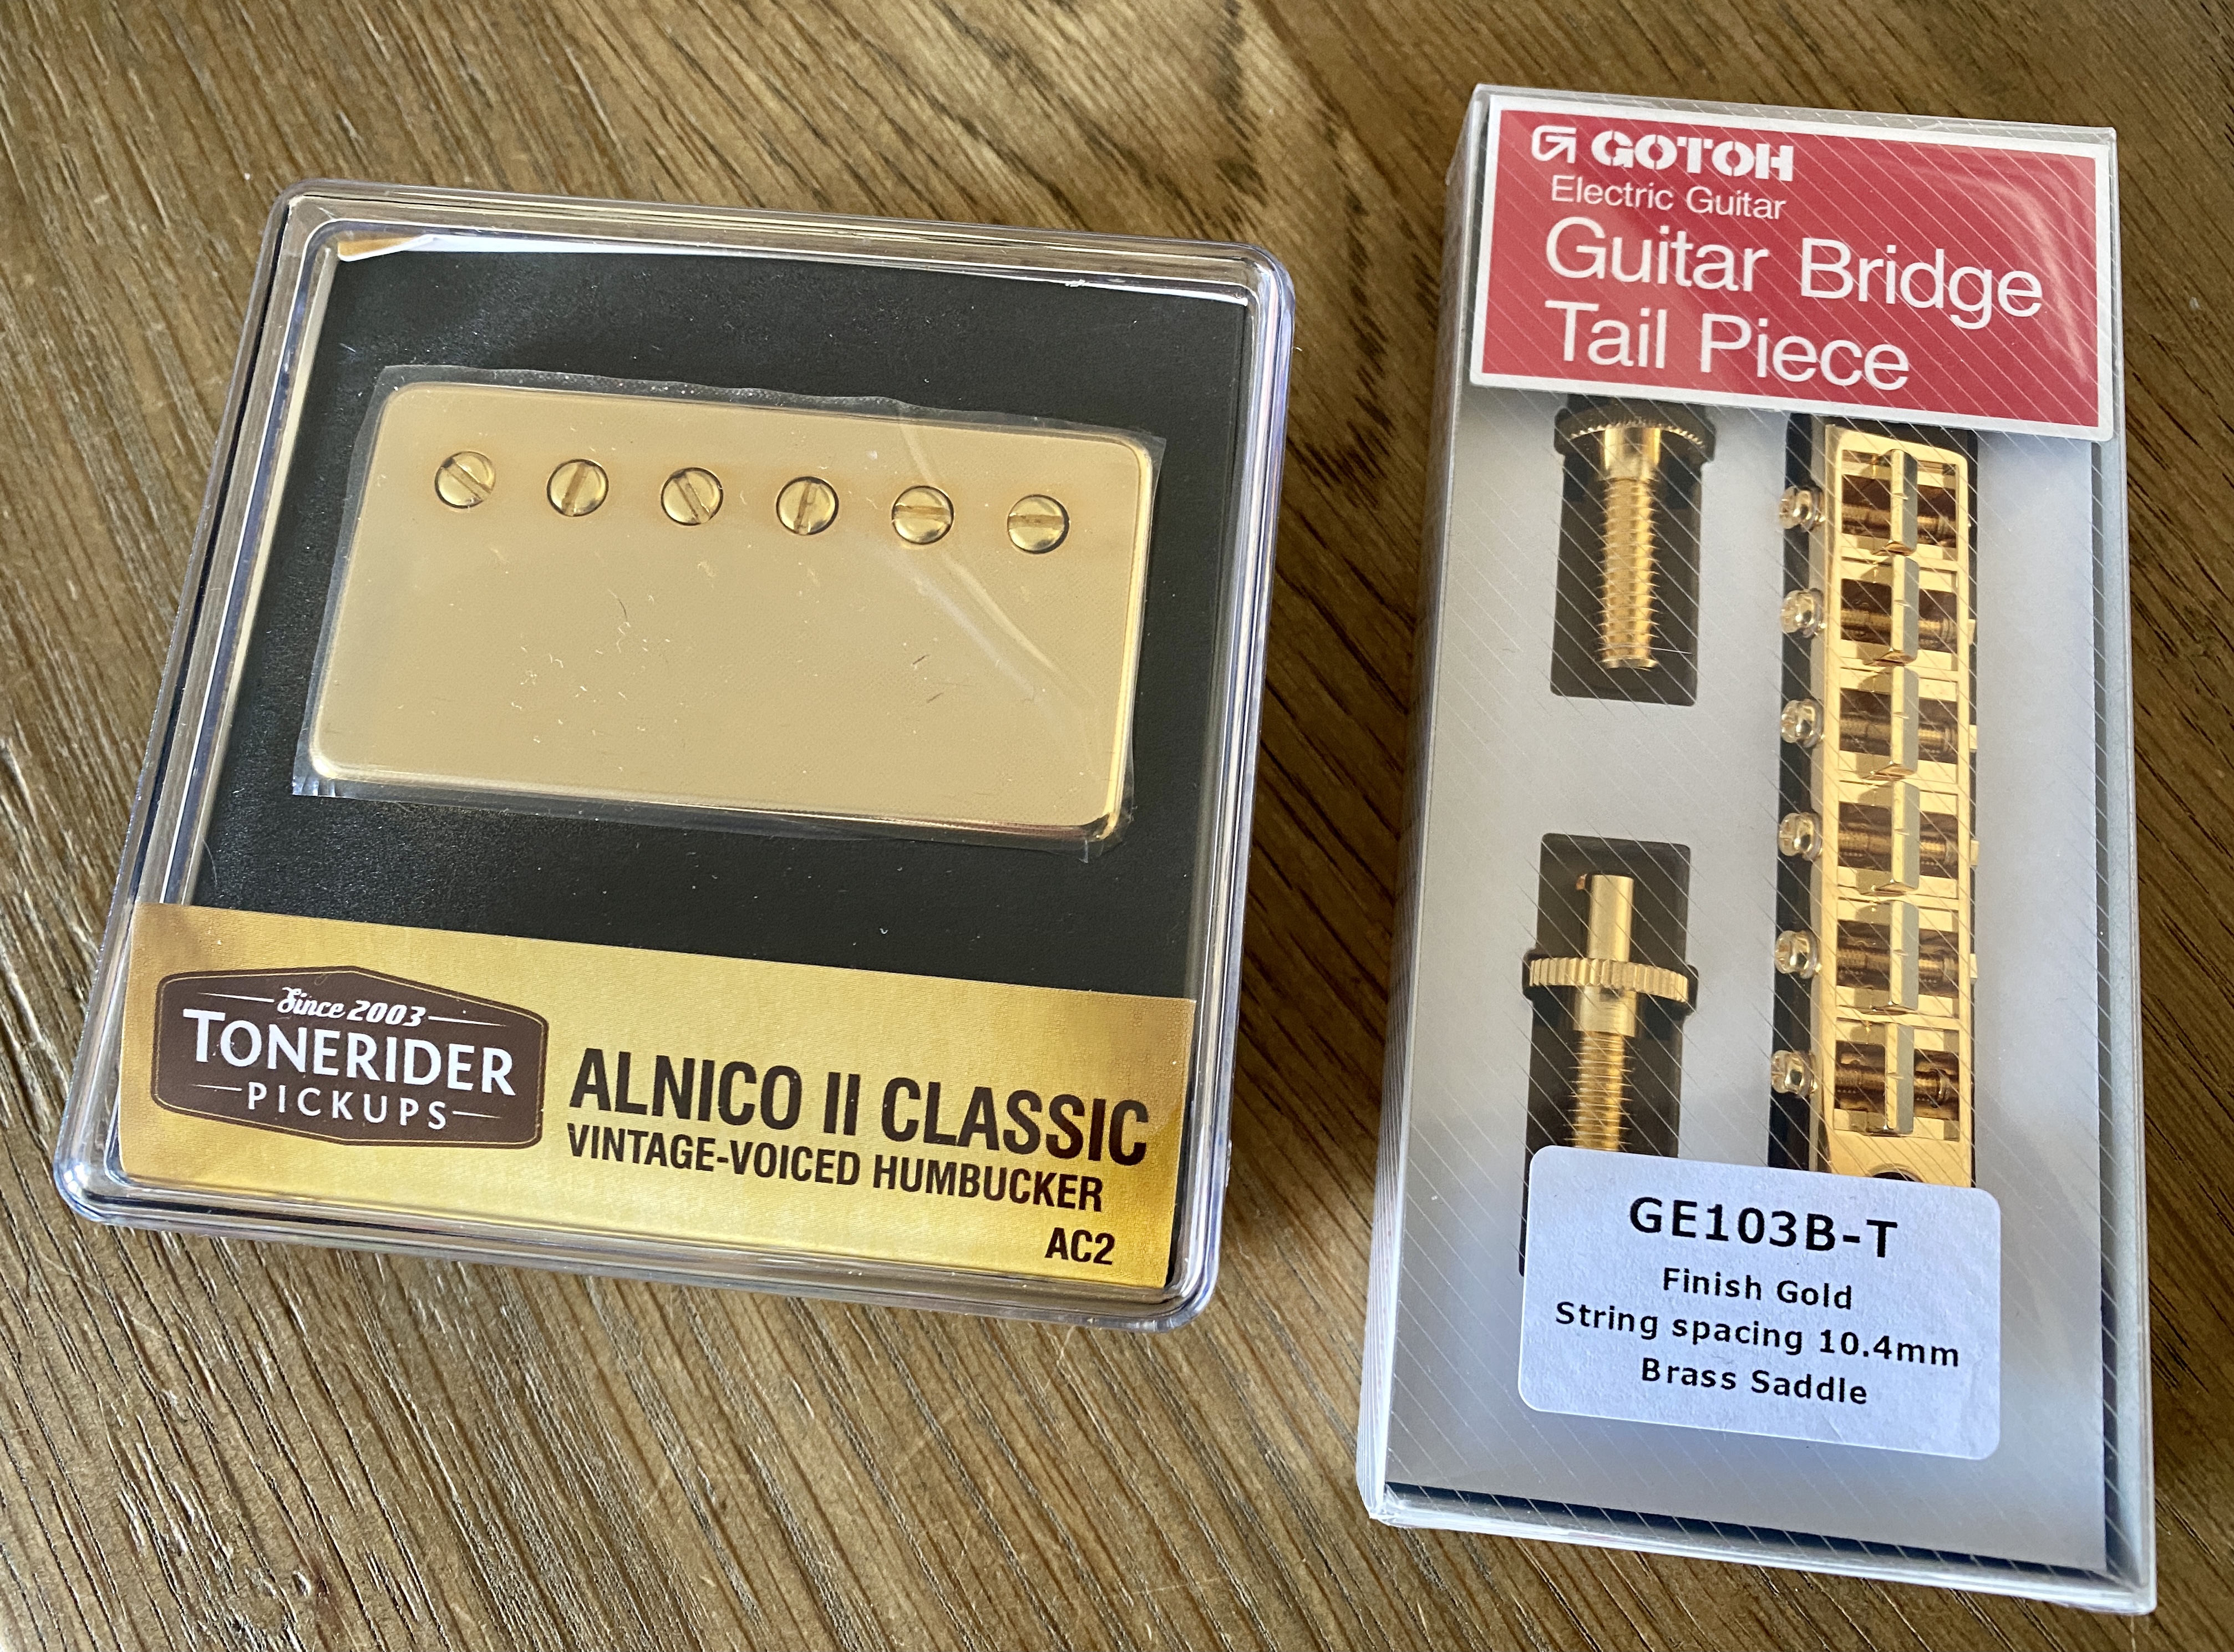
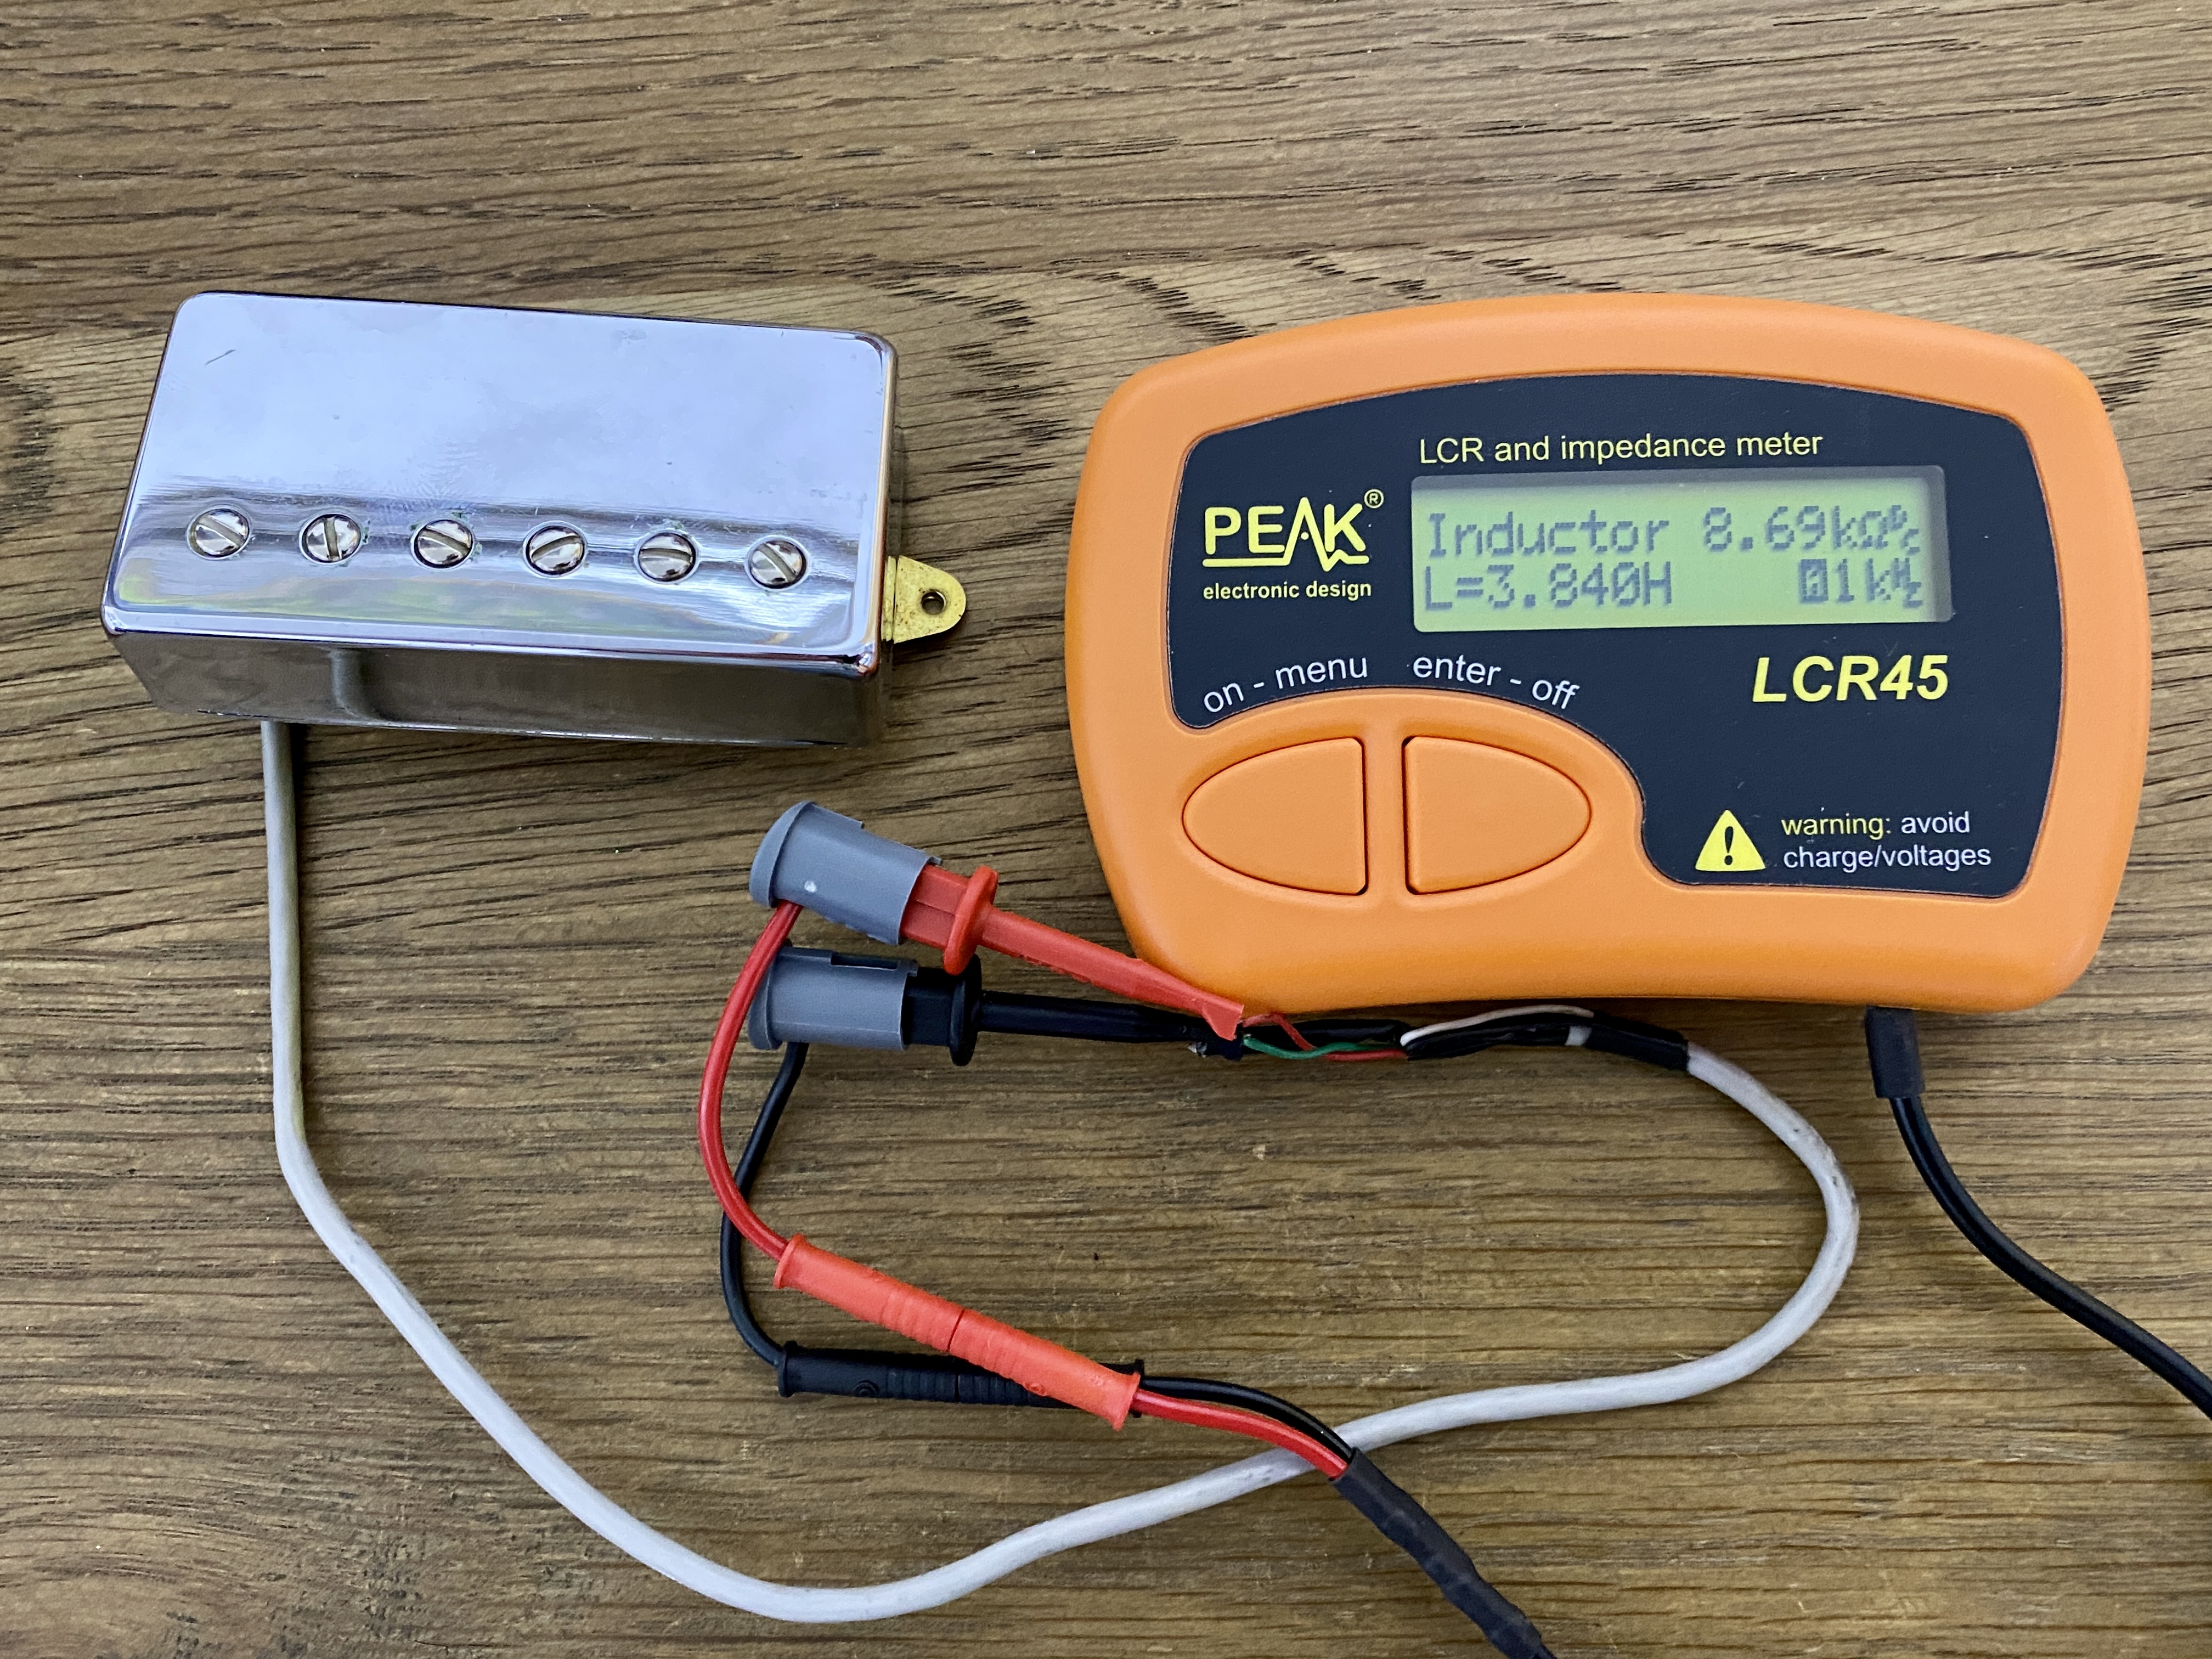
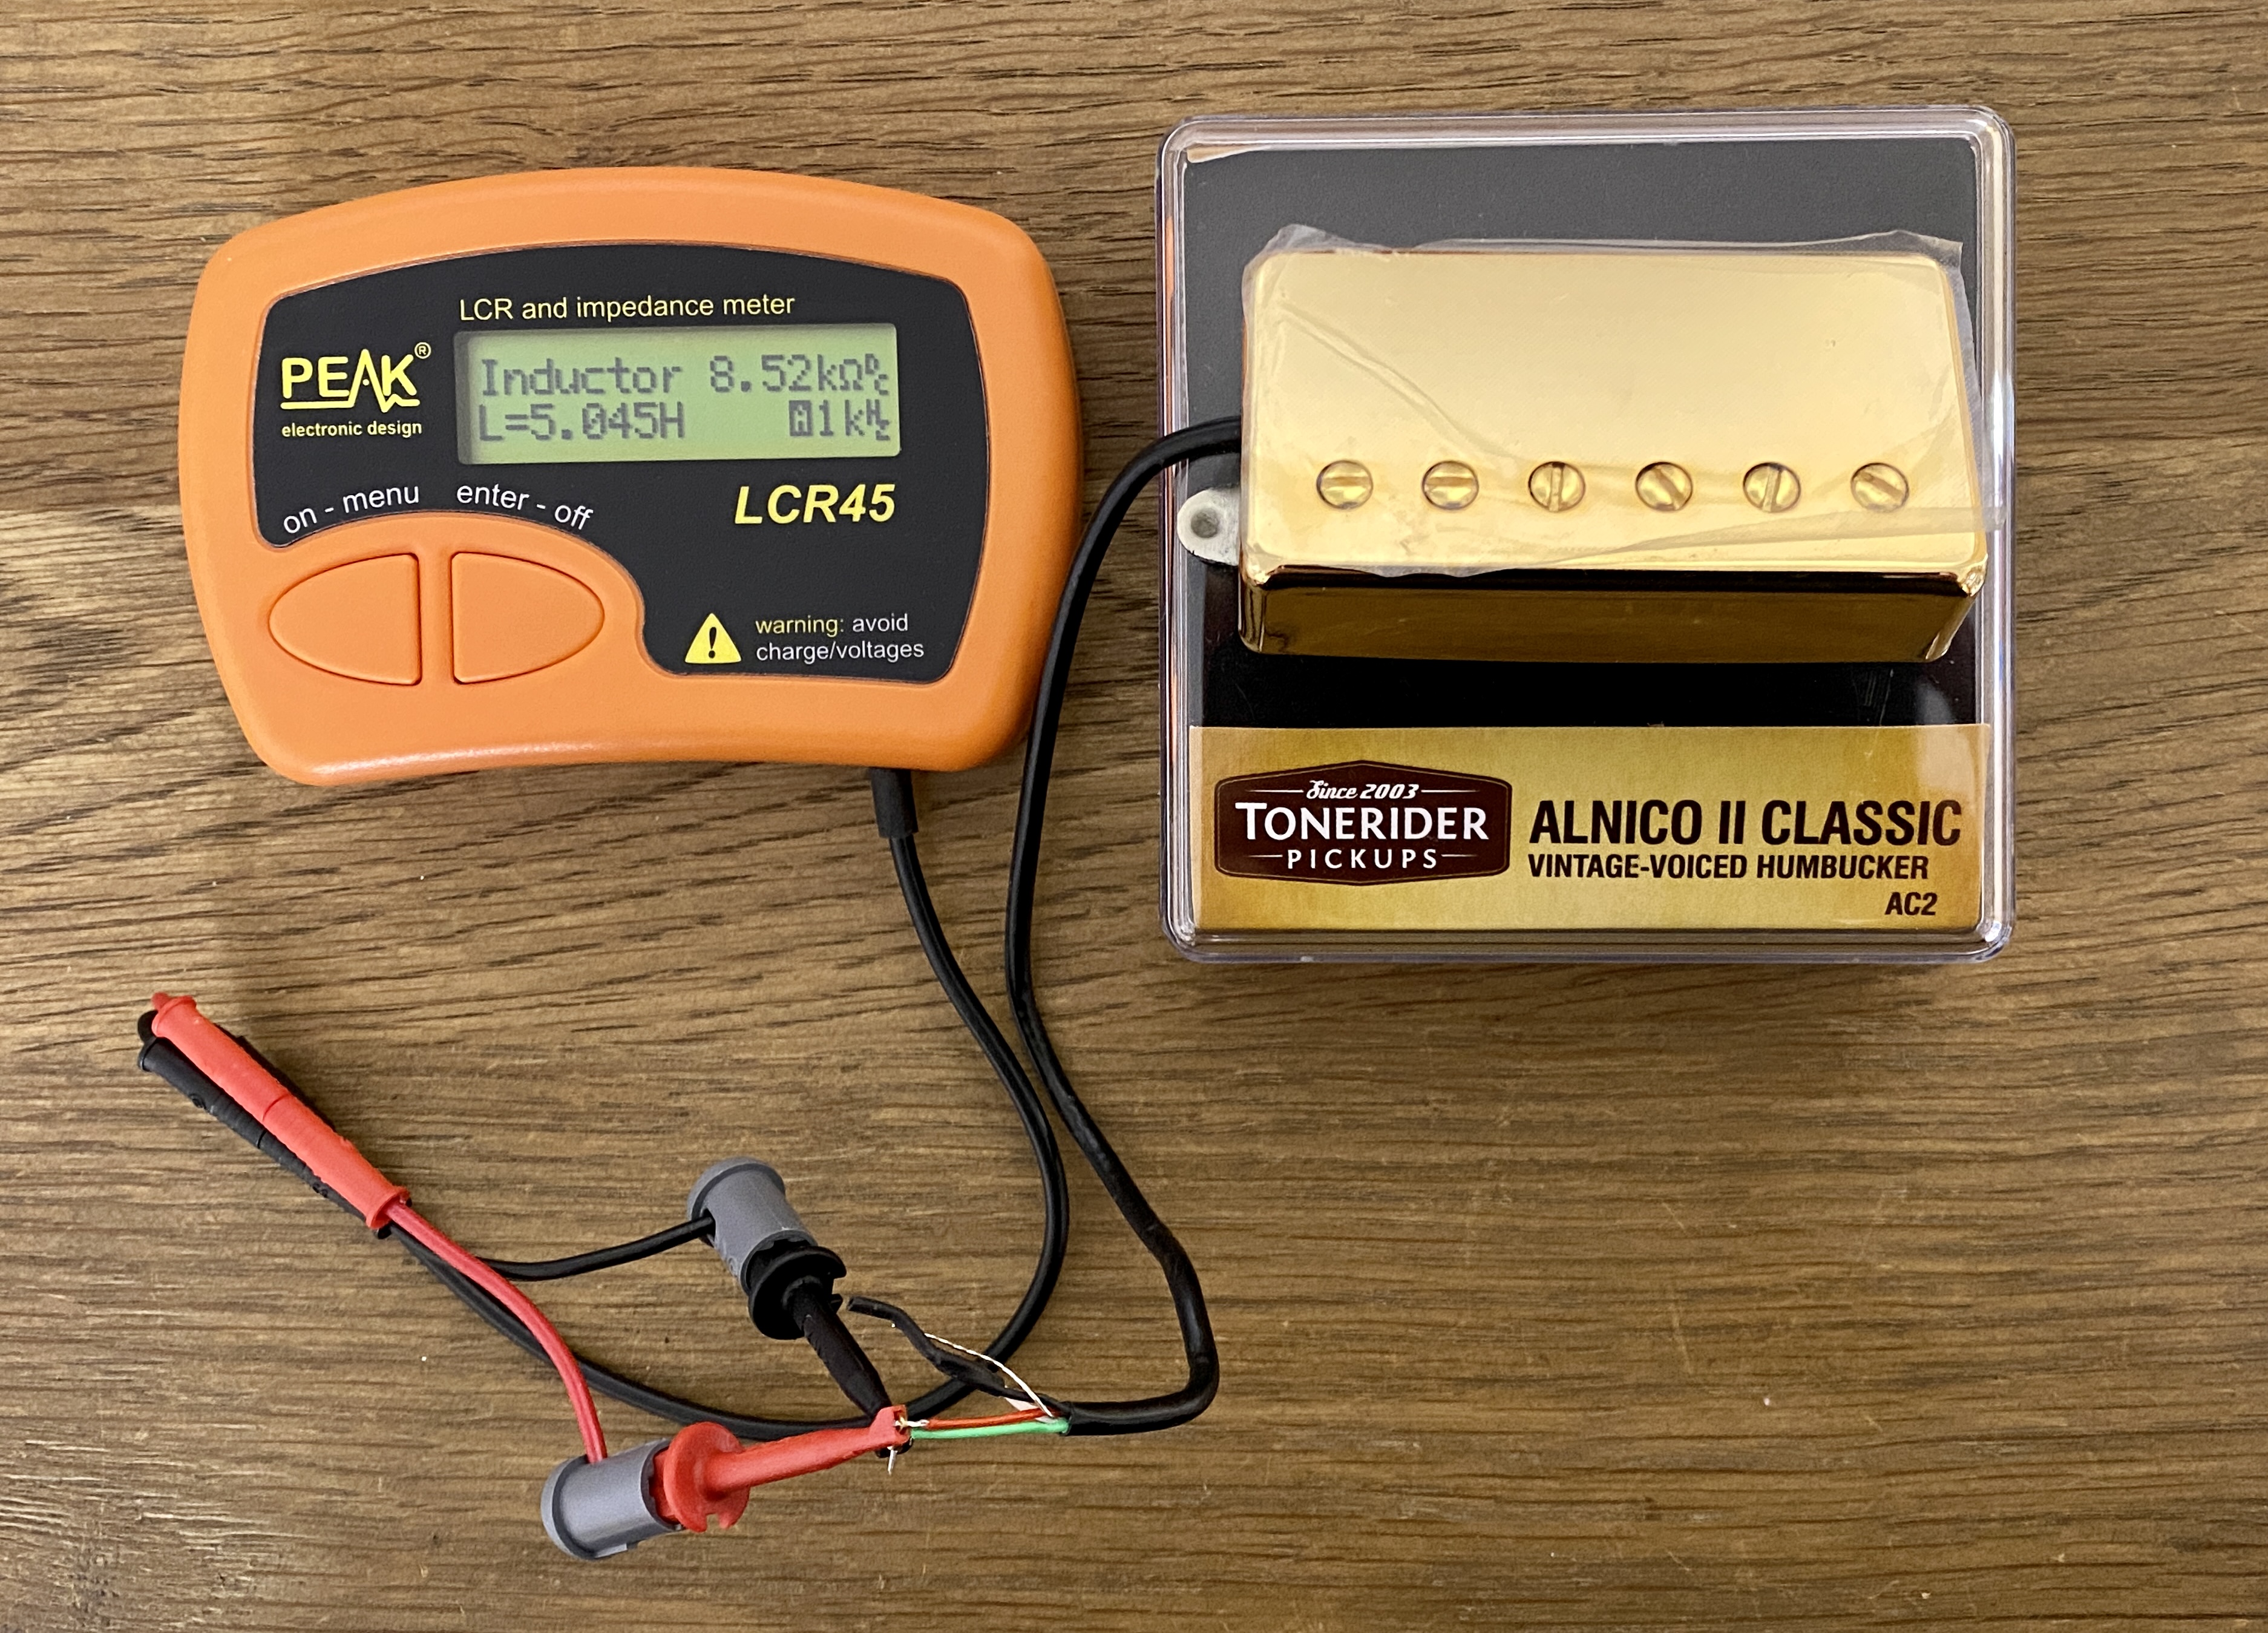
The Tonerider Alnico II Classic vintage voiced humbucker was a good find. I bought this one from NorthWest Guitars in the U.K as shown in the parts and suppliers schedule below. The bridge pickup cost £46 and a set of two cost £90 at the time of writing. As you can see, although the DC resistances are similar, the inductance is substantially higher than the original fit generic pickup.
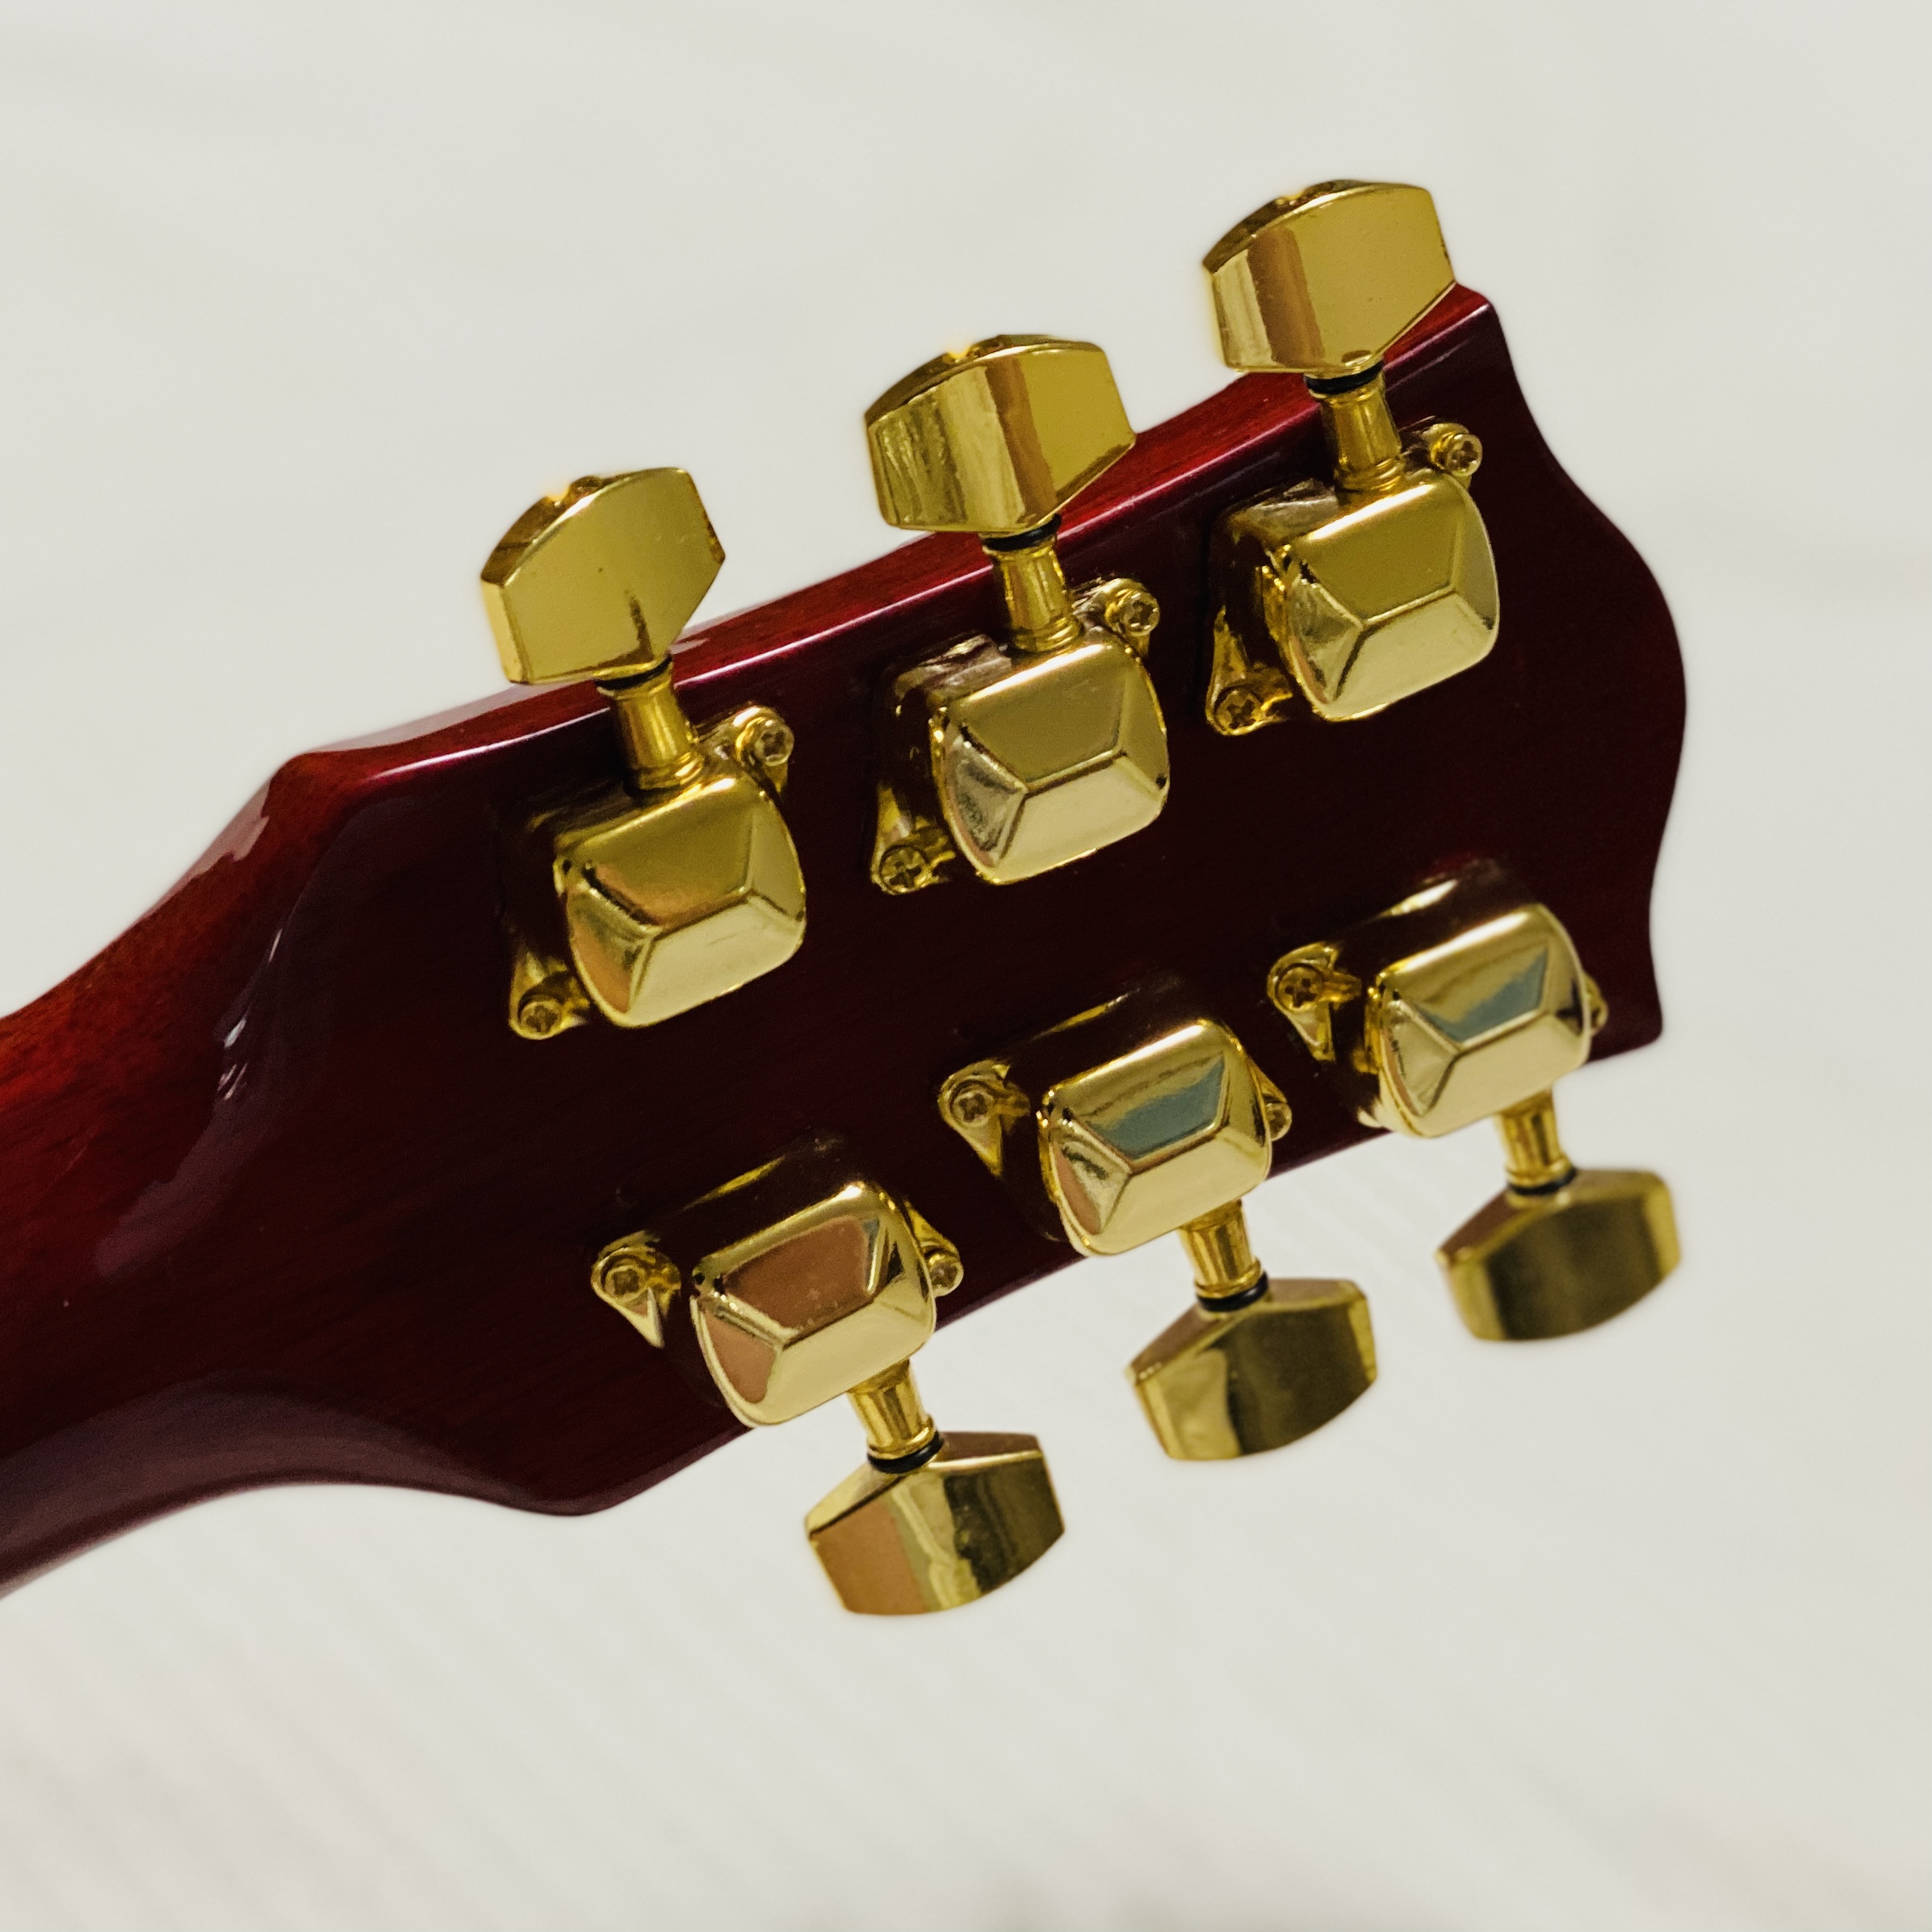
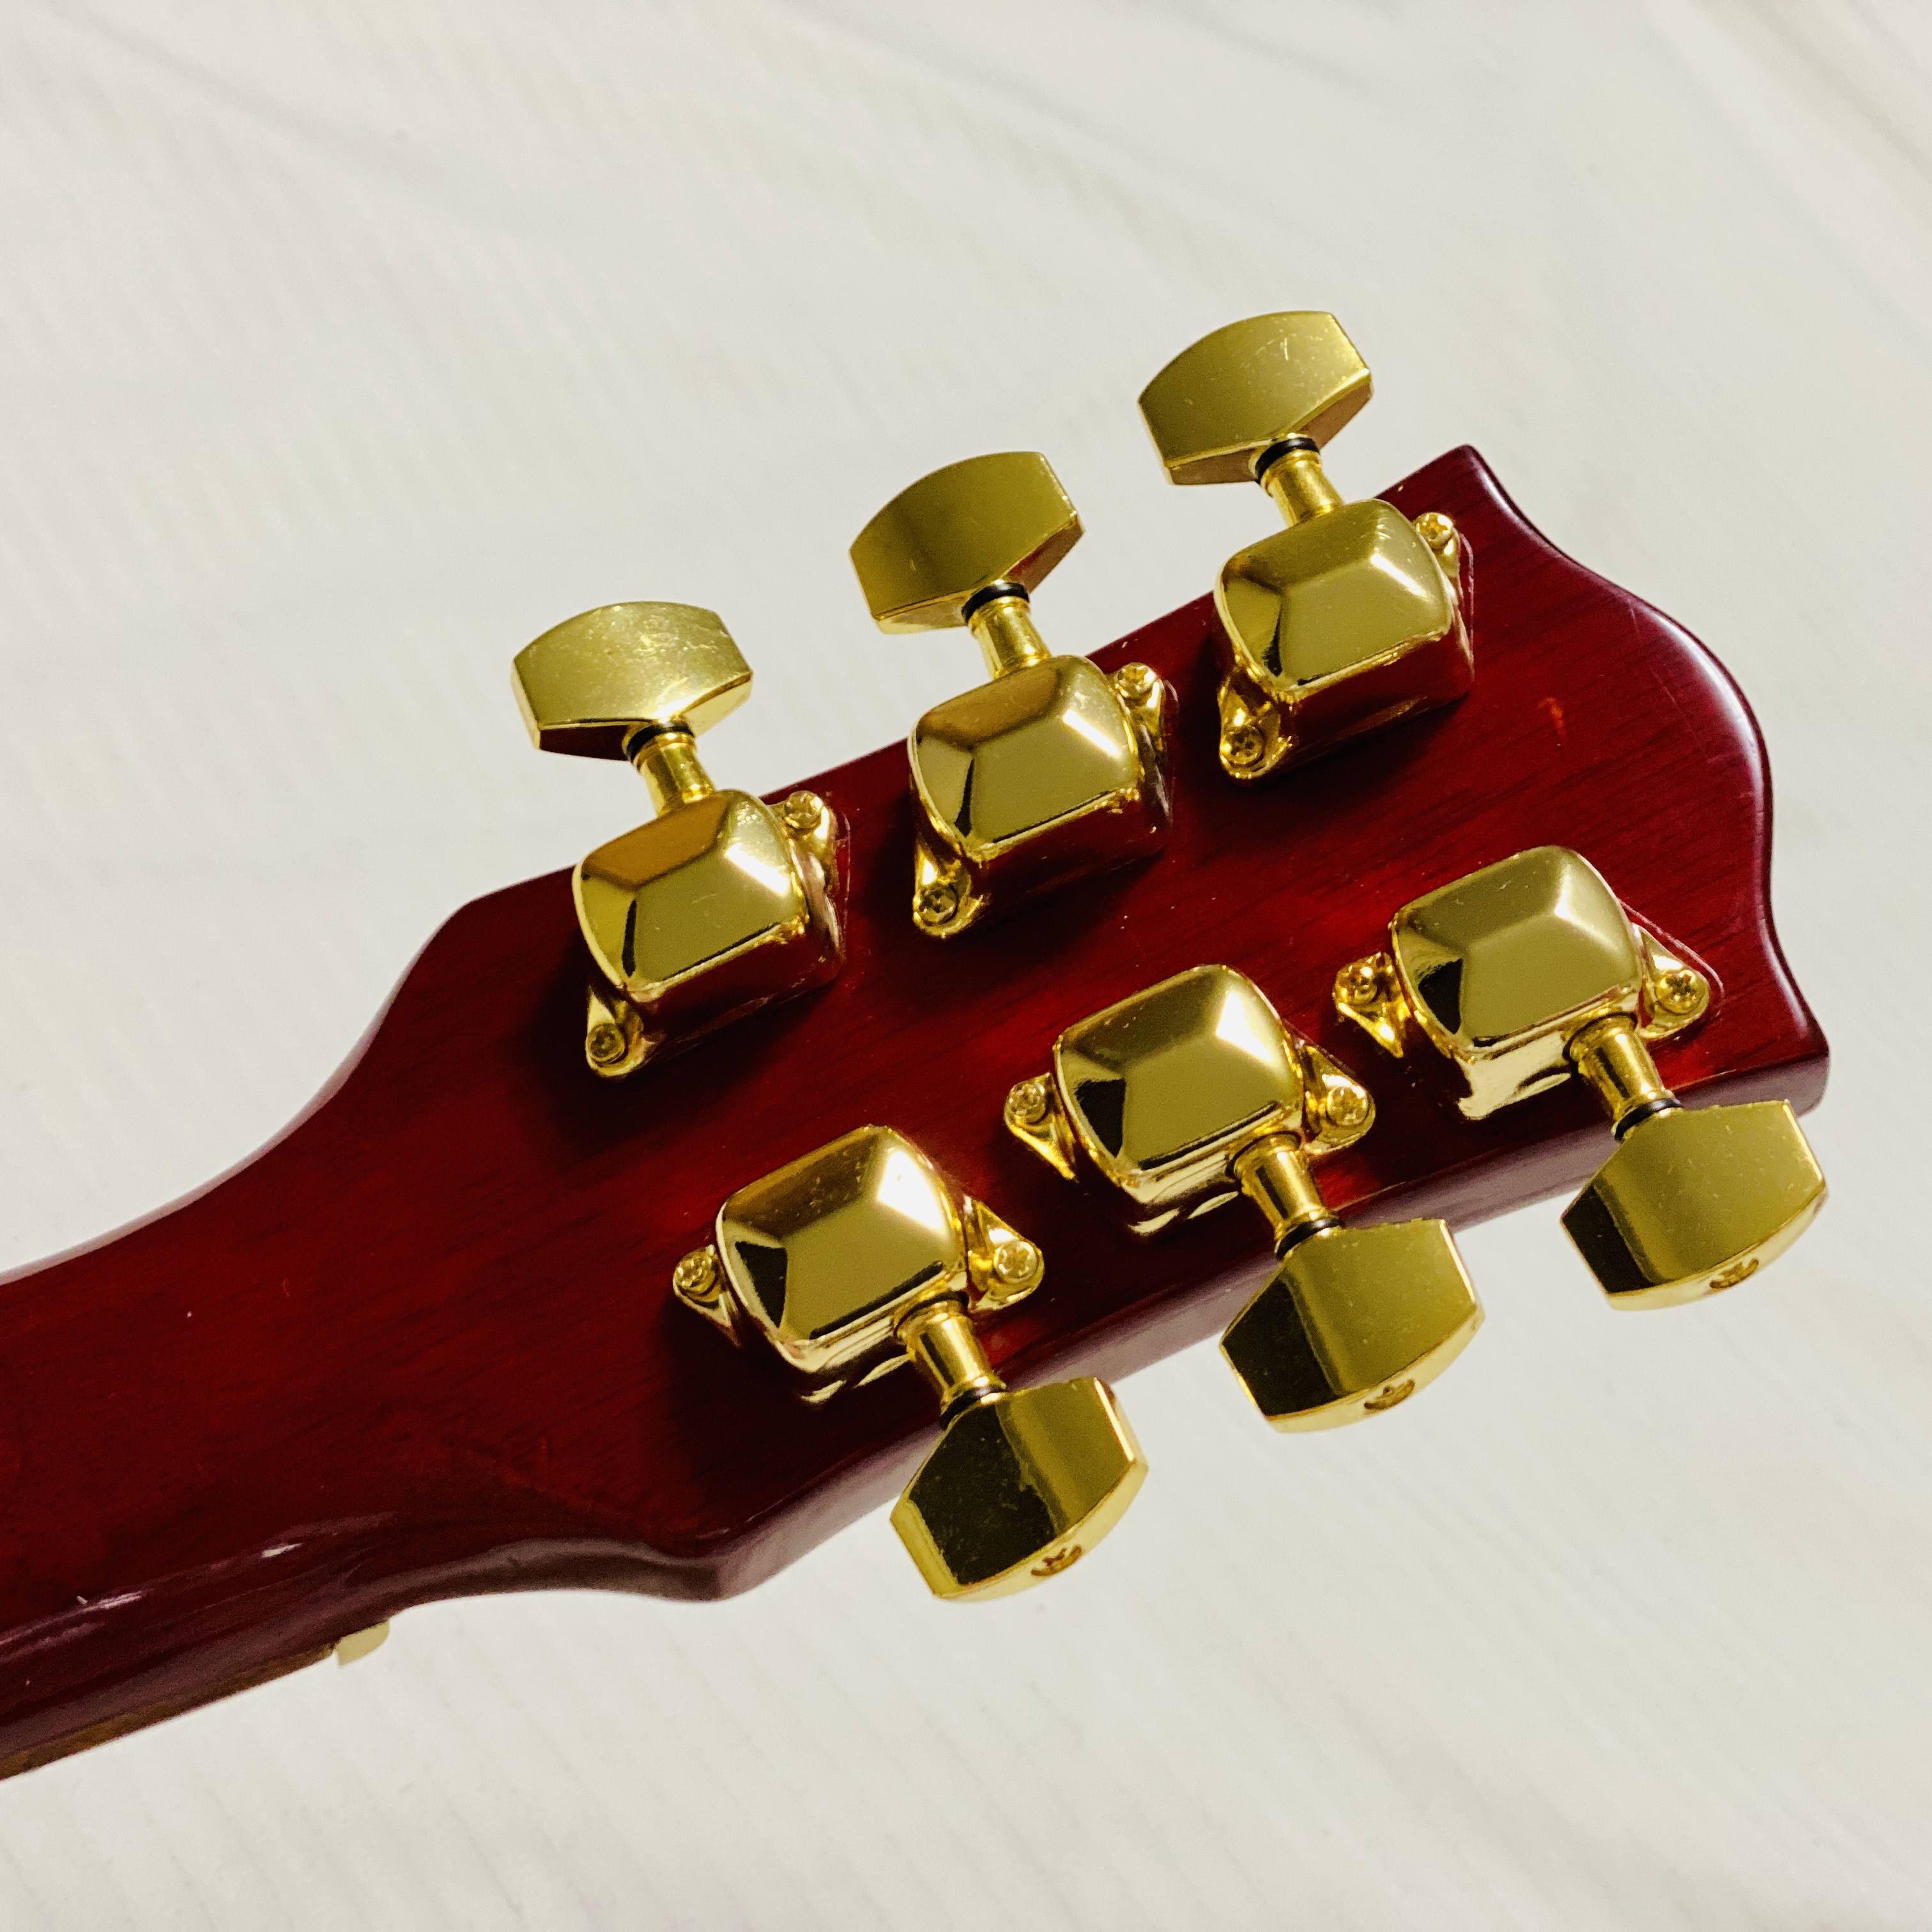
I was unable to find a direct replacement set of quality locking 3L3R tuning heads in a gold finish with offset mounting holes. The closest set I found which looked like they might fit (Kluson Revolution F-mount diecast tuners for 70s style Fender) were only available in the six-in-line configuration. Therefore I had to source the same style of budget tuner in a gold finish. The ferrules supplied with this set appeared to be chromed plastic so I sourced a chromed metal set separately.
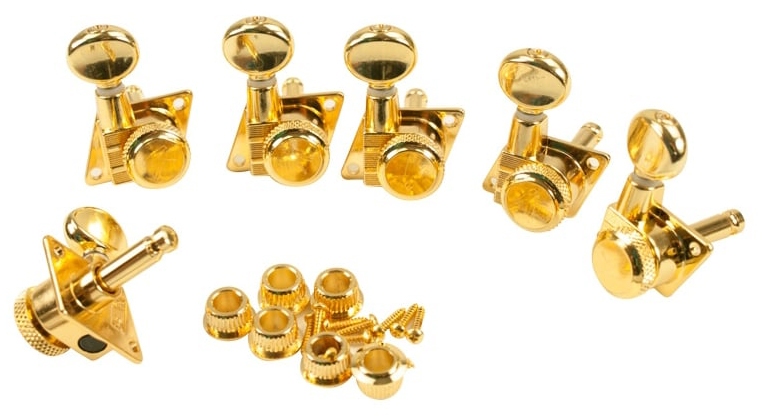
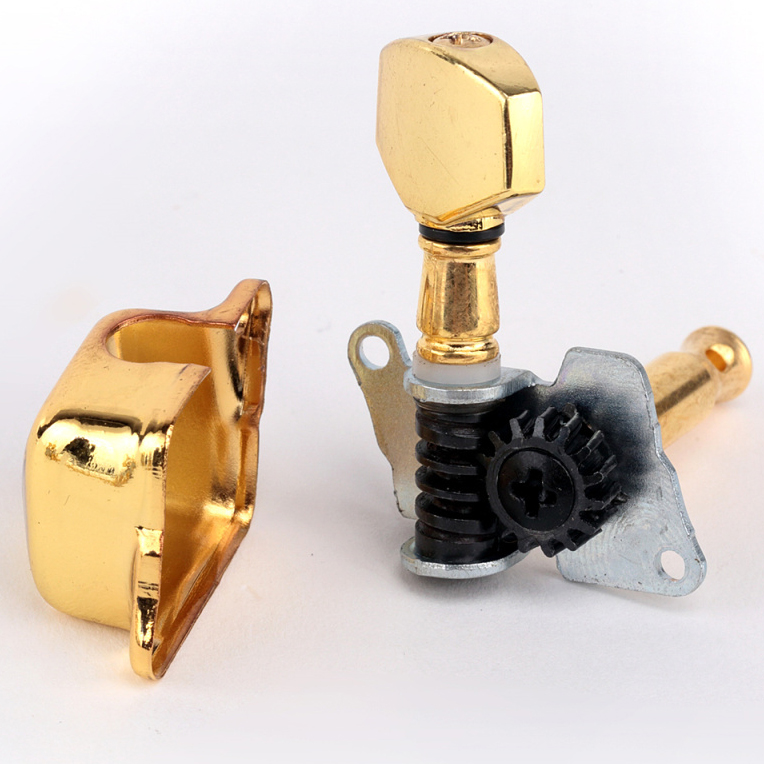
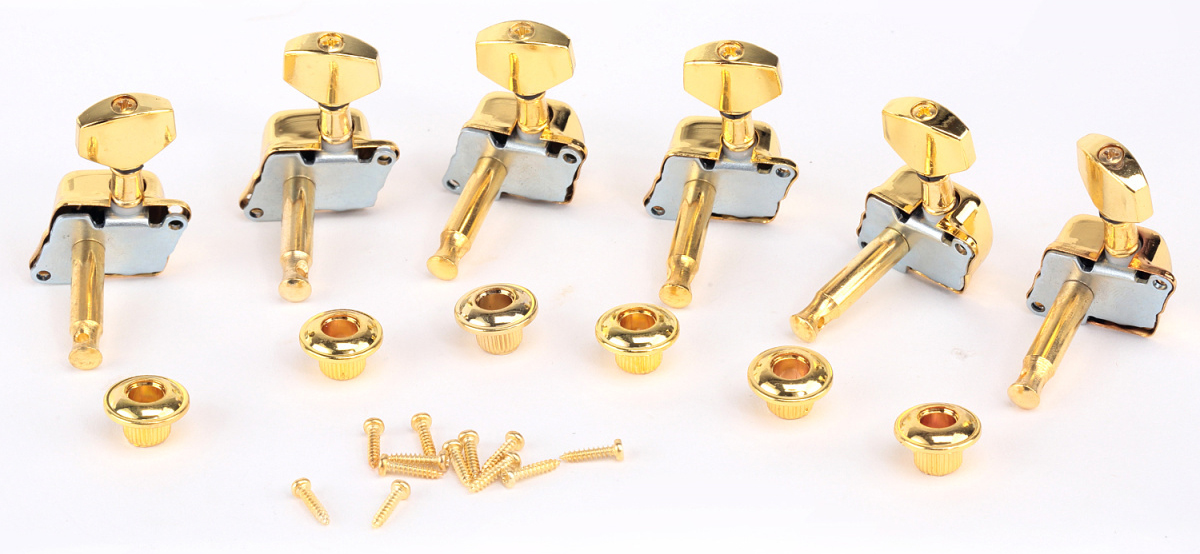

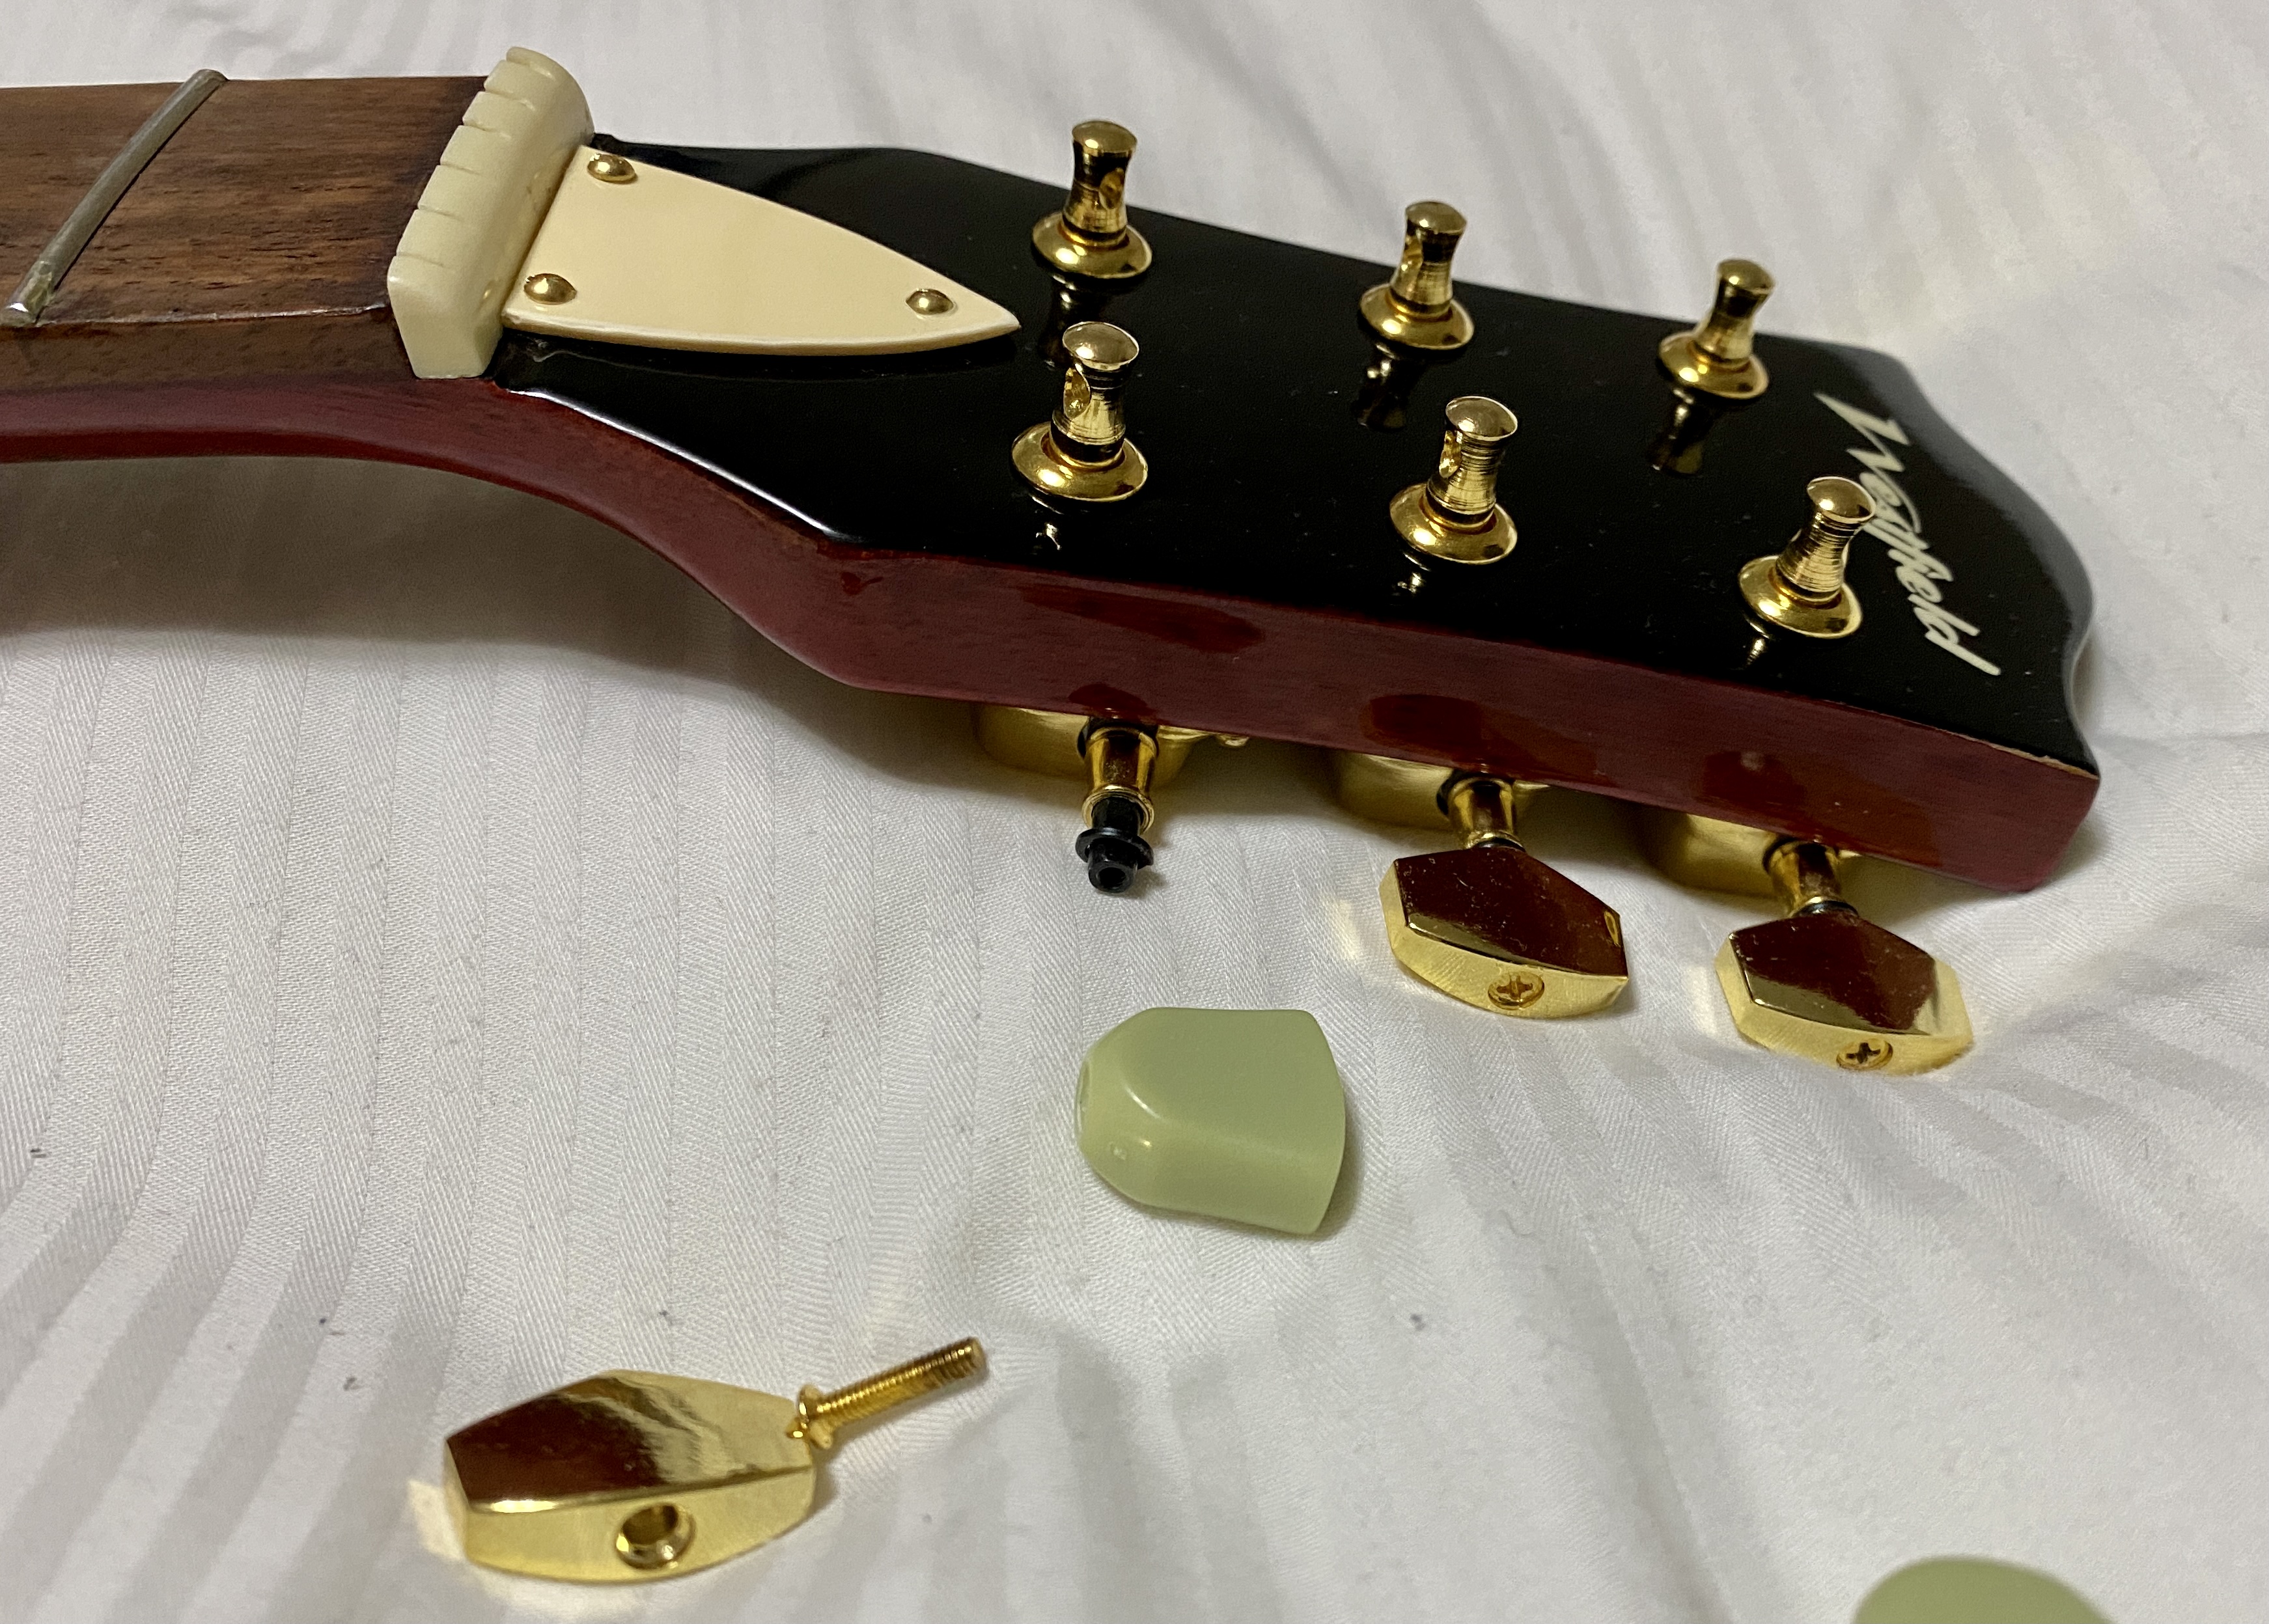
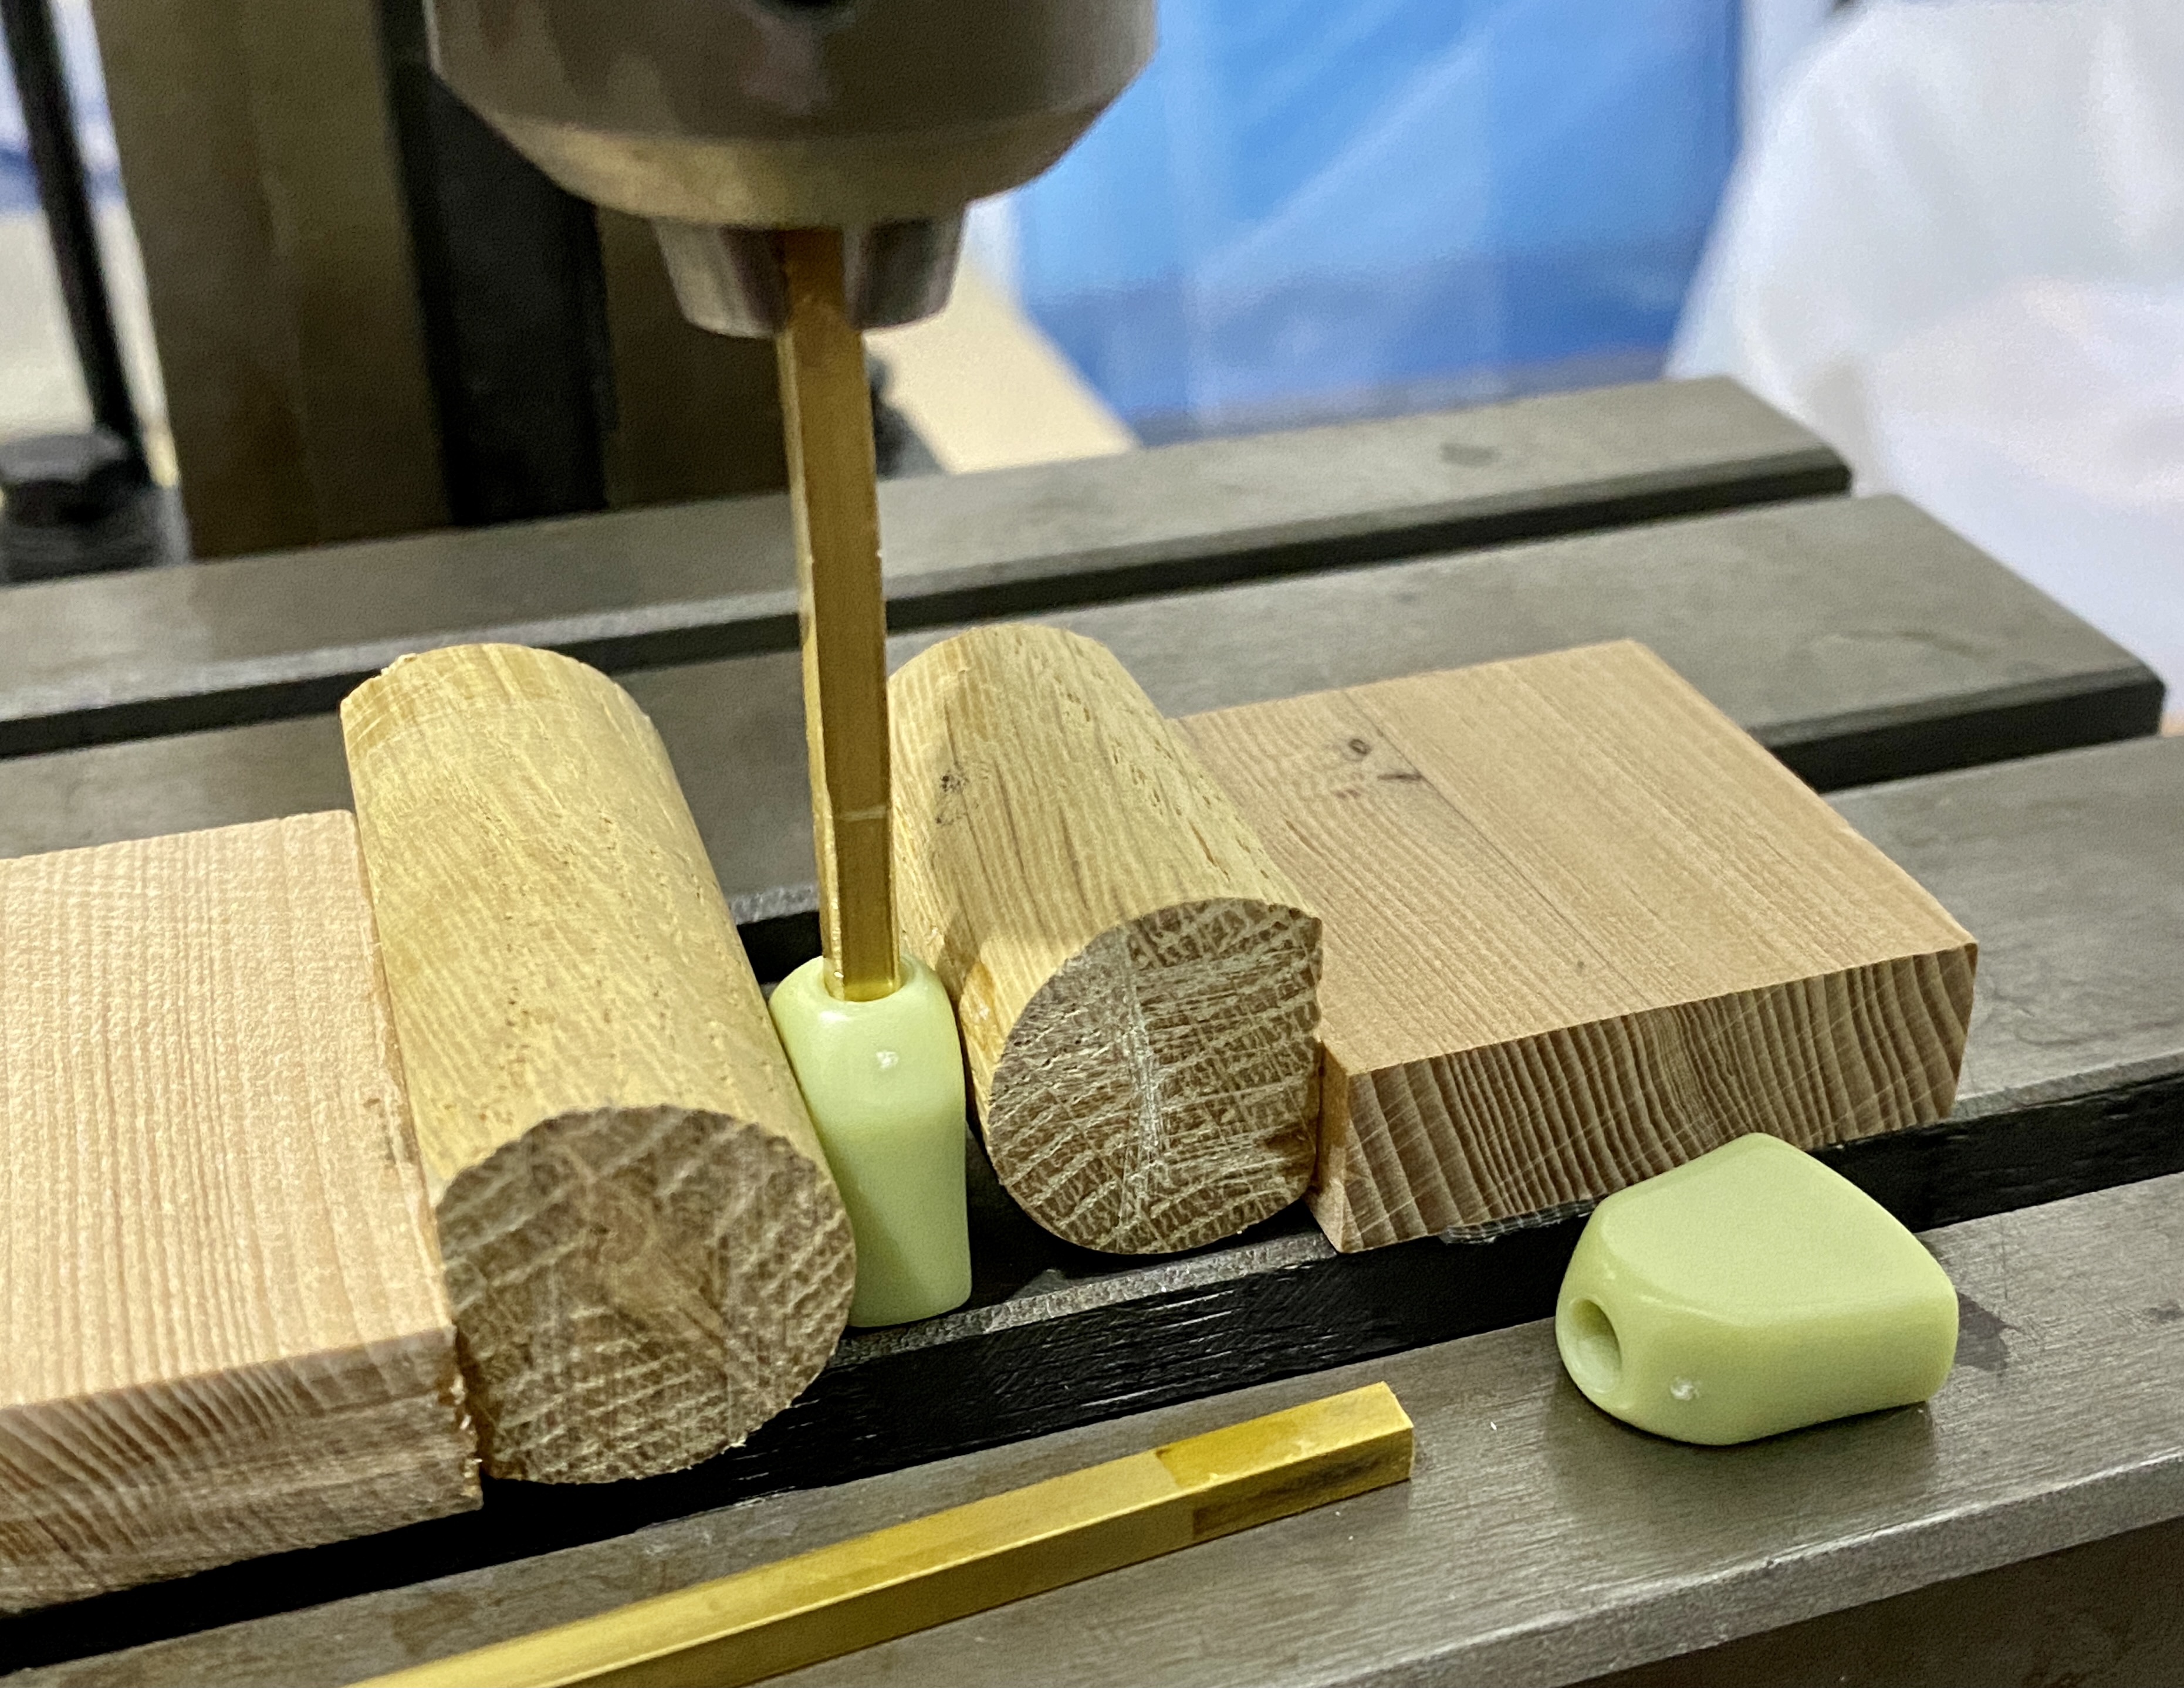
I struggled to find plastic tuner buttons which were a close colour and shape match to those fitted to the Kluson tuners fitted to vintage Les Paul models. The shaft of the MusicLily budget tuners measured 3.5 mm across the flats and around 4.0 mm across the rounded sides. I eventually located some green plastic keystone buttons from a Chinese seller which were reasonably close to the appearance and fit I desired. These only required the shaft size across the flats increased slightly from 3.25 mm to 3.50 mm. I achieved this by heating up a section of 3.5 mm square brass bar with an electric heat gun and inserting it into the aperture. I scraped out the displaced plastic after each insertion until the fit was satisfactory. Although I set up a small apparatus using 12 mm diameter oak dowel on the bed of my drilling/milling press, I discovered that I could achieve a satisfactory result by just inserting the heated bar by hand.
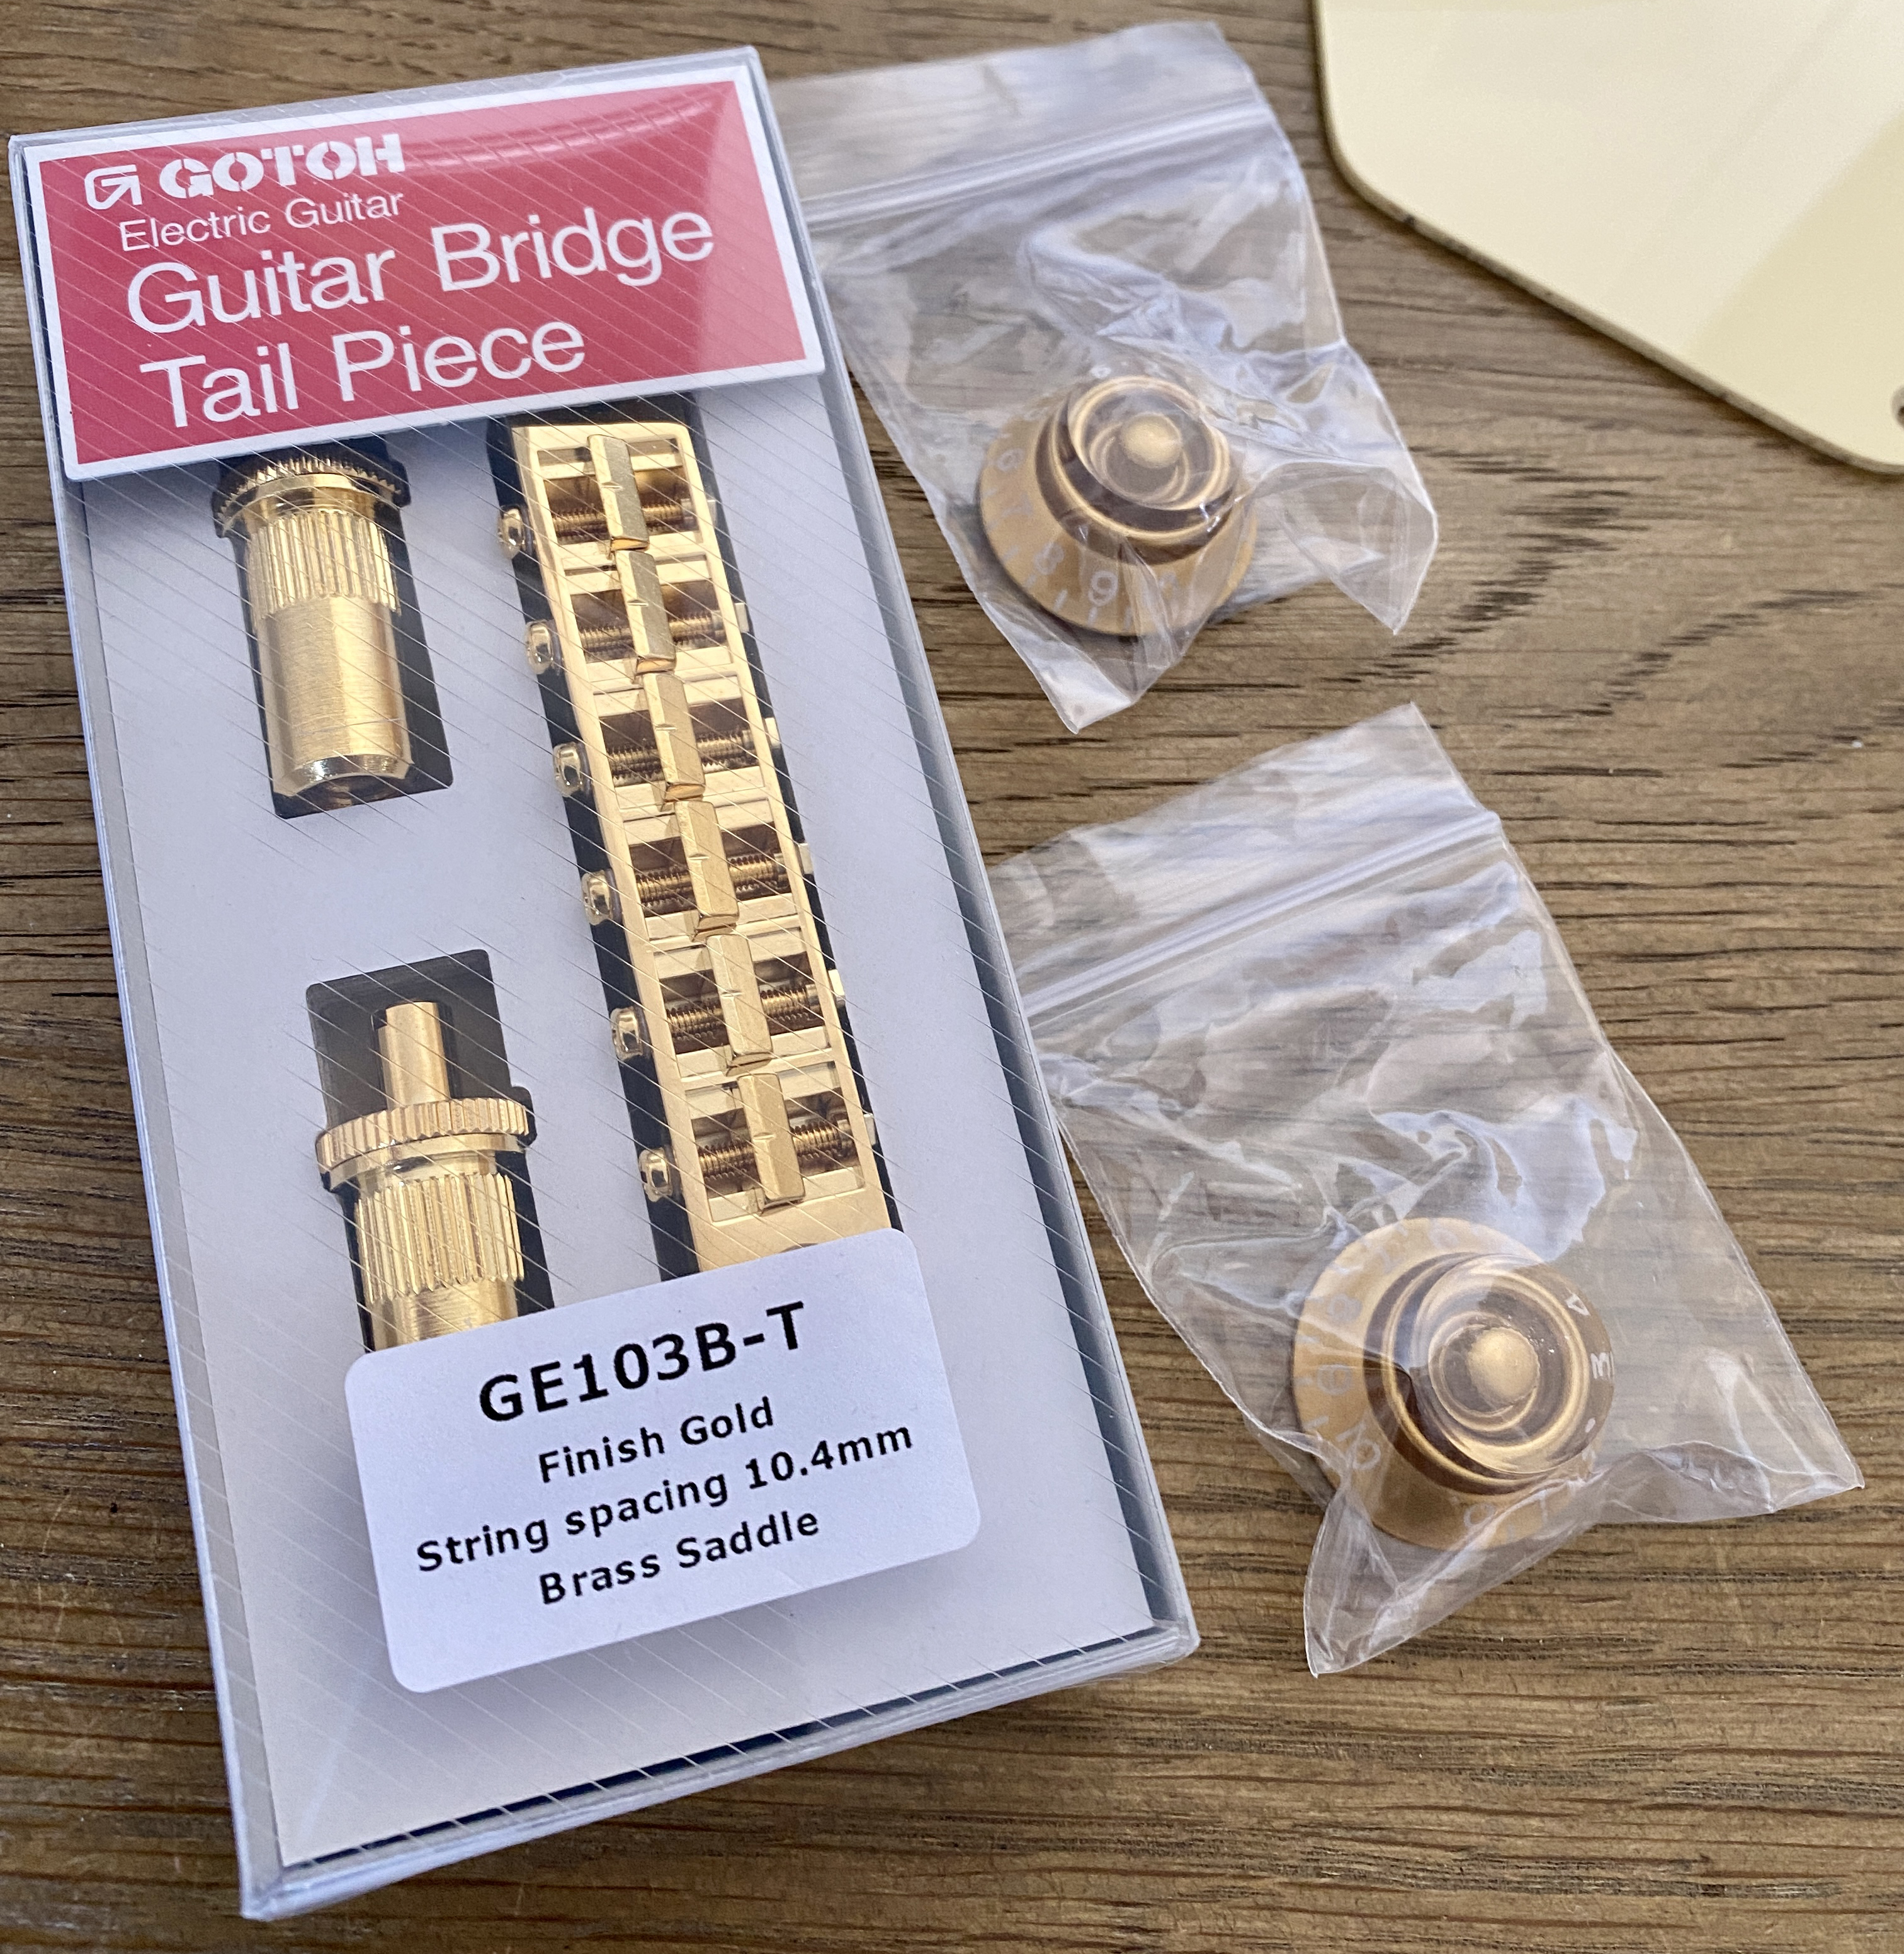
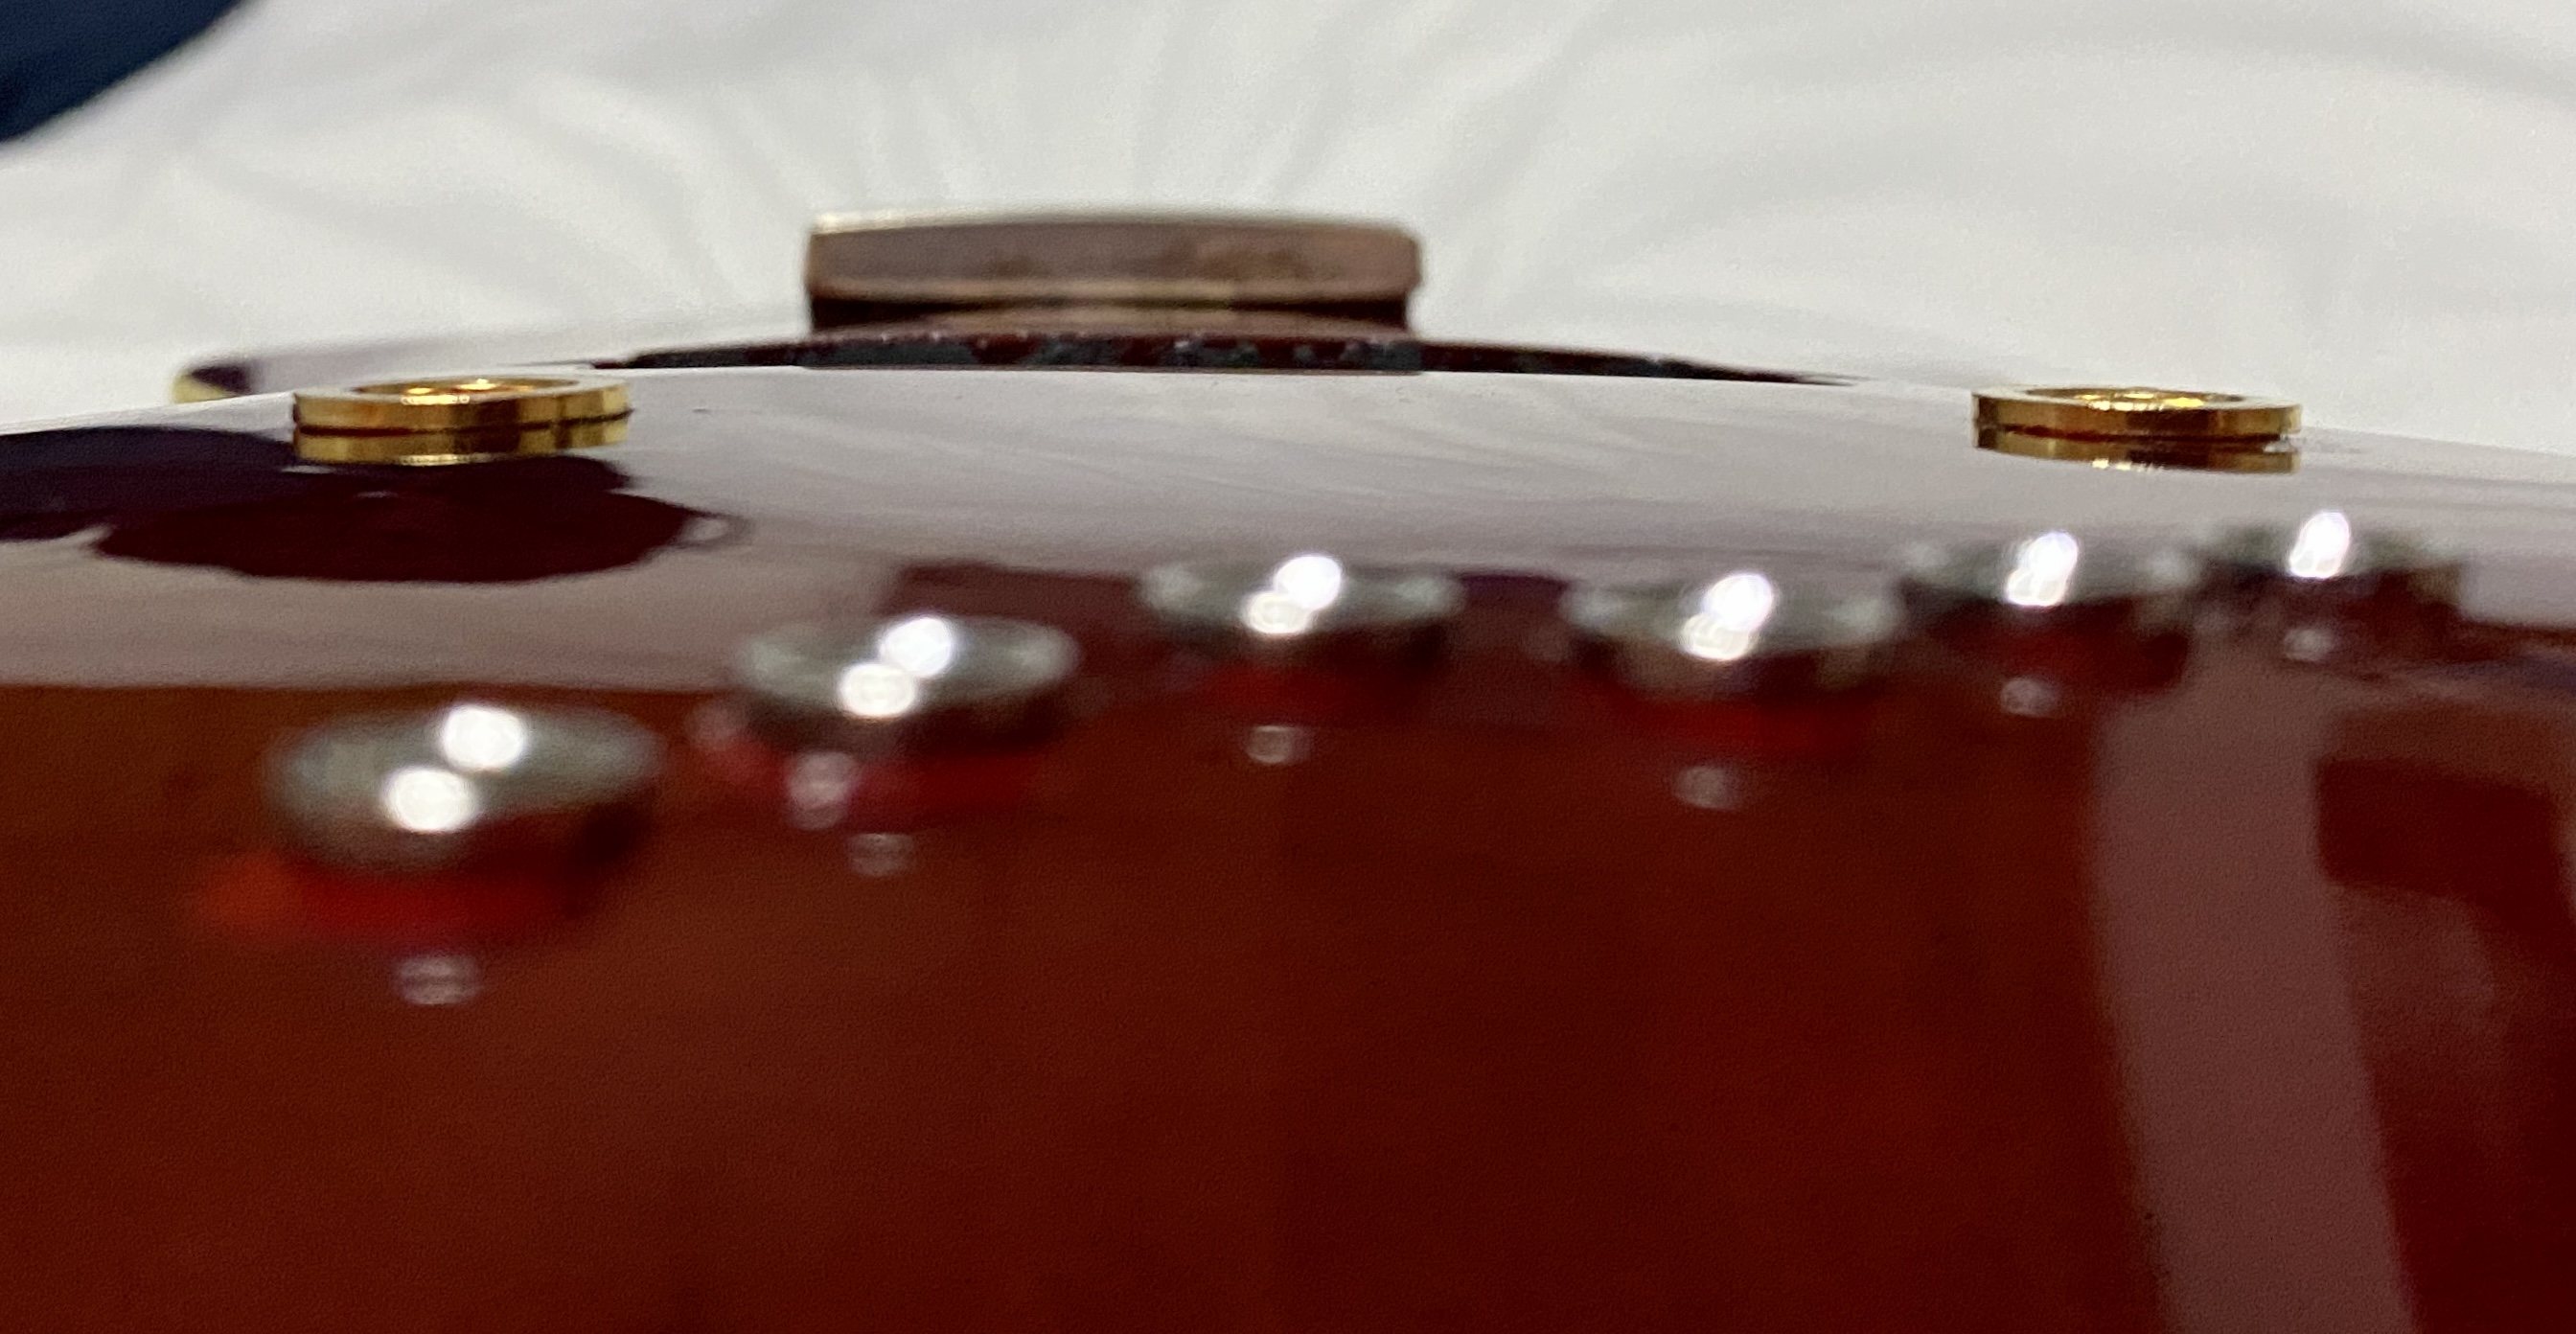
Swapping out the threaded inserts for the bridge required the most effort and attention to detail. The original chrome items were securely interference-fitted into the body so I had to mill them out carefully using solid carbide fluted CNC mills until the structure was weak enough to be removed with hand tools. I then discovered that the gold inserts from the replacement Gotoh bridge, although nominally the same size, were a slightly loose fit so I secured them in place with two part epoxy resin. The strings are grounded using a length of hookup wire in contact with the insert on the treble side so this had to be taken into account when adhering and refitting. The treble side insert set at a slightly offset angle but I was able to correct it by applying some light blows from a rubber mallet and section of oak dowel.
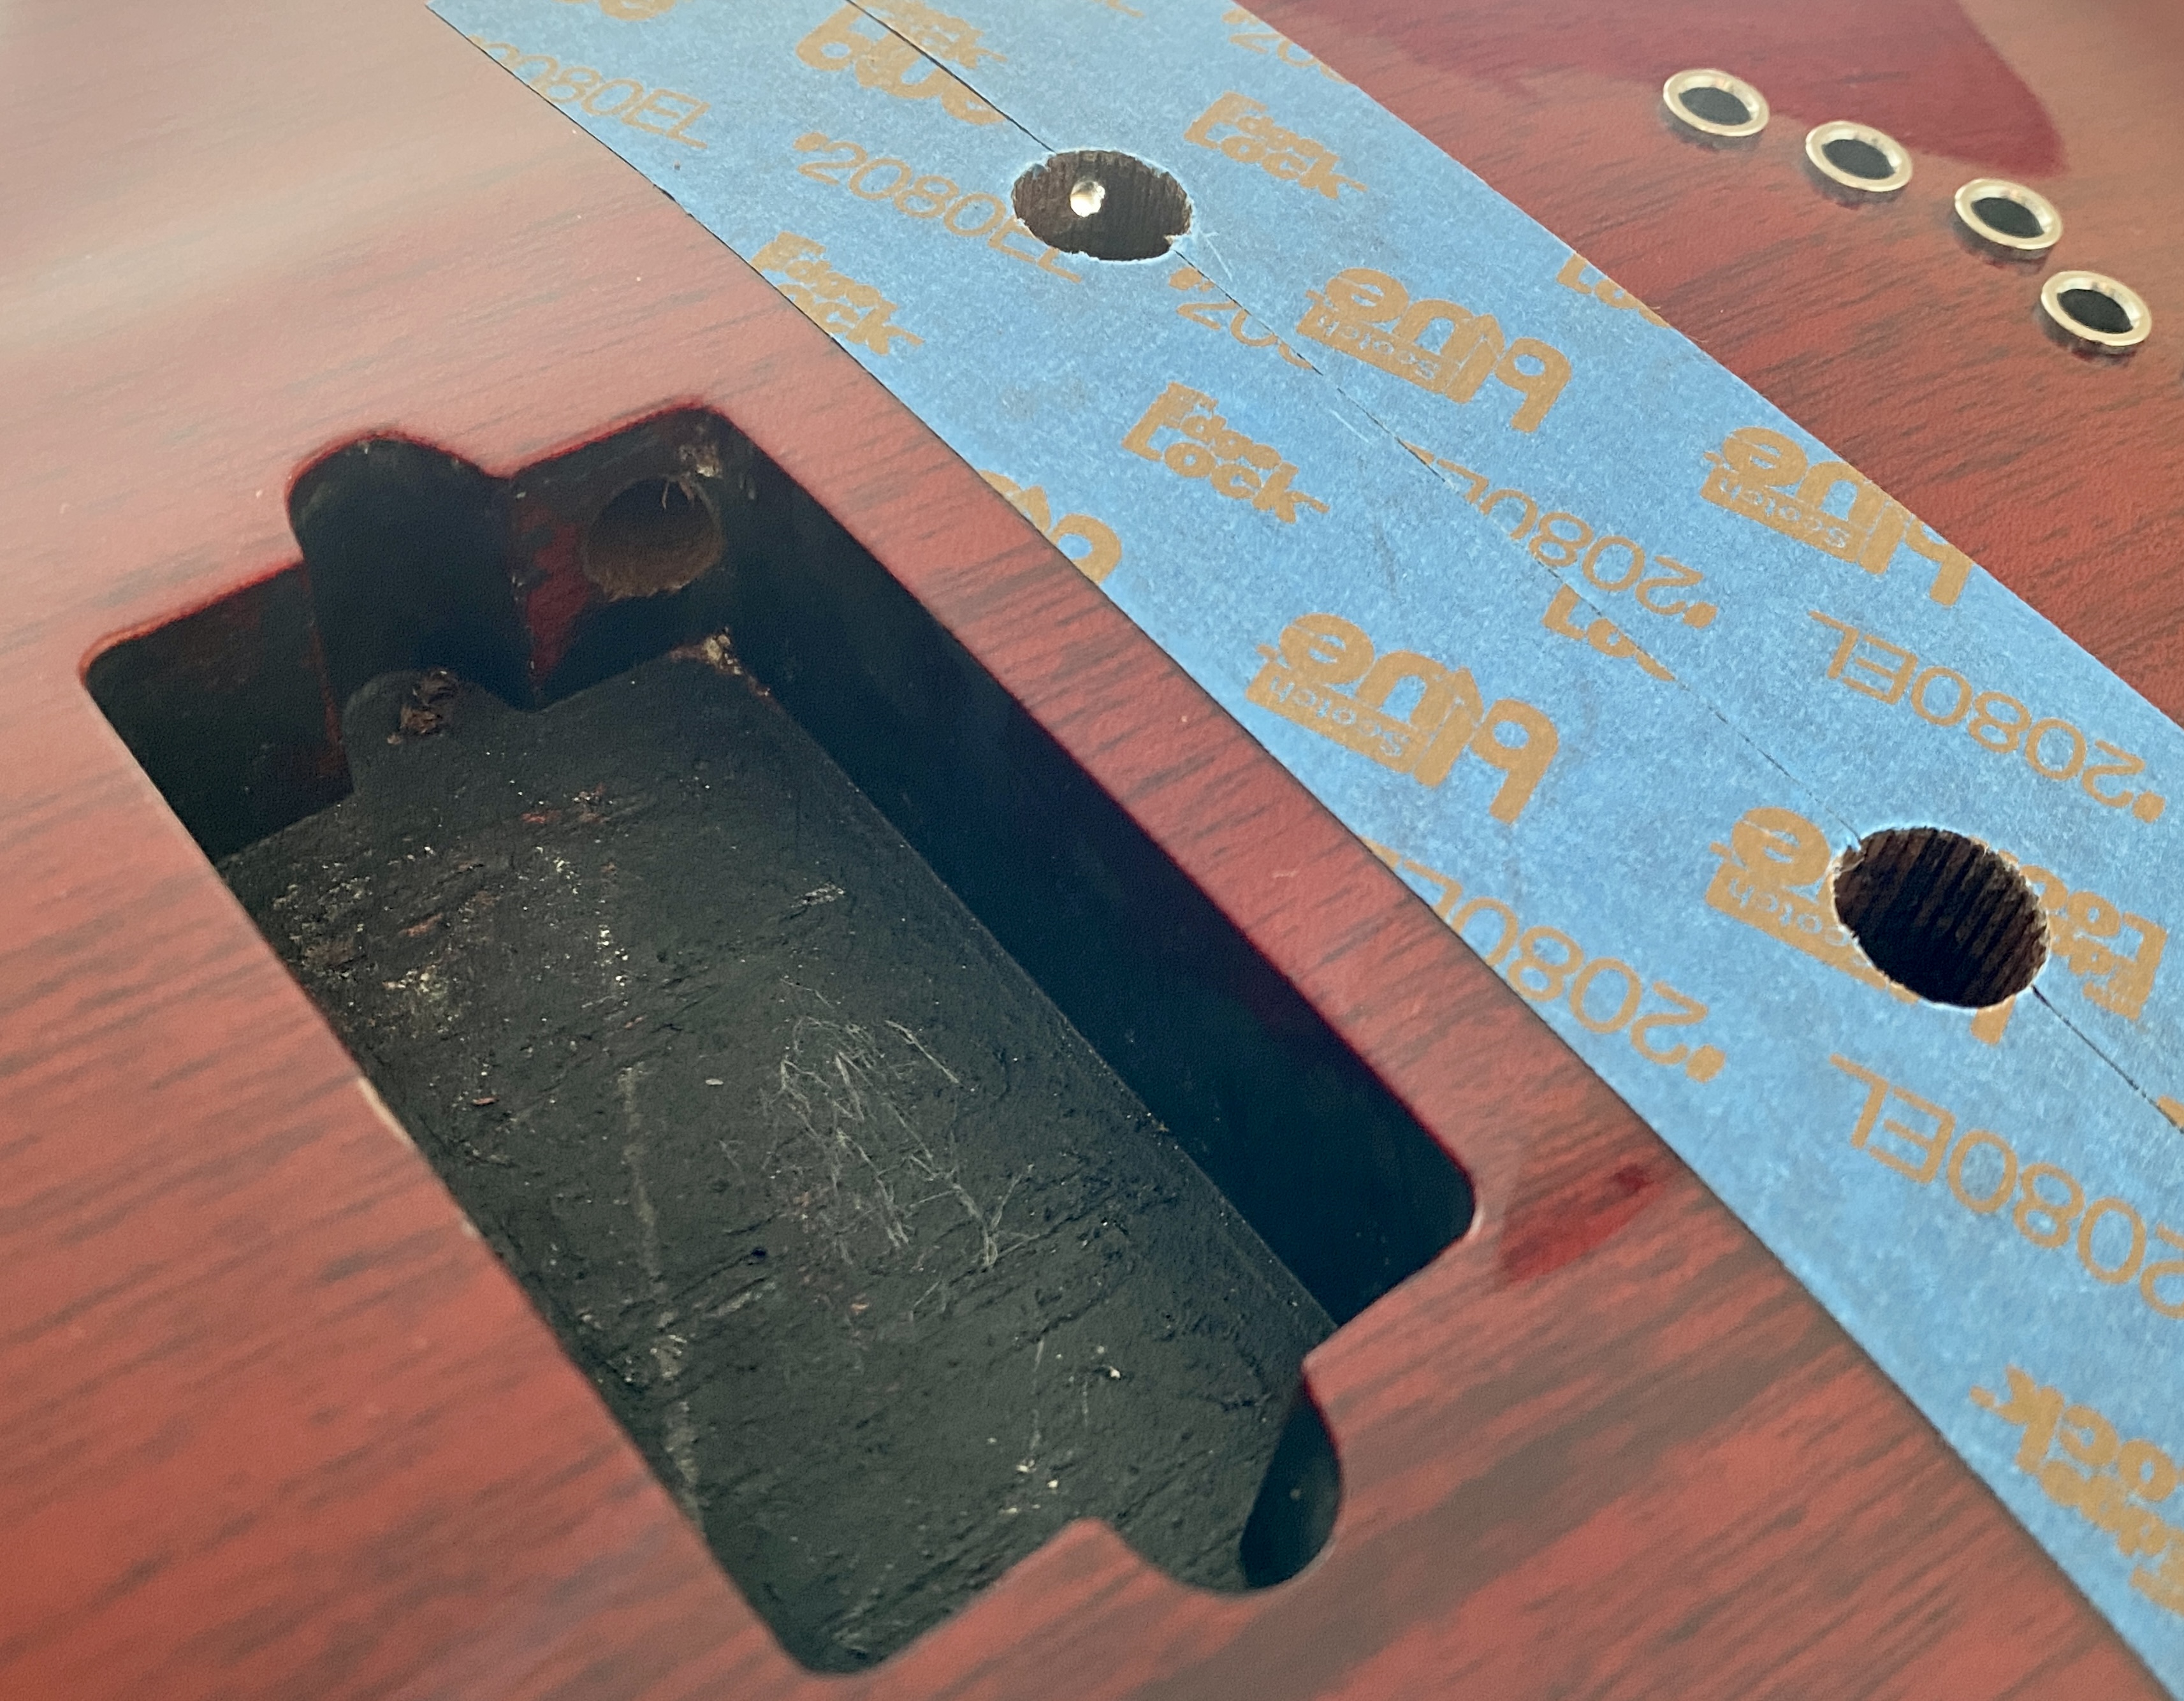
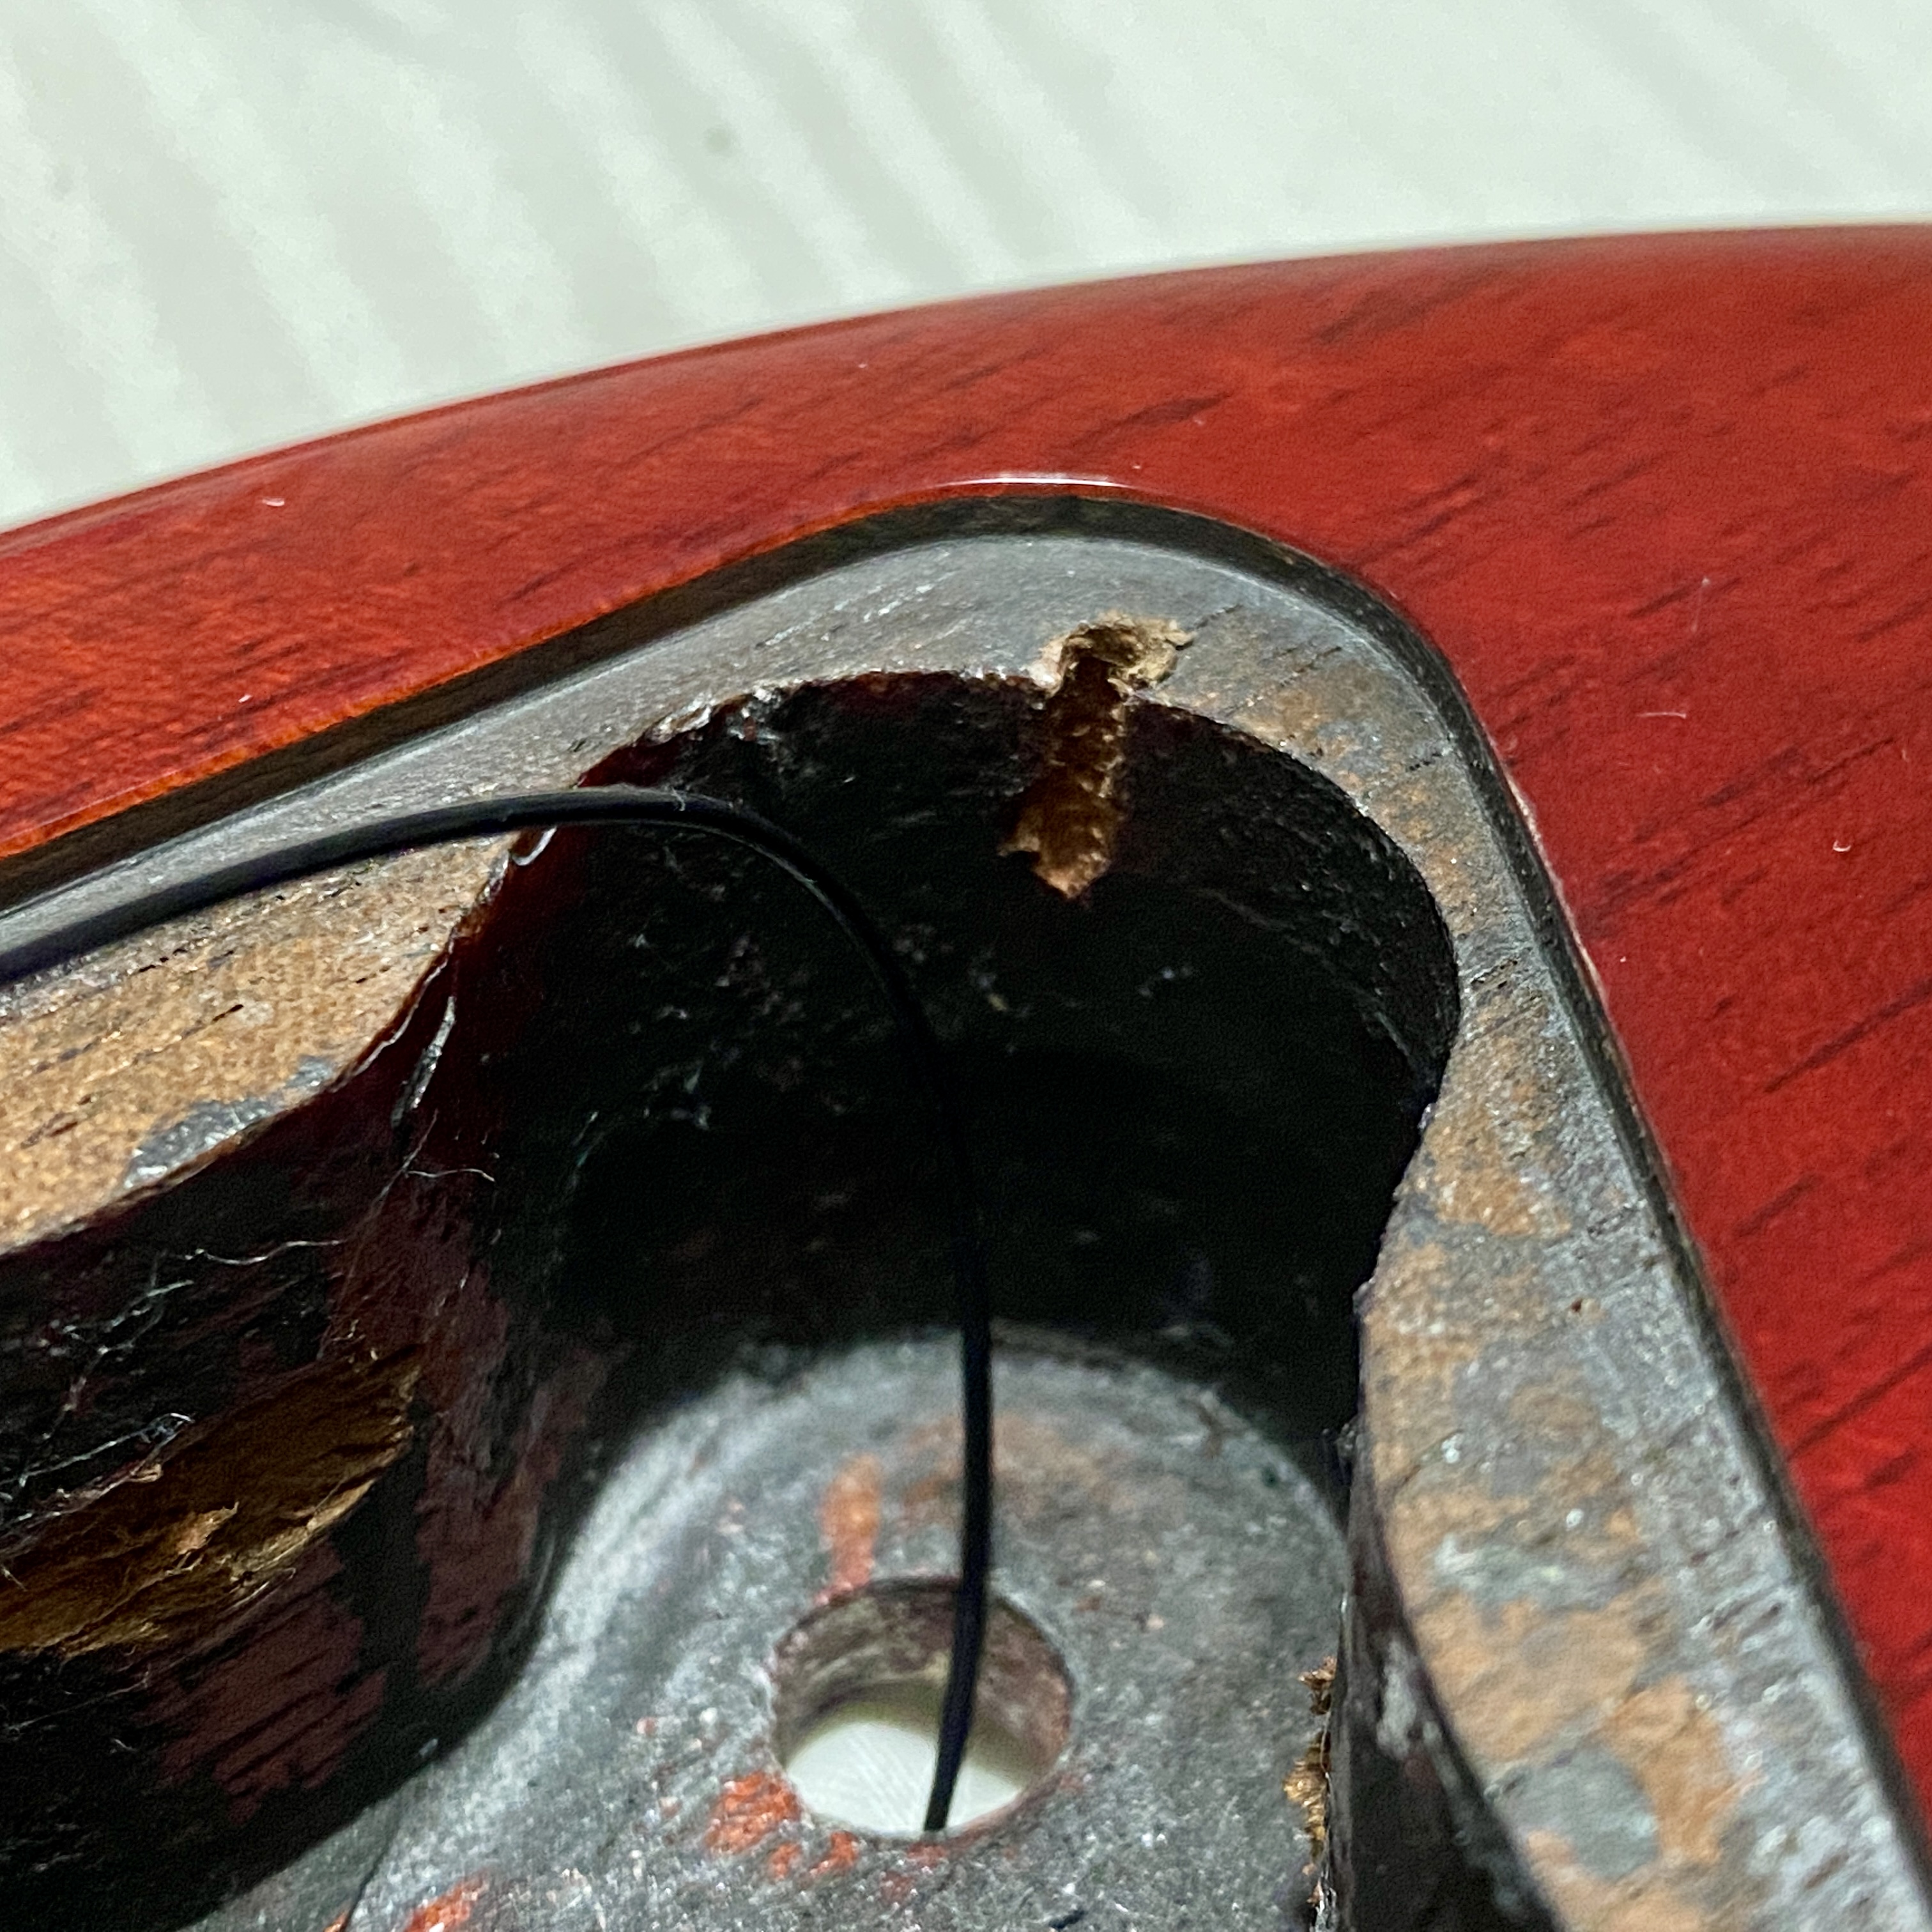
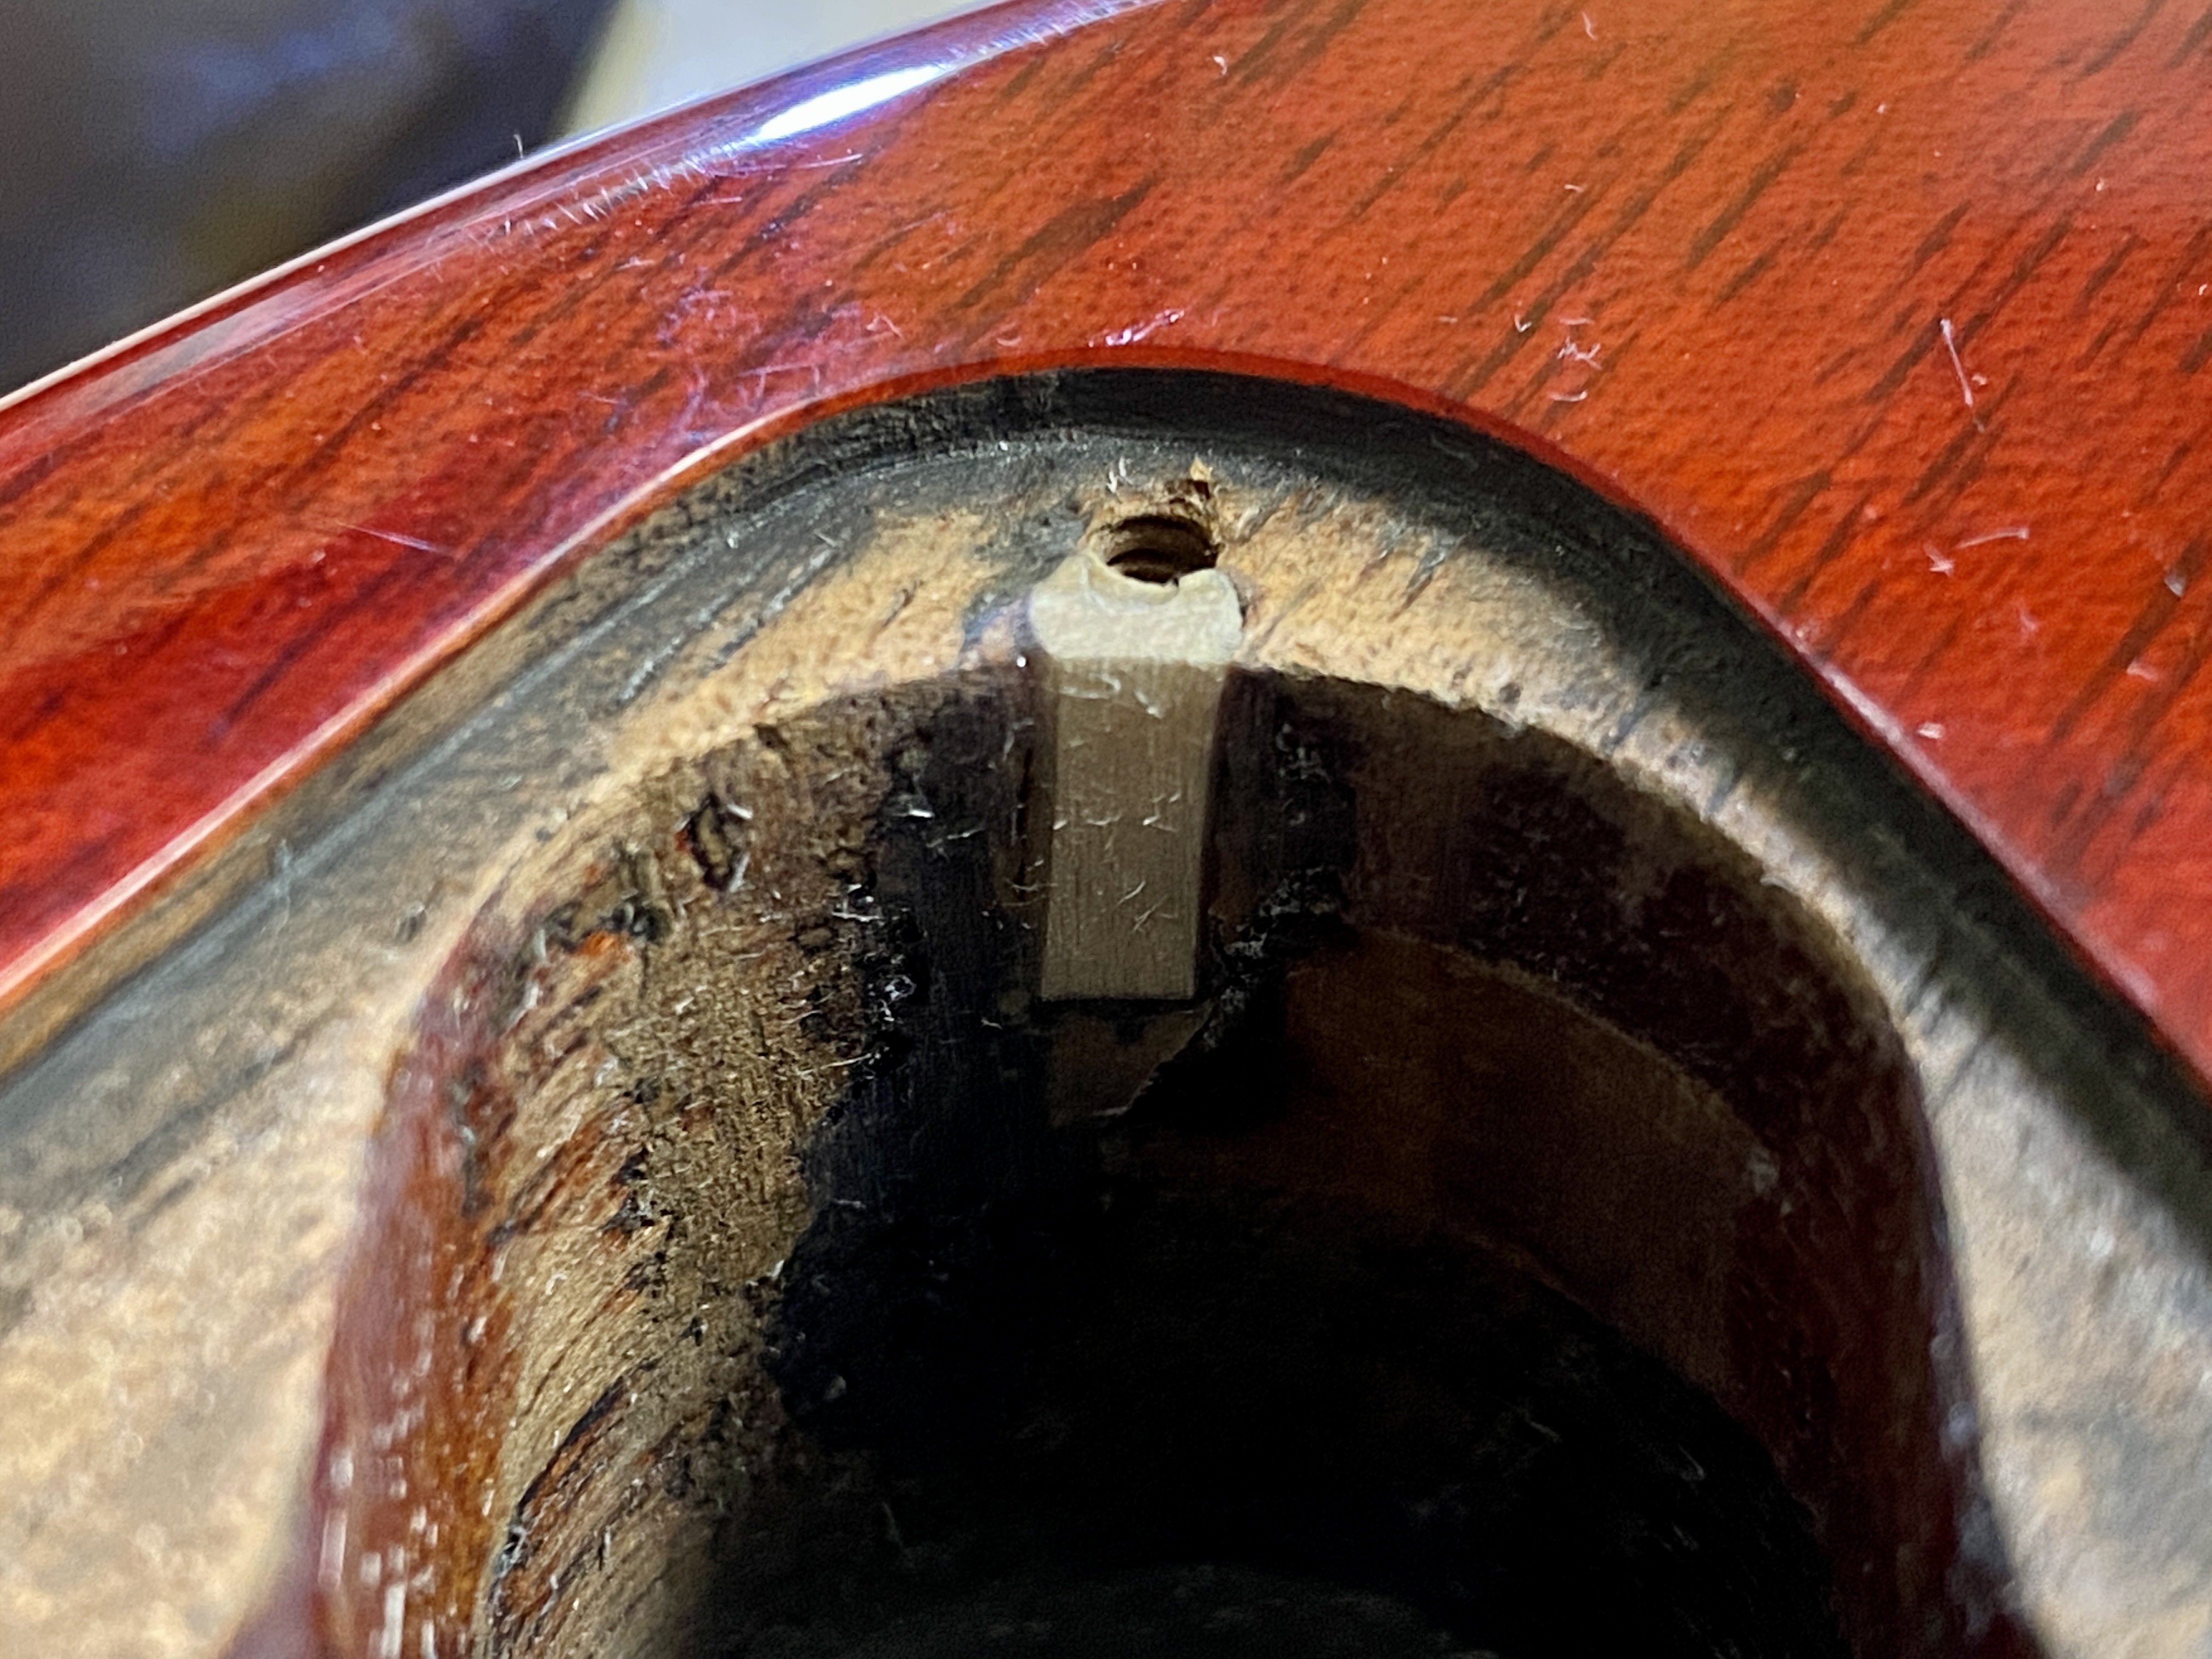
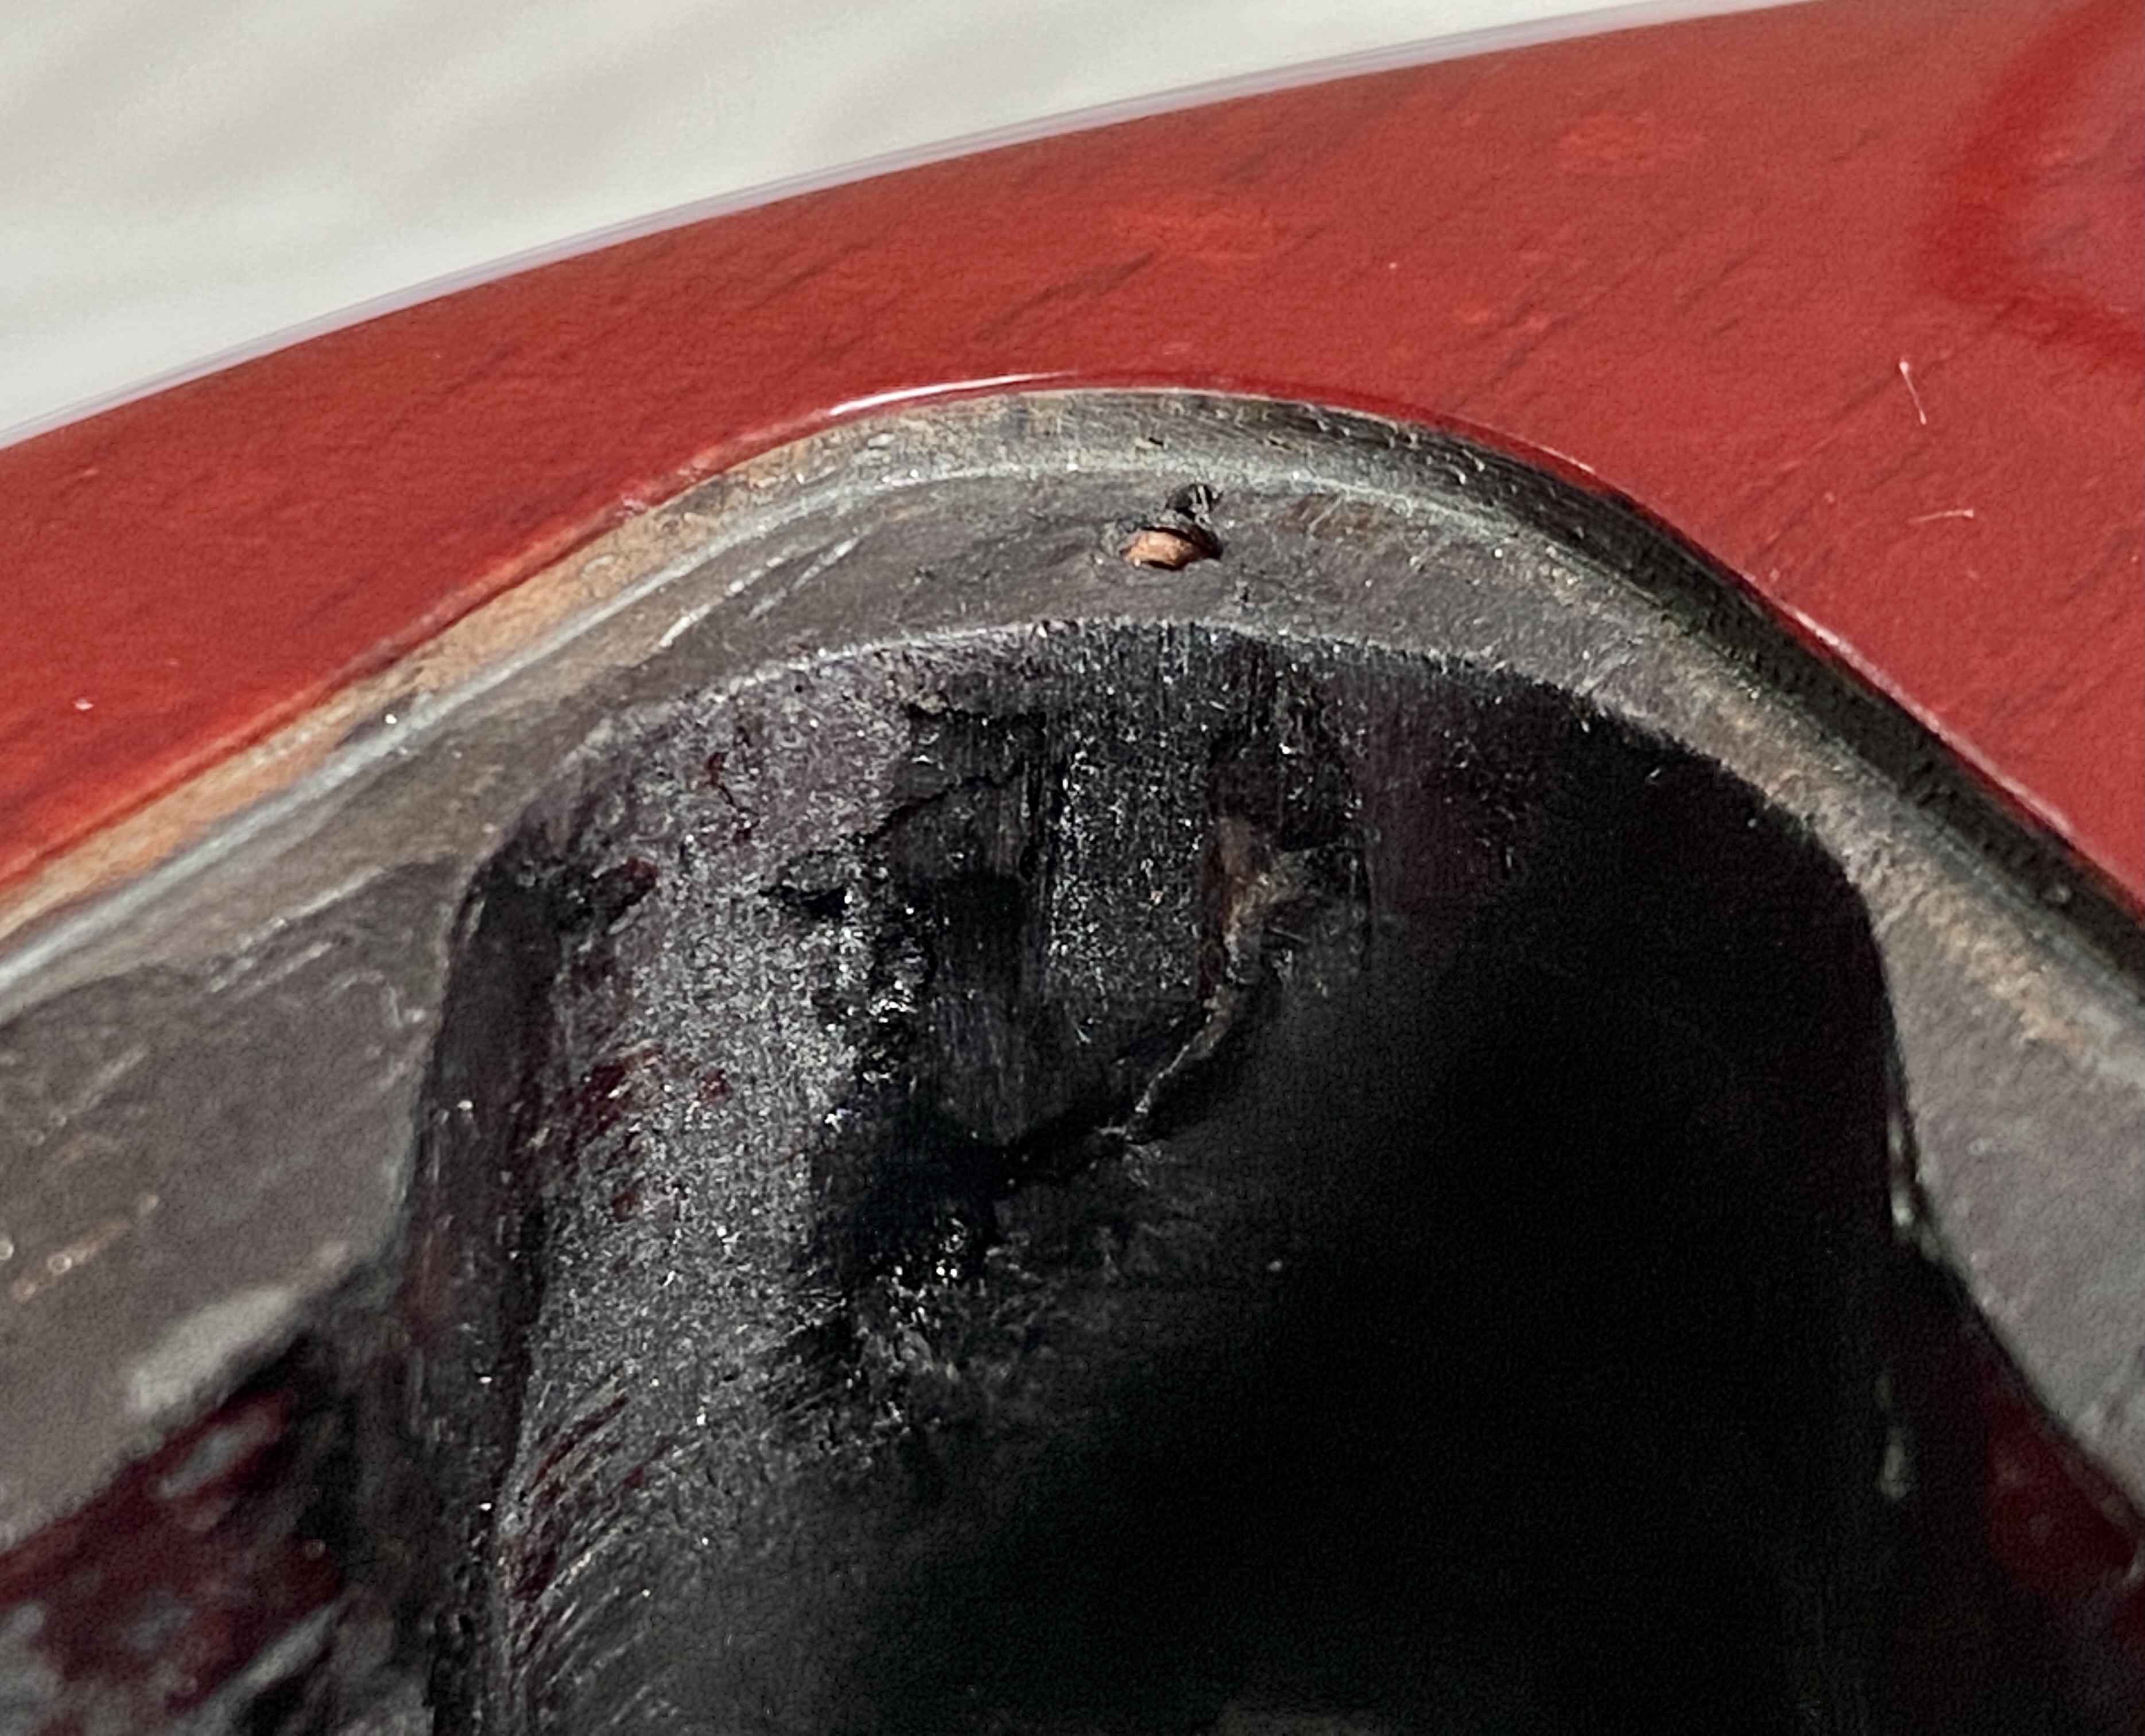
When I removed the trapezoid shaped cream coloured CAB plastic control cavity plate, I noticed that one of the screws was misplaced and not fully engaged with the wood. Given that the equivalent part on Gibson Les Paul is black, I decided to make a replacement cover plate by replicating the original shape in CAD reposition the screw holes and CNC cut it from 2 mm thick gloss black perspex. Apart from the incorrectly positioned screw holes, the fit of the original cover plate was quite precise, so there was no particular requirement to modify the outline. To repair the screw hole, I routed out a section using a 4 mm CNC end mill, glued in a section of wood dowel, shaped it to fit the cavity and then stained it black with ebony Liberon wood dye. These stages are illustrated in the gallery of three images below.
Parts and Suppliers Schedule
- Set of 6 Guitar Tuning Peg Tuner Machine Head Replacement Buttons Knob [Green], available from various eBay sellers based in Shenzhen, China
- 6 Bushings for Vintage Machine Heads 8 mm Hole, 6 mm Shaft [GOLD], Guitars Electric, Wolverhampton, U.K.
https://www.guitarselectric.co.uk/product/6_chrome_ferrules - Musiclily 3+3 Semiclosed Guitar Tuners Tuning Pegs Keys Machine Heads Set for Acoustic or Electric Guitar
https://www.amazon.co.uk/Musiclily-Semiclosed-Guitar-Tuners-Machine/dp/B015J0OY66/ - Gibson Strap Buttons – Brass (2 pack) GIBPREP-010, RichTone Music, U.K.
https://www.richtonemusic.co.uk/product/gibson-strap-buttons-brass-2-pkg/ - Gotoh Nashville GE103B-T Tune-o-Matic Bridge Large Posts, WD Music
https://www.wdmusic.co.uk/hardware-parts-c1/bridges-tailpieces-c2/tune-o-matic-bridges-c36/gotoh-nashville-tune-o-matic-bridge-large-posts-p661 - Top Hat Bell Knobs for generic Gibson, Epiphone style guitars 24 Spline (gold), Guitars Electric, Wolverhampton, U.K.
https://www.guitarselectric.co.uk/product/bell_top_hat_knobs - Stratocaster Telecaster Electric Guitar Neck Plate Screws Included, HN001-GD (Gold), North West Guitars, Warrington, U.K.
https://www.northwestguitars.co.uk/stratocaster-telecaster-electric-guitar-neck-plate-screws-included/ - Tonerider AC2 Alnico II PAF Humbucker Pickups AC2B-GD, North West Guitars, Warrington, U.K.
https://www.northwestguitars.co.uk/stratocaster-telecaster-electric-guitar-neck-plate-screws-included/ - Bourns PDB181-GTR01-504B0 (linear taper, tone) and PDB181-GTR01-504A2 (logarithmic/audio taper, volume) Guitar Potentiometers, Mouser Electronics
- Vishay BFC236746473 Polyester Film Capacitors 0.047uF 5% 250 V, Mouser Electronics
https://www.mouser.co.uk/ - Optima Gold 2028M string set (0.011, 0.014, 0.018, 0.030, 0.038, 0.050), AStrings, Cardiff, U.K.
https://astrings.co.uk/collections/electric-guitar-strings/products/2028m
Next article:
Part 3: Mechanical Set-up
Previous article:
Part 1: Stripdown and Evaluation
